

Kourses allows you to connect with your Emma (https://myemma.com/) account. This allows you to pass through buyer information from Kourses to your Emma account where you can follow-up with additional email marketing.
To connect your Emma account to your Kourses account, follow these steps:
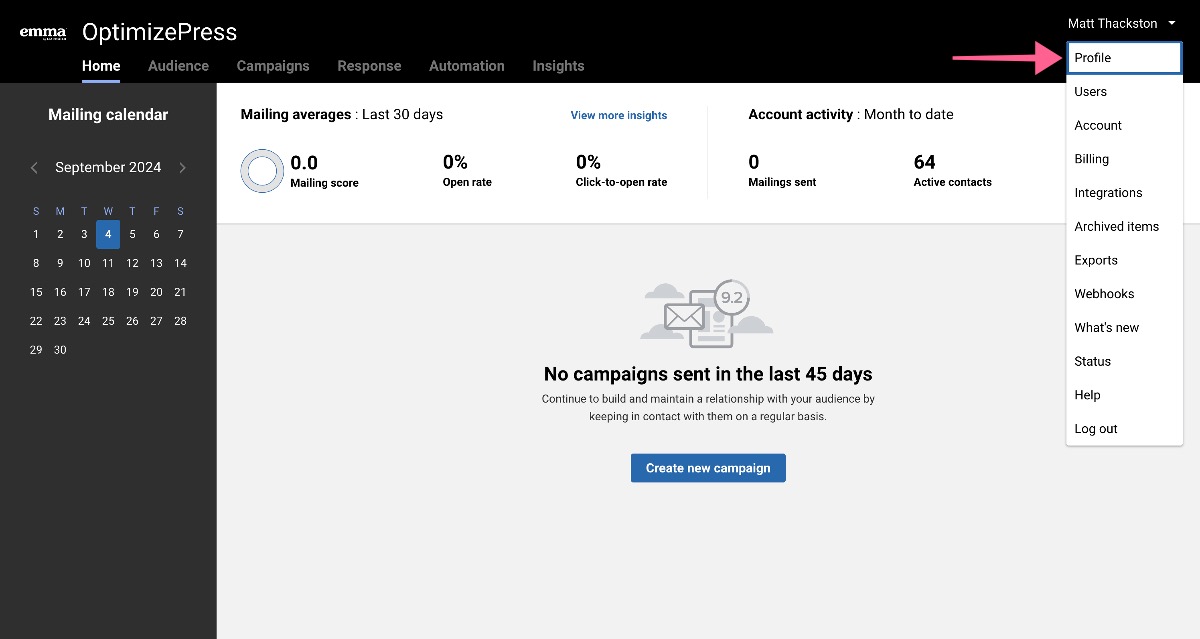
1. Login to your Emma account and click "Profile" from the account dropdown menu:
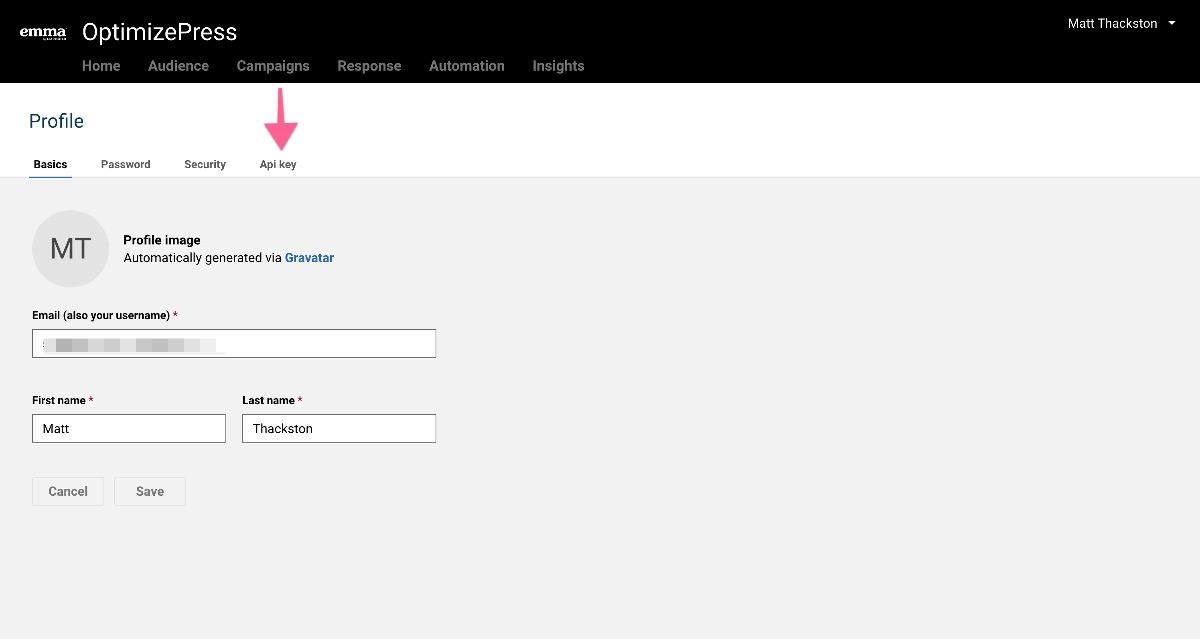
2. On the Profile screen, click the API key tab:
3. On the Api key screen, click "Regenerate api key" to regenerate your API key if you do not know your secret key. Please note this may affect other integrations that are using your previous API key, so you must also update those platforms.
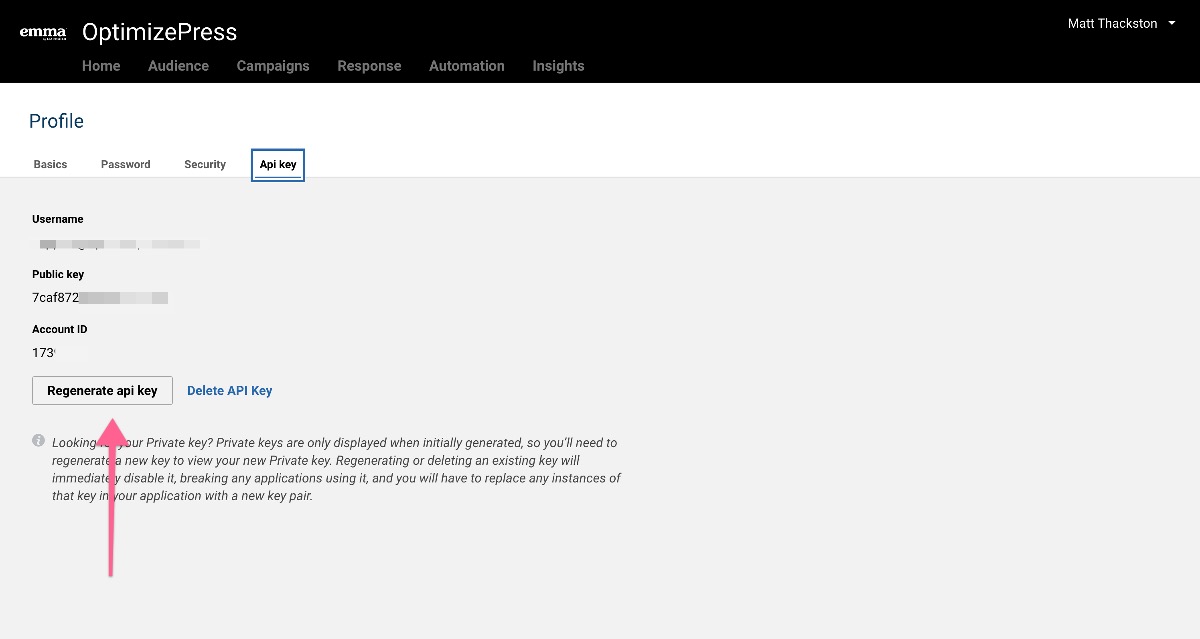
4. Once you regenerate the Api key, grab the details from this screen and input them into the Kourses Emma integration screen within your membership.

Abandoned Cart Leads Integration
If you would like to pass your abandoned checkout / cart leads through to Emma, follow this guide to integrating Emma. We'll show you how to create the custom fields required for this integration to work most effectively.
This allows you to capture leads who abandon checkout and follow up with them automatically.
Let's dive in!
Step 1: Choose the Membership
First, decide which membership you want to capture abandoned cart leads from.
-
Head into Kourses.
-
Select your membership. (In the video example, the membership was "Lead Funnel in a Weekend".)
Step 2: Access the Integrations
Now, let's get to the integration setup:
-
Click on Integrations in your Kourses dashboard.
-
Under the Email Marketing and Others tab, scroll down to Abandoned Cart Leads.
-
Click Add Service.
Step 3: Connect to Emma
Next, set up the connection with your Emma account:
-
From the list, select Emma.
-
You'll be asked to enter your Public Key, Private Key, and Account ID.
-
Not sure where to find these? Check the separate tutorial provided!
-
-
After entering the credentials, click Save and Connect.
At this point, your integration is partially connected.
Step 4: Select Your Emma List and Set Up Fields
To fully complete the setup:
-
Choose the Emma List where you want leads to be added.
-
In the example, a list called "Abandoned Checkout" was used.
-
-
You must also map two custom fields:
-
Membership Name (the name of the membership the user abandoned).
-
Checkout URL (the URL of the checkout page they abandoned).
-
For now, just save this screen — we'll create the custom fields next.
Step 5: Create Custom Fields in Emma
Inside your Emma account:
-
Go to Audience.
-
Click on Contact Fields.
-
Create a new field:
-
Field Name: Membership Name
-
Field Type: Short Answer
-
-
Create another new field:
-
Field Name: Checkout Cart URL
-
Field Type: Short Answer
-
Step 6: Finalize the Field Mapping
Back inside Kourses:
-
Refresh the page if necessary.
-
Scroll down and you should now see the two new fields:
-
Membership Name
-
Checkout Cart URL
-
-
Map the fields accordingly.
-
Click Save.
Step 7: How the Integration Works
Once everything's connected:
-
When a prospect abandons checkout, they'll be added to your Abandoned Checkout list after about 1 hour.
-
The system will automatically capture:
-
The membership name they were interested in.
-
The checkout URL they visited.
-
You can then personalize your follow-up emails using these fields — making it super easy for your prospects to return to their checkout and complete their purchase!