

How to use Memberships
In the Memberships area, you can control the memberships you have created on your Kourses Platform.
To manage a membership you have created, click the '...' link to the right of your membership.
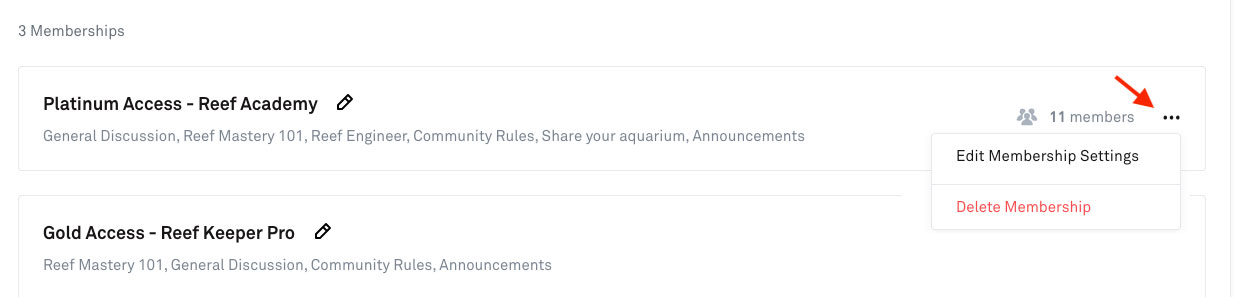
Clicking this will display a popup box allowing you to edit your membership or delete your membership if you decide to delete it.
Adding a New Membership
To add a new membership, click the 'Add Membership' button on the top right of the Memberships page.
This will launch an overlay with options to give your membership a name followed by a short description of your membership.
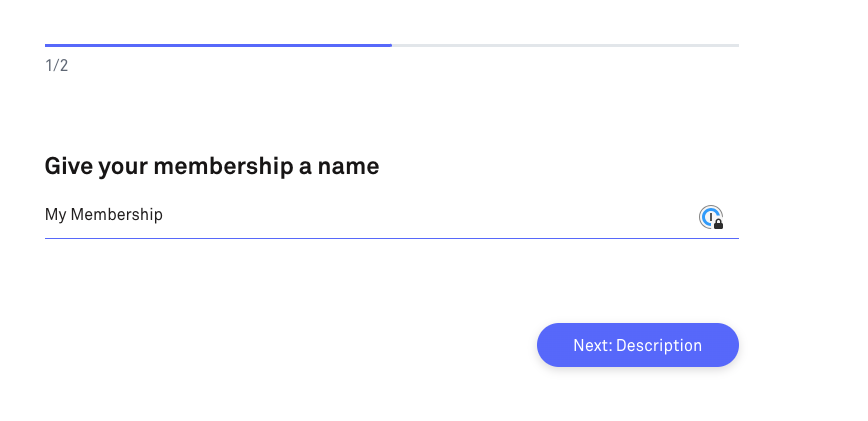
Once you've given your new membership a name and description, clicking on the 'Create Membership' button will confirm and add your new membership to your memberships page.
Membership Settings
Once your membership is created, you will be taken to the membership settings area for your membership.
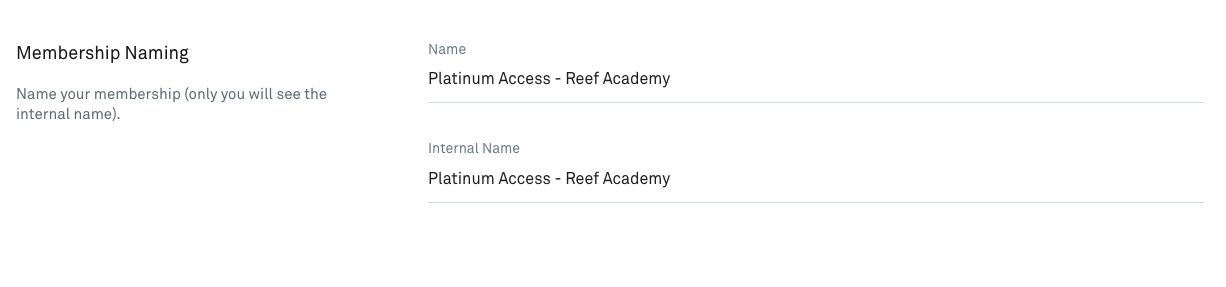
The 'Membership Naming' section will allow you to add or edit the name of your membership as well an area to add a name of your membership for internal use, which is great for organising your membership inside your Kourses dashboard

The 'Edit URL' section will allow you to give your membership a unique and memorable URL so customers can easily access your membership.
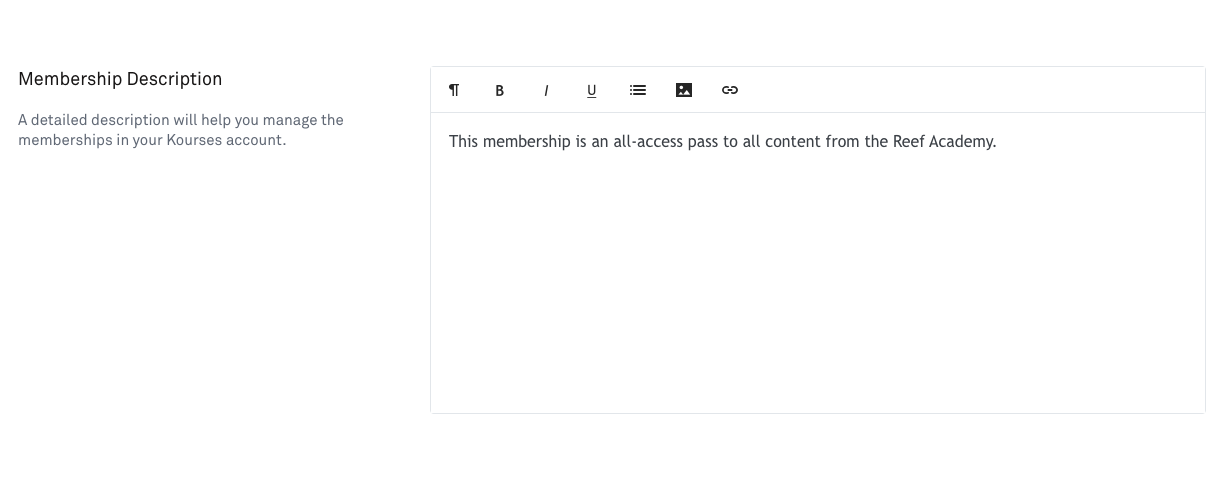
The 'Membership Description' area provides the ability to add and edit the description of your membership so customers are clear on what your membership is about.
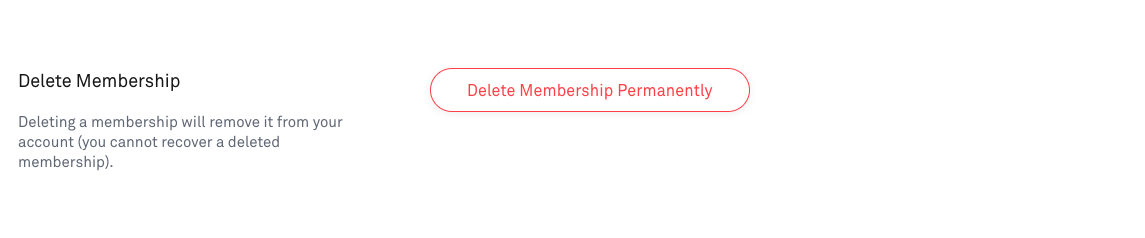
Finally, the 'Delete Membership' area allows you to delete your membership.
Please Note: Please use this option with caution and if you're sure you would like to delete your membership as doing so will not allow you to retrieve it.
Hubs
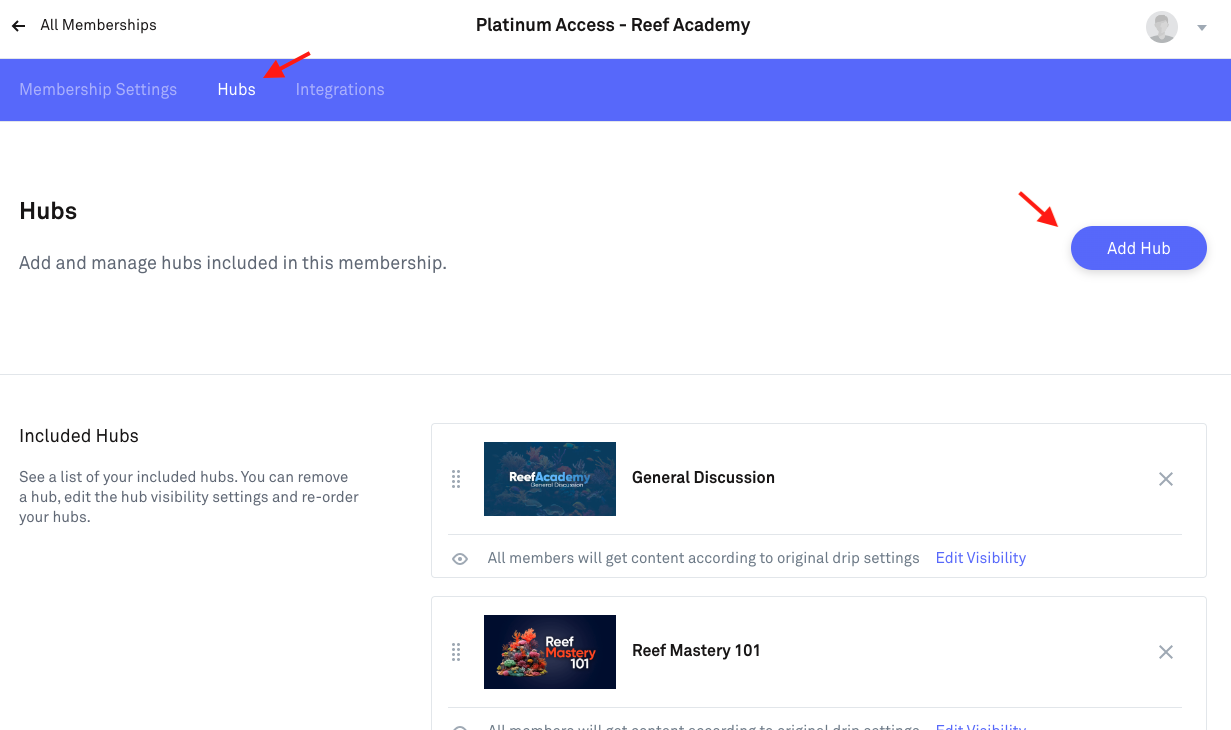
Clicking on 'Hubs' on your Membership settings will allow you to add and assign Hubs to your membership. You can assign as many hubs as you want.
To add a hub to your membership, click the 'Add Hub' button on the top right of your membership.
An overlay will appear allowing you to select from your list of hubs you previously created that you can add to your membership.
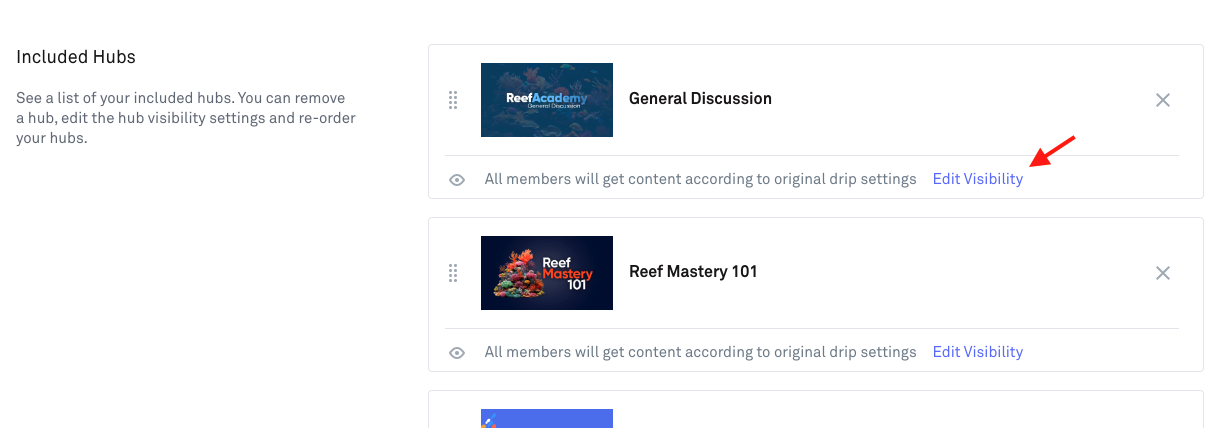
With your hub selected, you will now see it listed on your membership hub listings.
To edit how you would like your hubs to be displayed on your membership, click the 'Edit Visibility' link.
An overlay box will appear with radio boxes to select how you would want your hub to display.
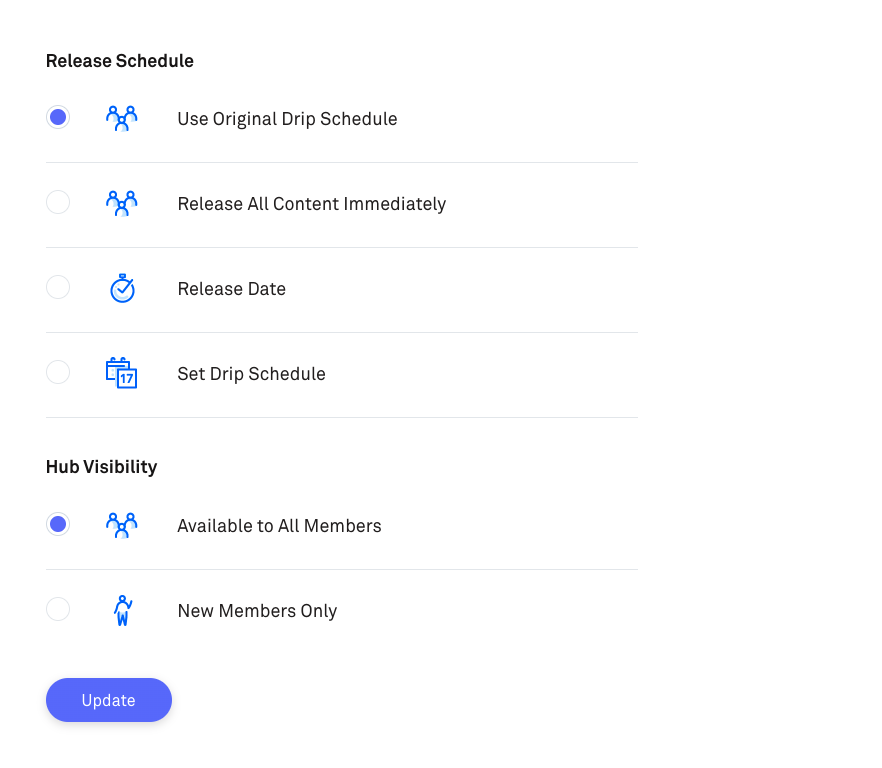
Depending on whether you've set drip scheduling for your membership, you can also select and set a drip schedule for your hub.
Integrations
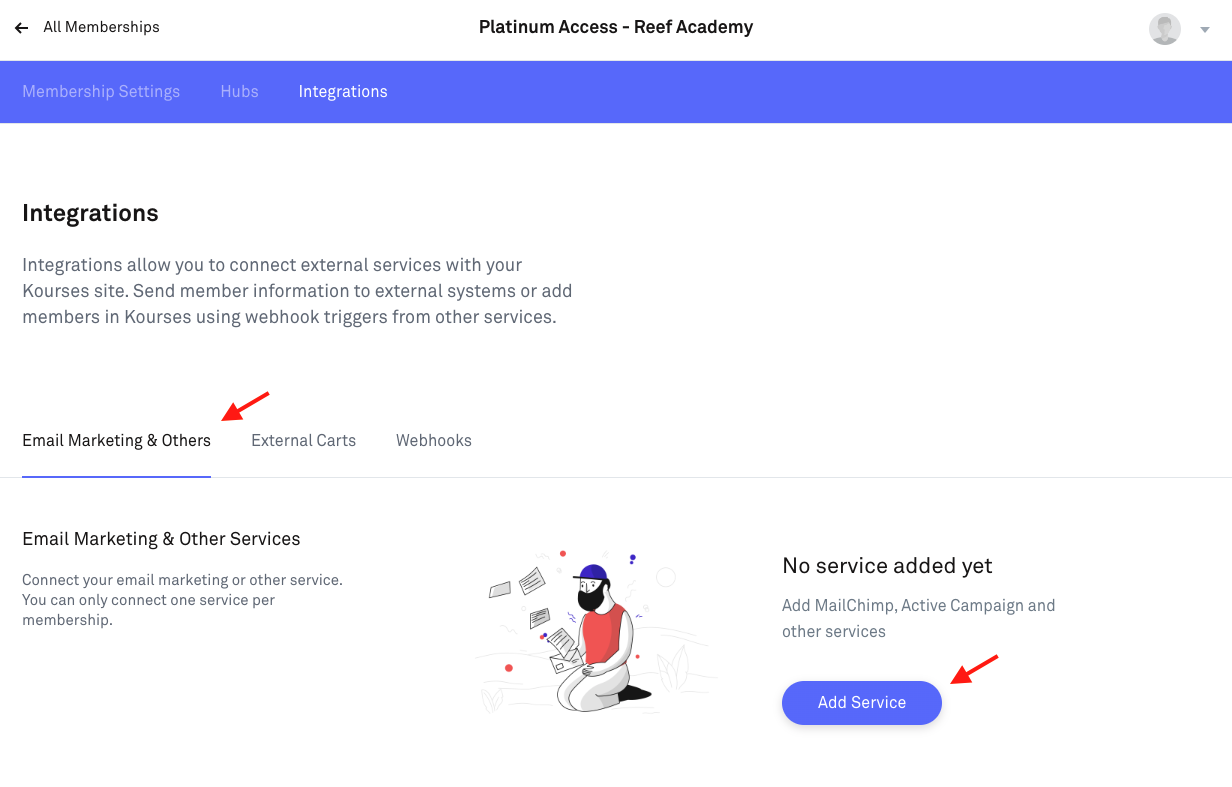
Clicking on the 'Integrations' area on your Membership will allow you to integrate with external email marketing platforms.
To Integrate an Email Marketing service into your account, click the 'Add Service' button. This will launch an overlay showing you a list of all of the email marketing services currently integrated.
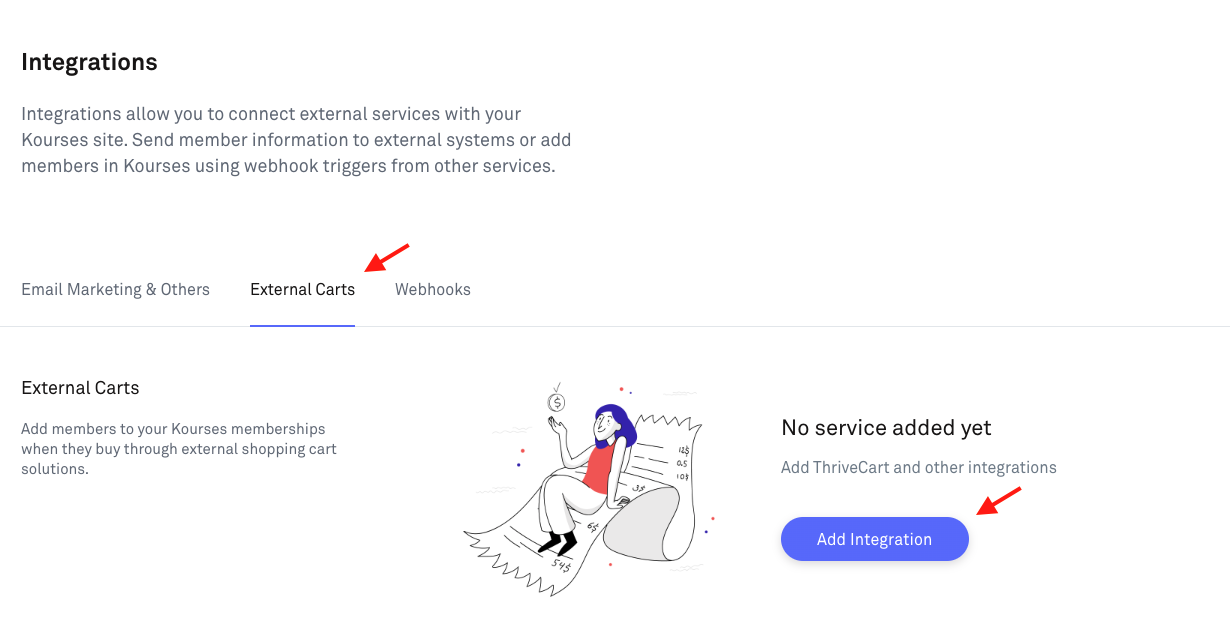
To add an external cart Integration to your account, click the 'External Carts' tab, This will allow you to integrate with the most popular external cart services currently available.
To integrate an external cart to your Kourses membership, click the 'Add Integration' button.
Please Note: We will continue to add more integrations, please send us any requests for integration suggestions.
Webhooks
Finally, clicking on the Webhooks tab will allow you to integrate other services to your Kourses membership that aren't currently integrated natively inside the Kourses platform.
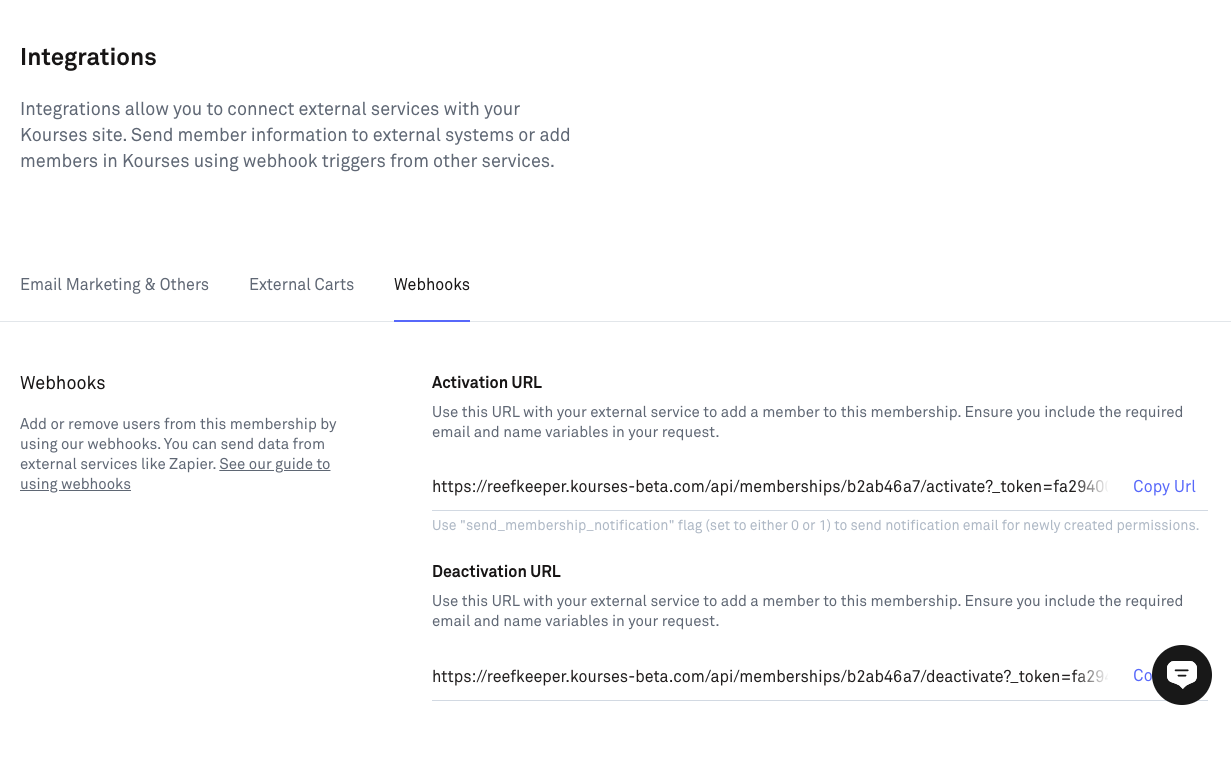
Using the Webhook URLs provided, you will be able to integrate with other external services and send data directly to and from your Kourses account.