

Kourses includes direct integration with Facebook Pixel and the Facebook Conversion API (CAPI) to allow more accurate tracking of events on your checkout flows and purchases back to your Facebook ads manager account.
How to integrate Facebook with your Kourses website
To integrate the Facebook Pixel and CAPI with your Kourses website, follow these steps.
Get your Facebook Pixel
Firstly you will need your Facebook Pixel. To obtain this, you'll need access to the Facebook Business manager and Ads manager. You can go here to access that: https://adsmanager.facebook.com/adsmanager/manage/accounts
If you do not see the ads manager screen you may need to create your business manager and Facebook ads manager account first.
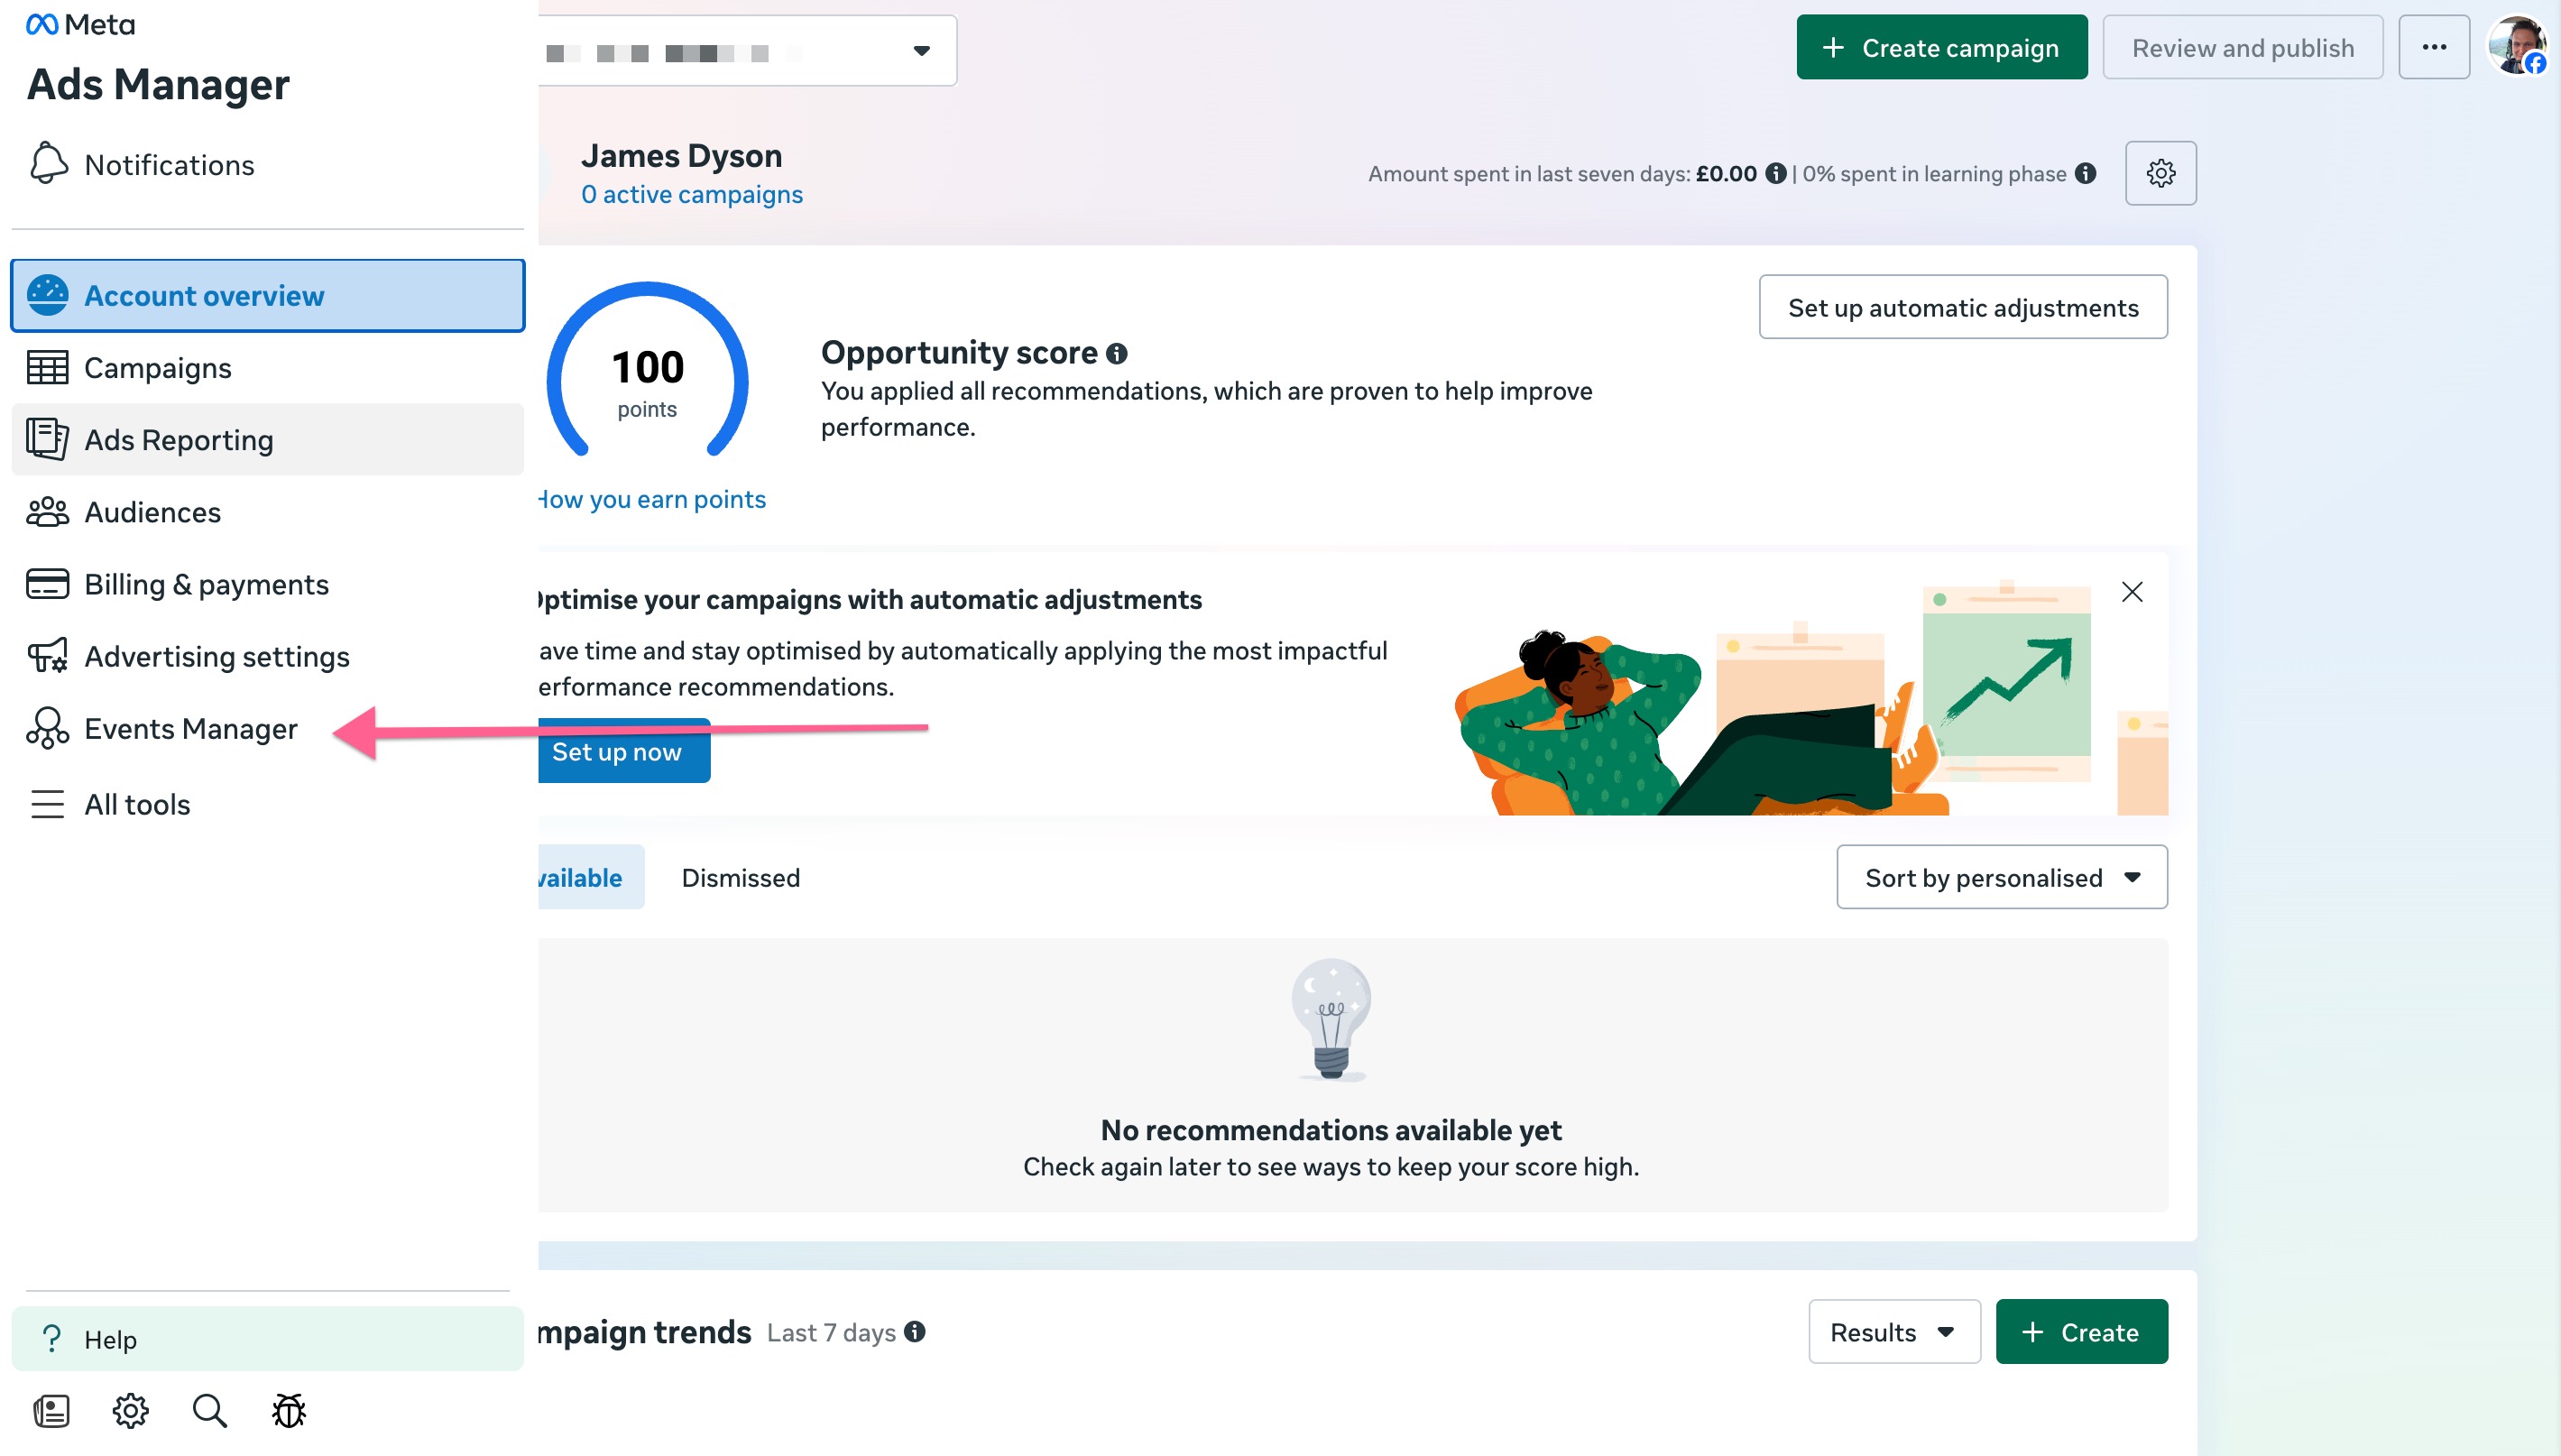
Once on the ads manager screen, go to the right sidebar and click Events Manager
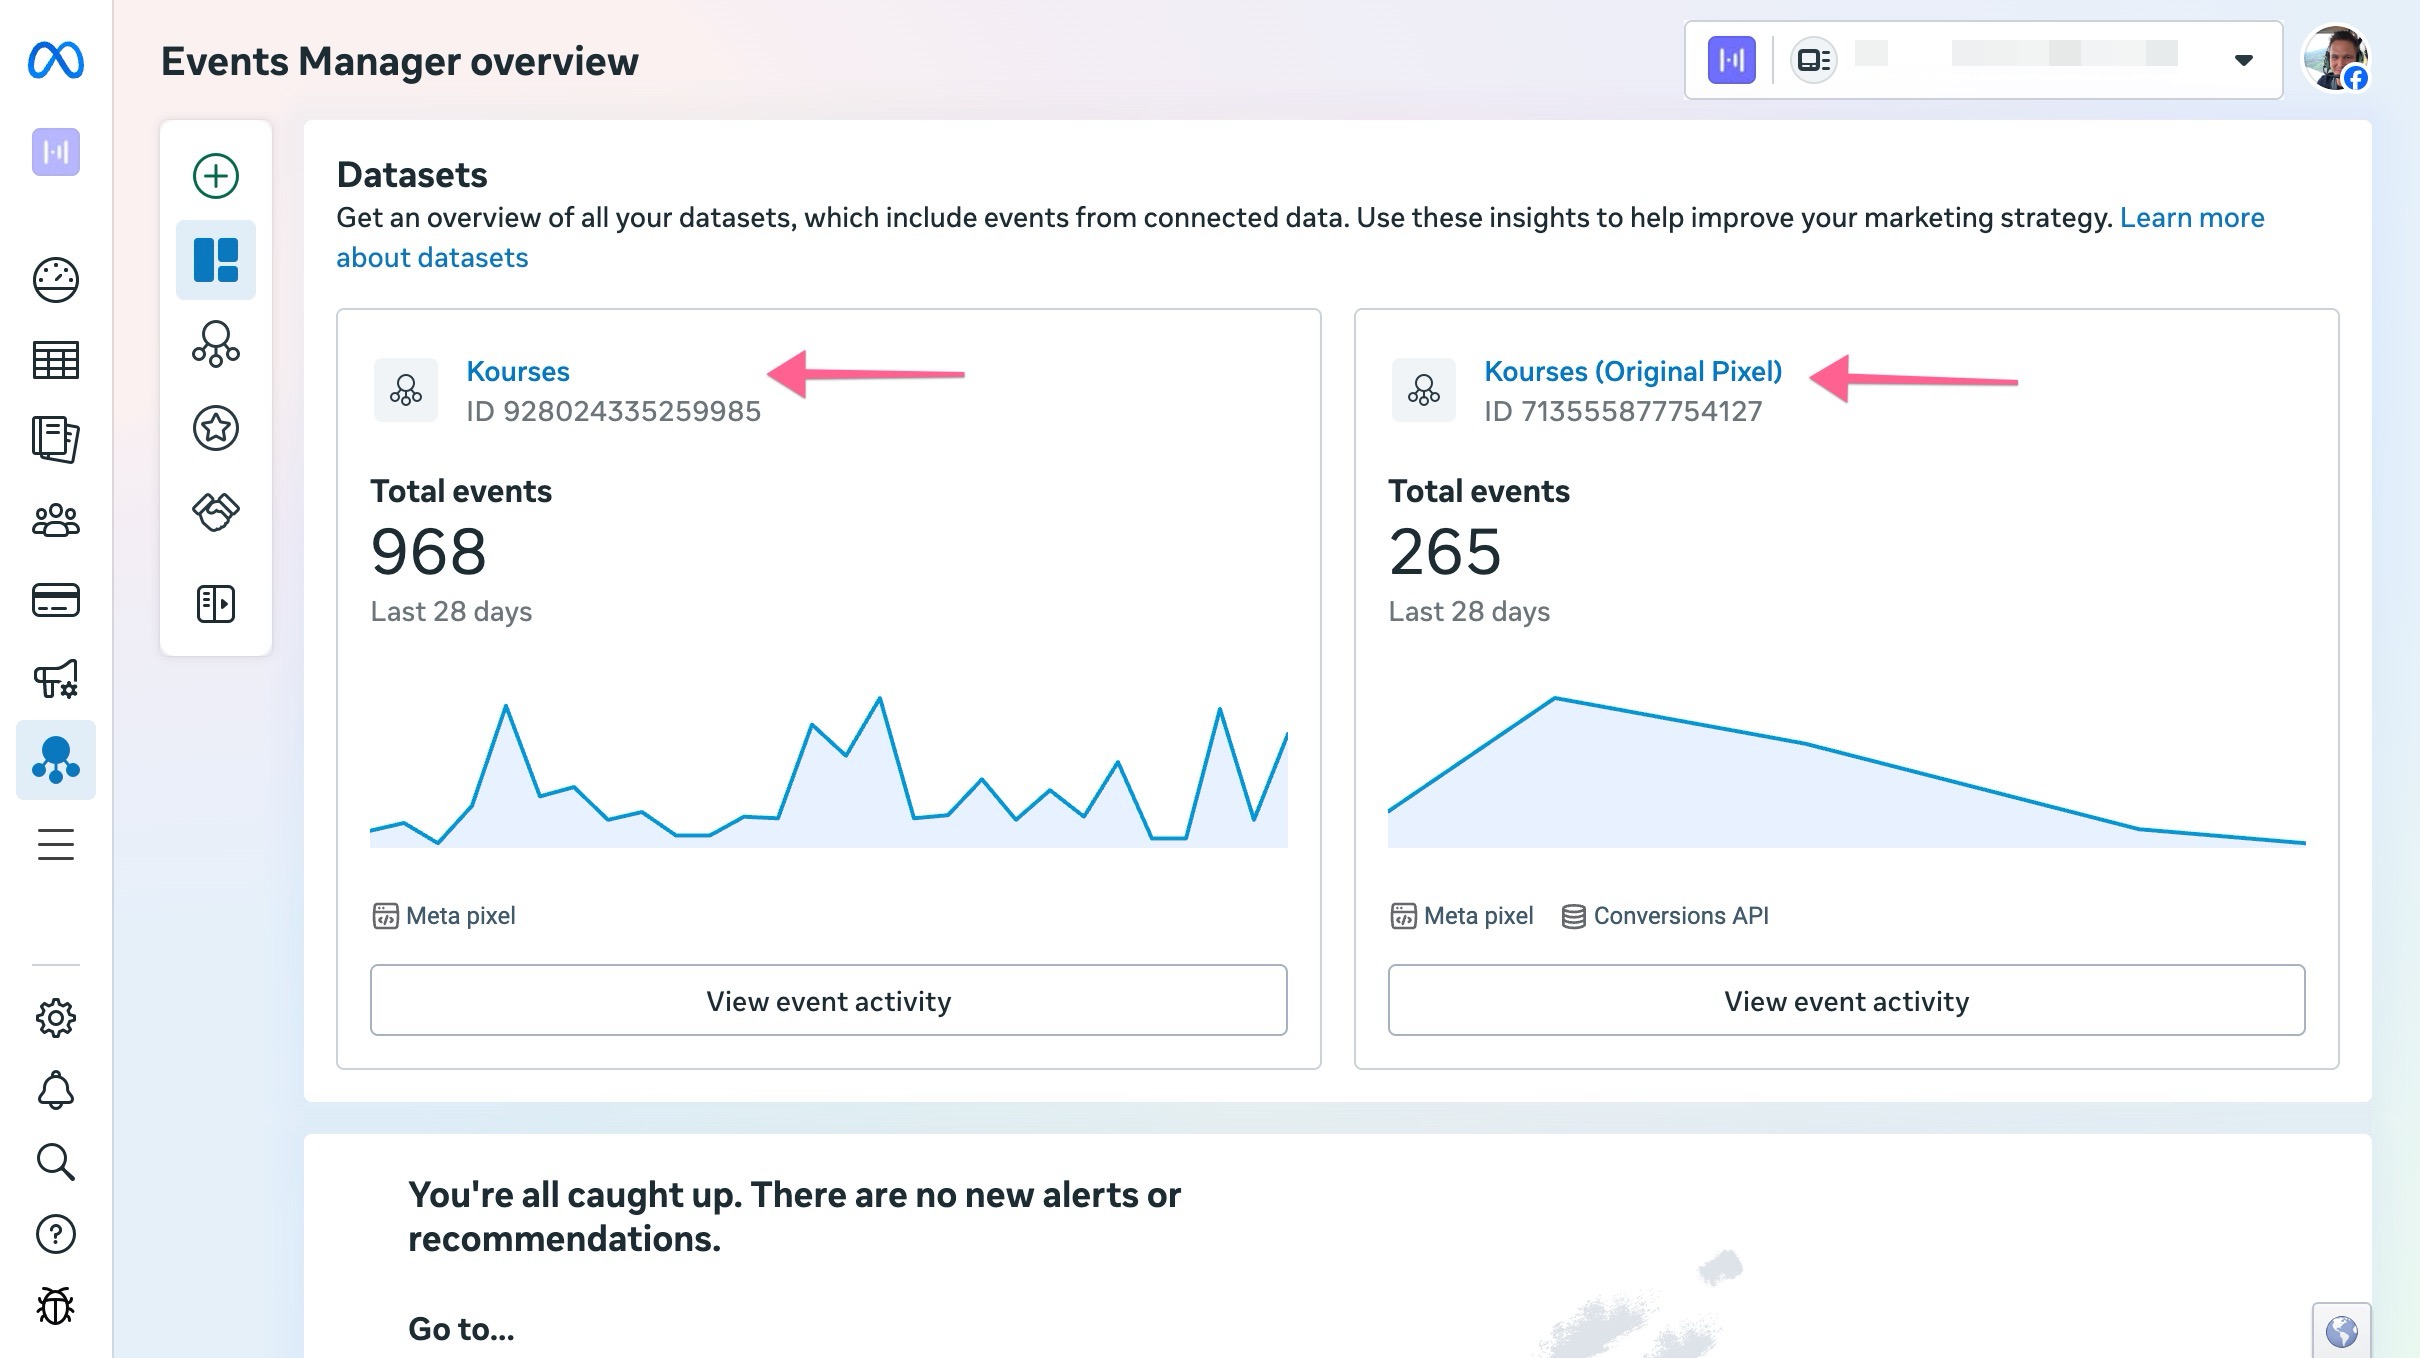
On the events manager screen, you'll need to find the "Dataset" you wish to associate or use on this site. The dataset defines the Pixel and CAPI and will ensure that data from Kourses is sent back through to that dataset.
If you don't see a Dataset available you'll need to create one. You will need to click through one of your datasets to continue:
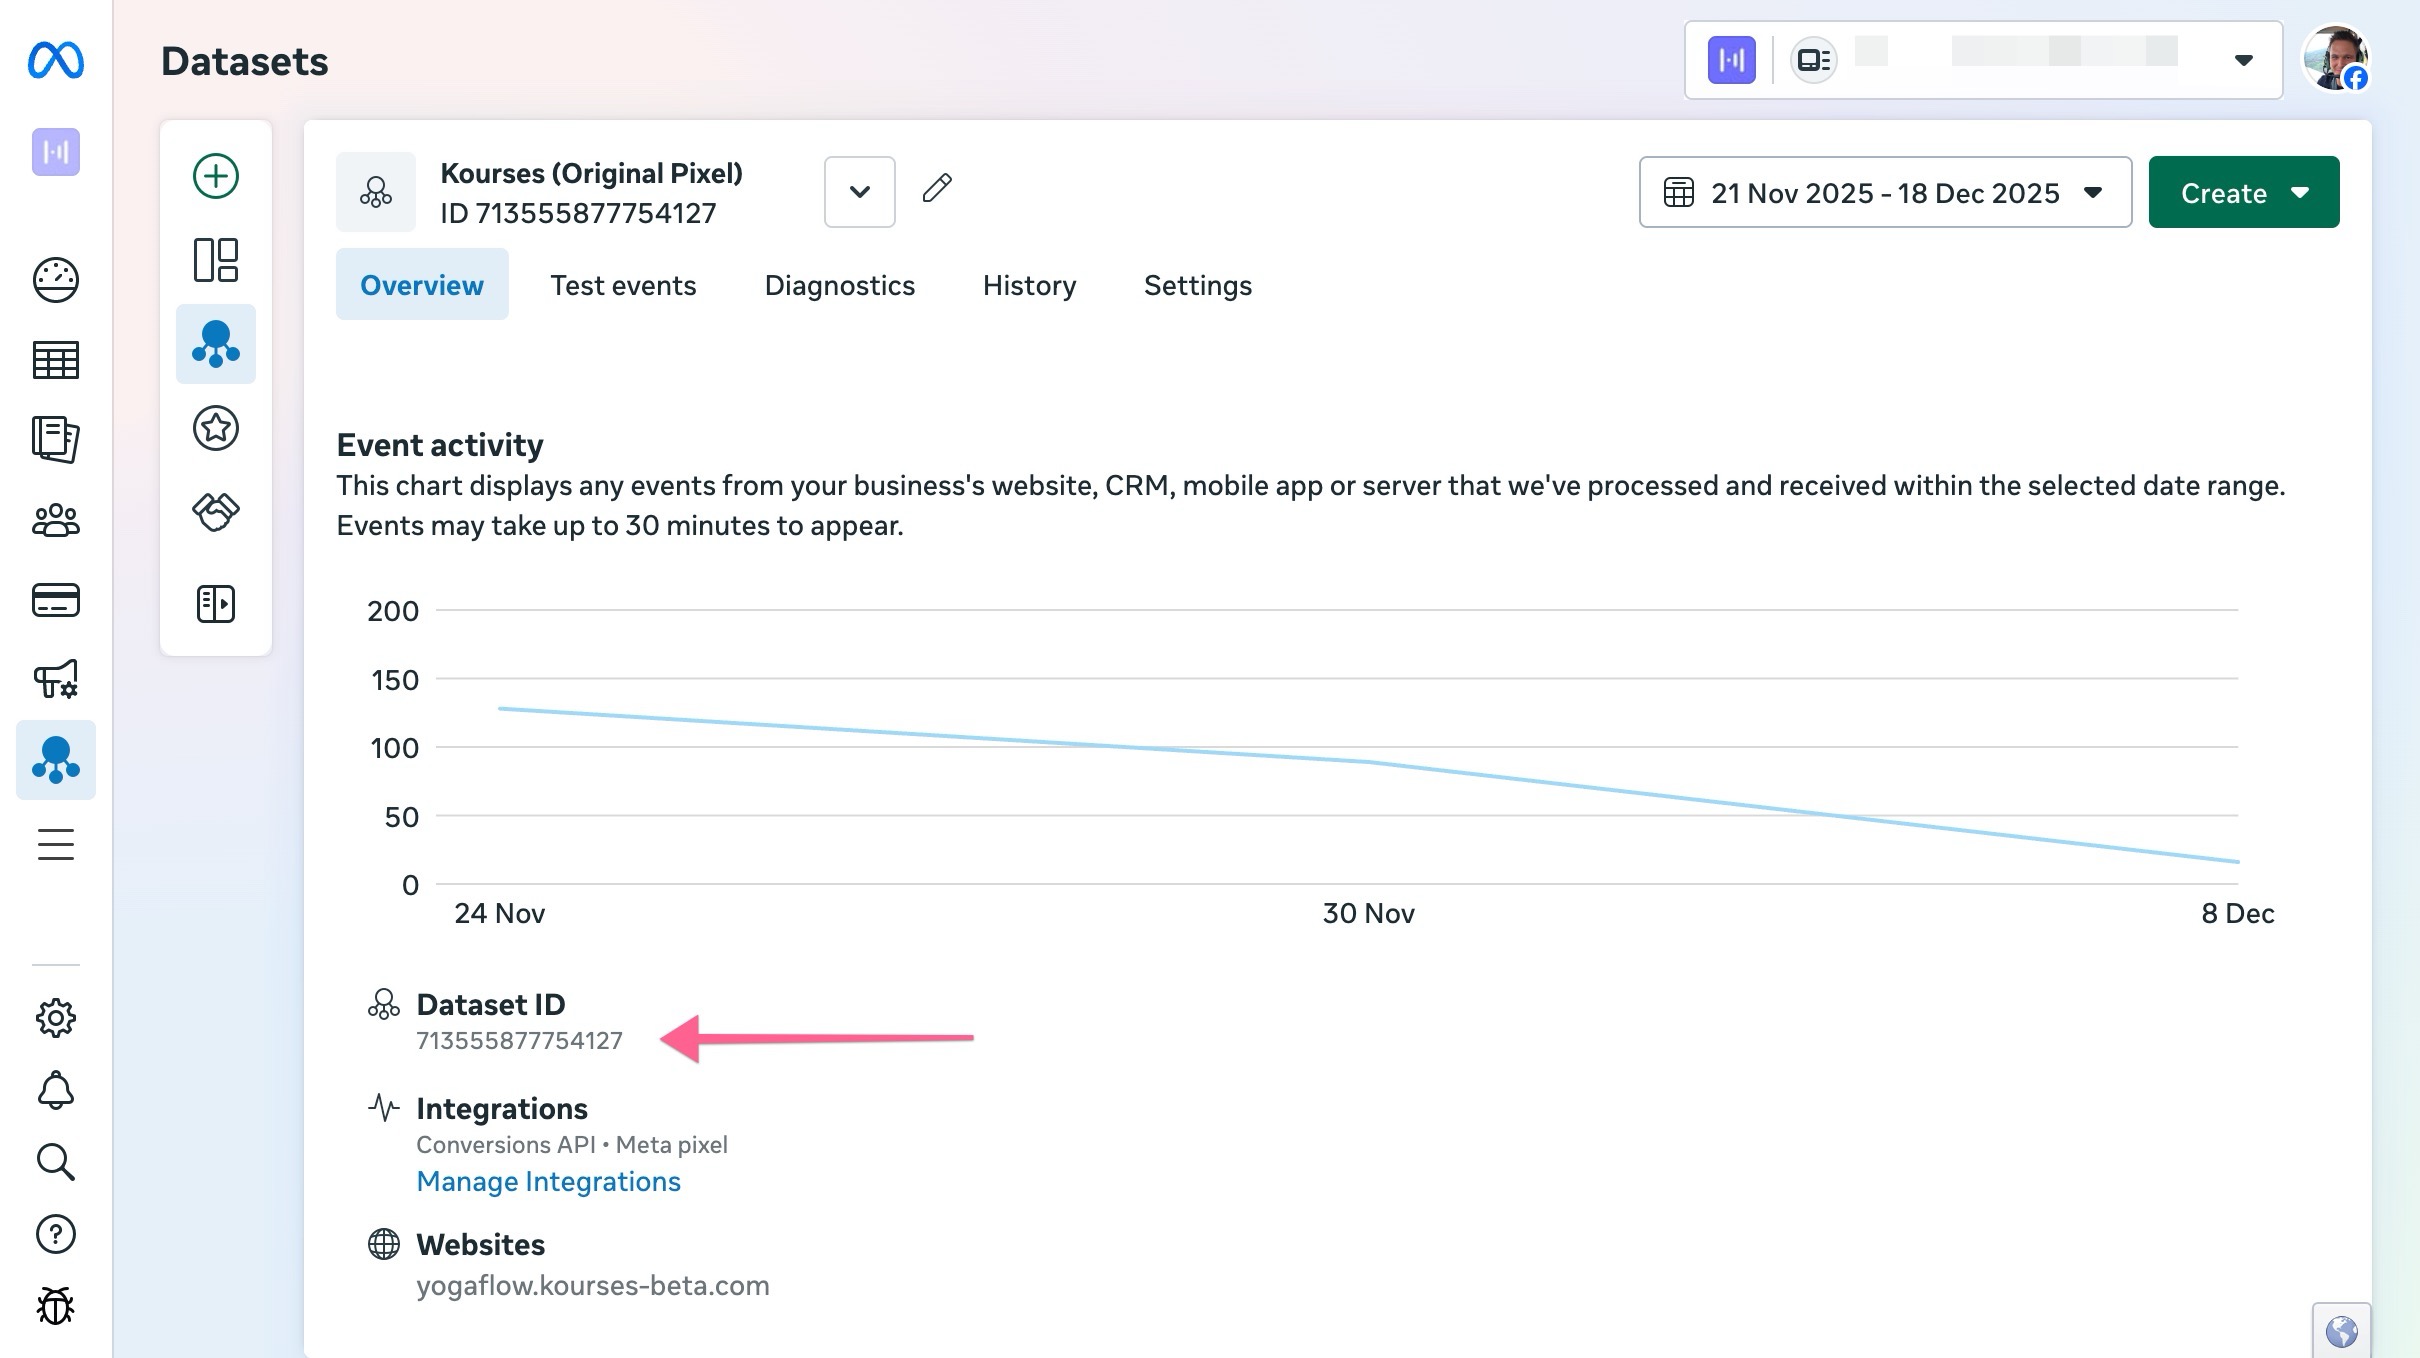
Once you are on the datasets screen you can now get your Pixel ID and CAPI Access Token.
On the dataset overview screen, you'll see you Pixel ID (also called Dataset ID) available to click and copy to your clipboard (just hover over the ID and you'll see a message to click to copy):
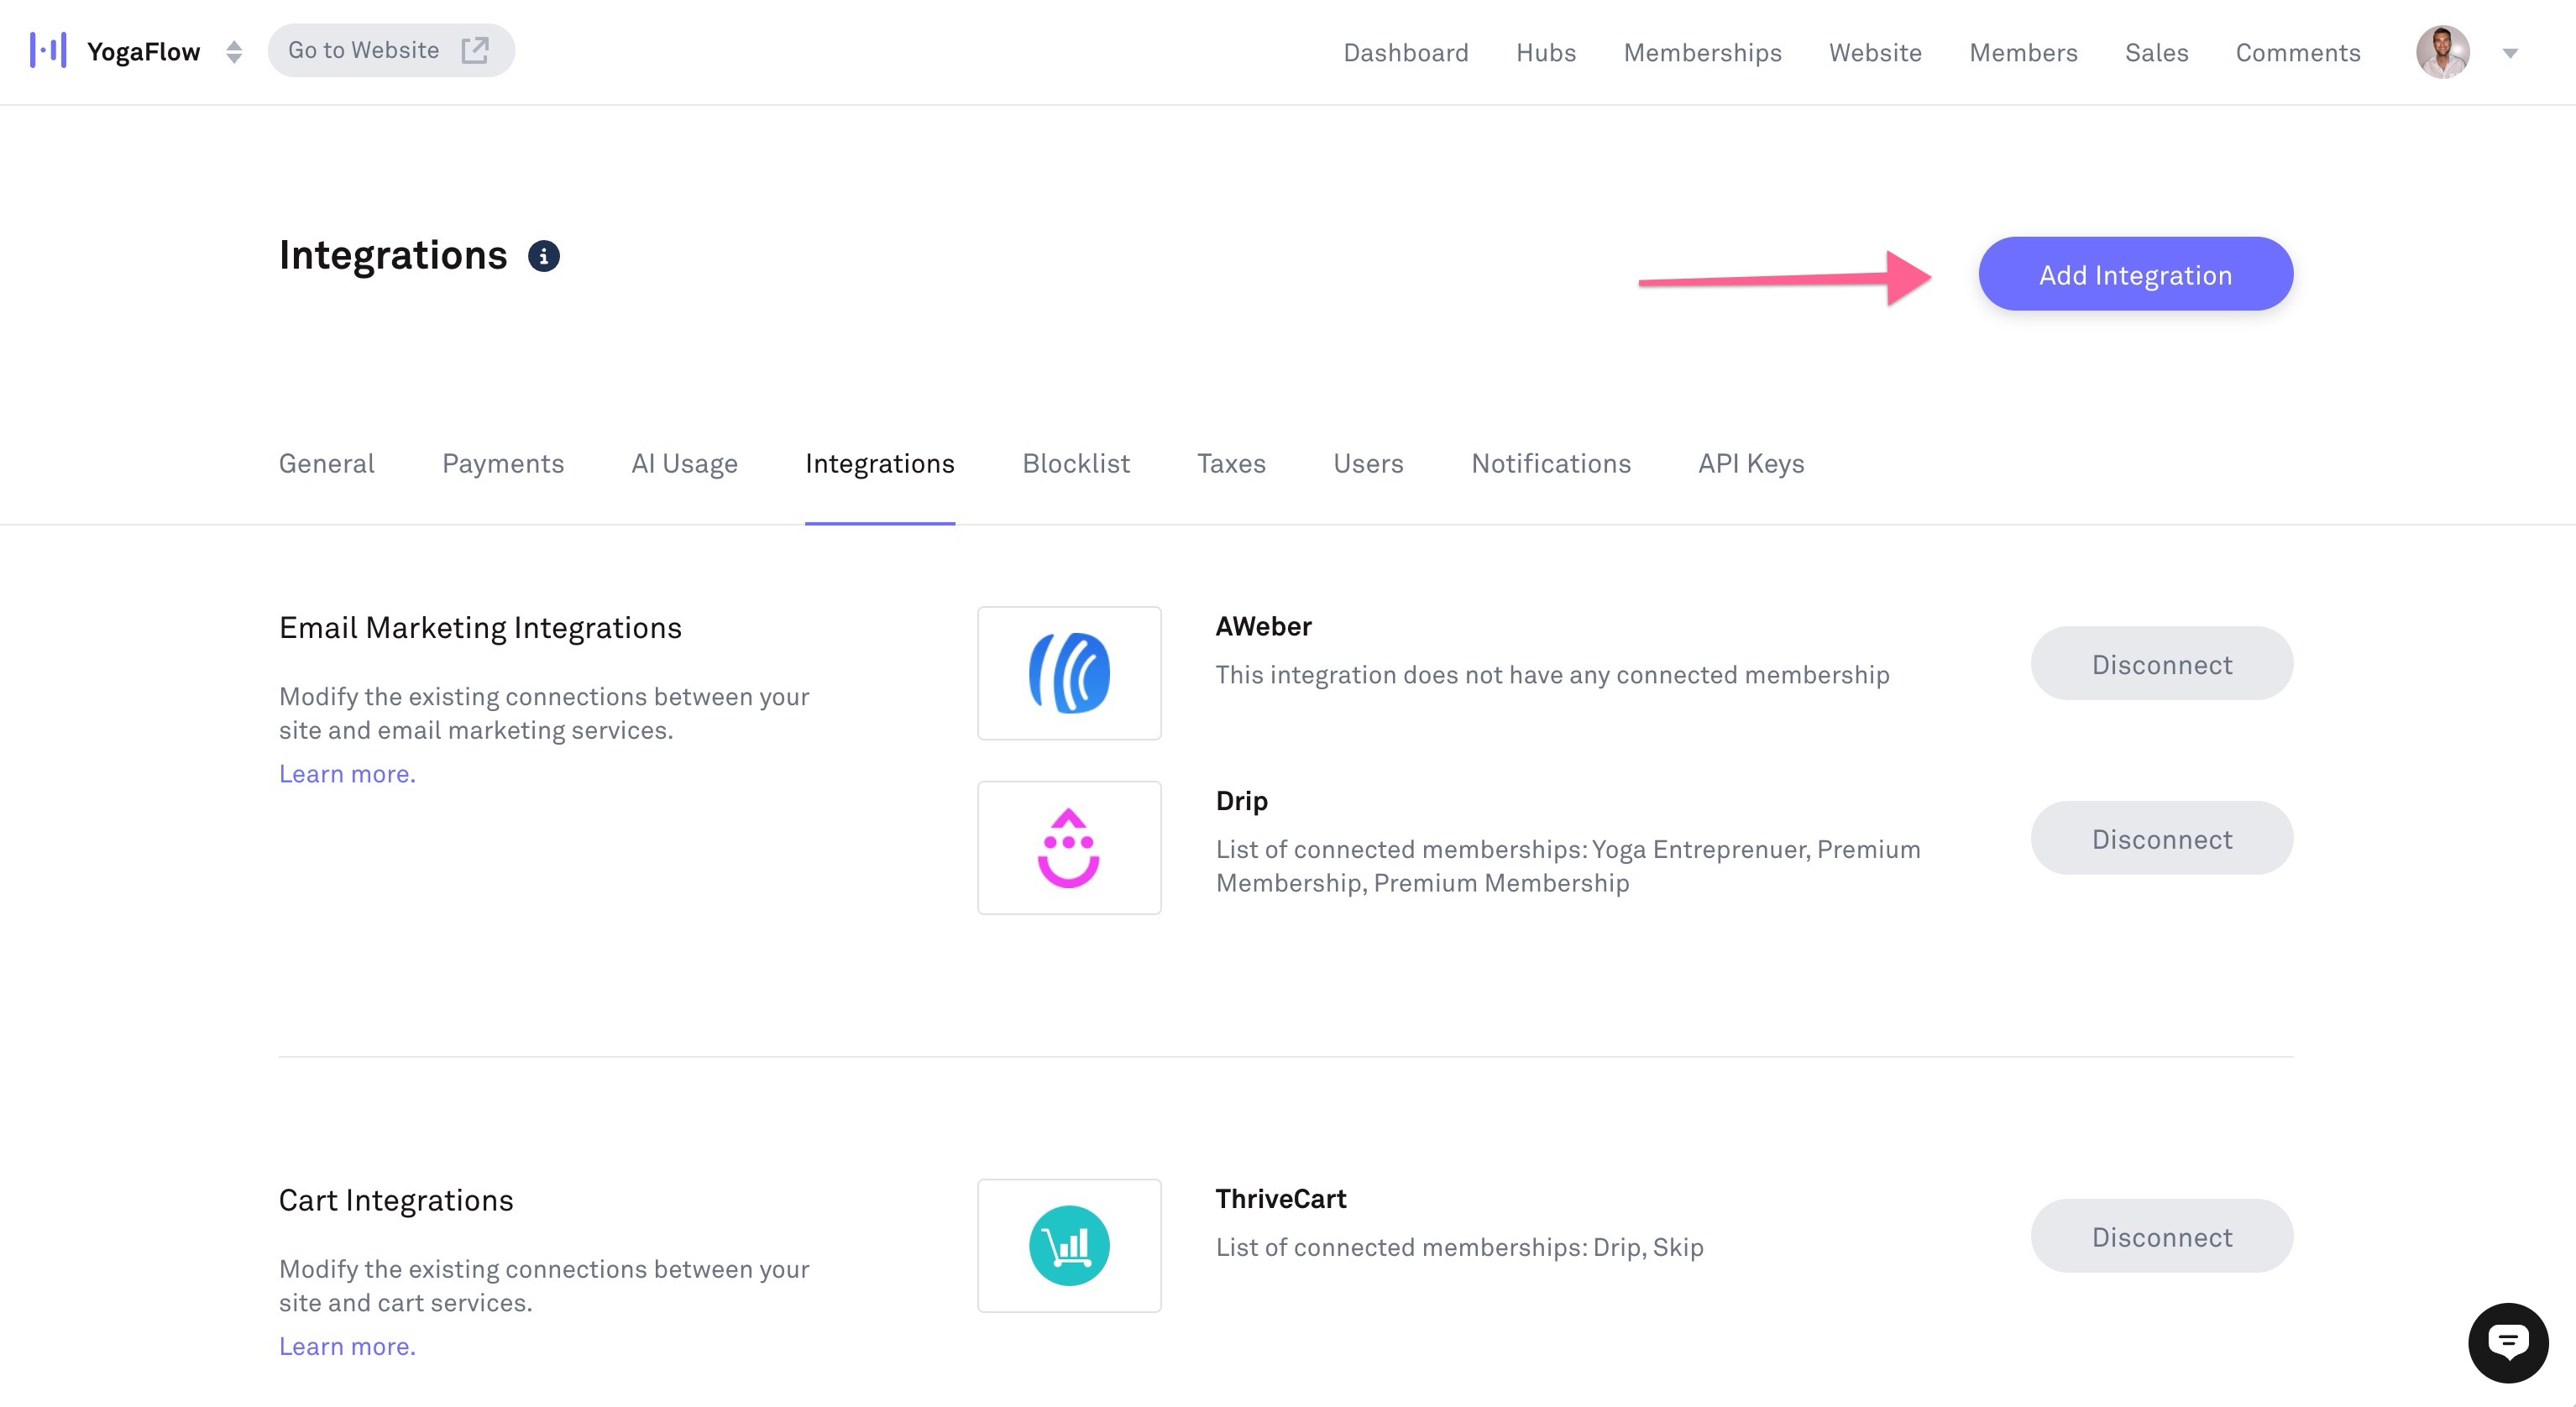
Once you have your Dataset ID/Pixel ID copied to your clipboard, head over to your Kourses website, and go to the Settings screen (click your avatar in the top right and go to Settings). Next go to the Integrations tab:
Click Add an Integration on the Integrations screen:
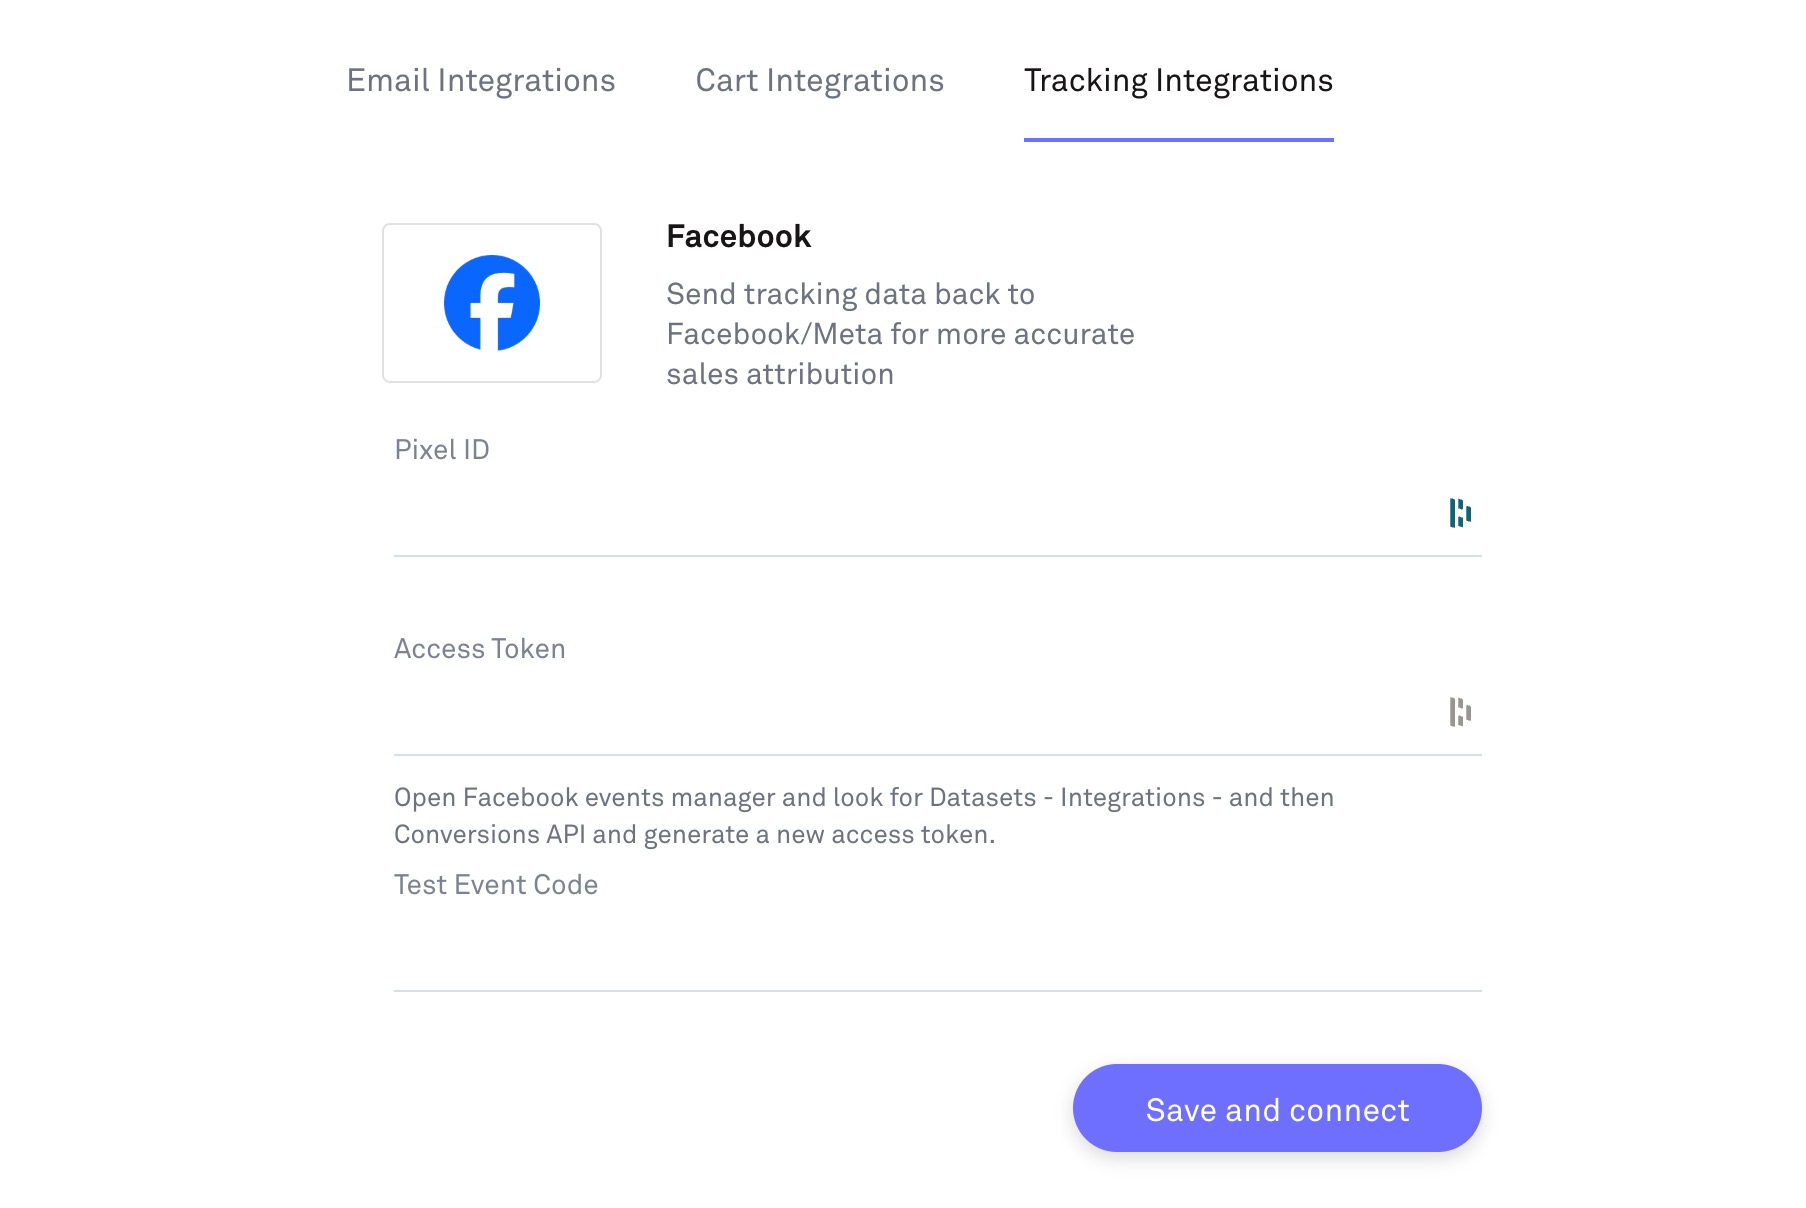
In the Integrations popup, select Tracking Integrations from the top tabs, and then select Facebook. You can now add your PIxel ID to the relevant field here.
Get your Access Token (CAPI)
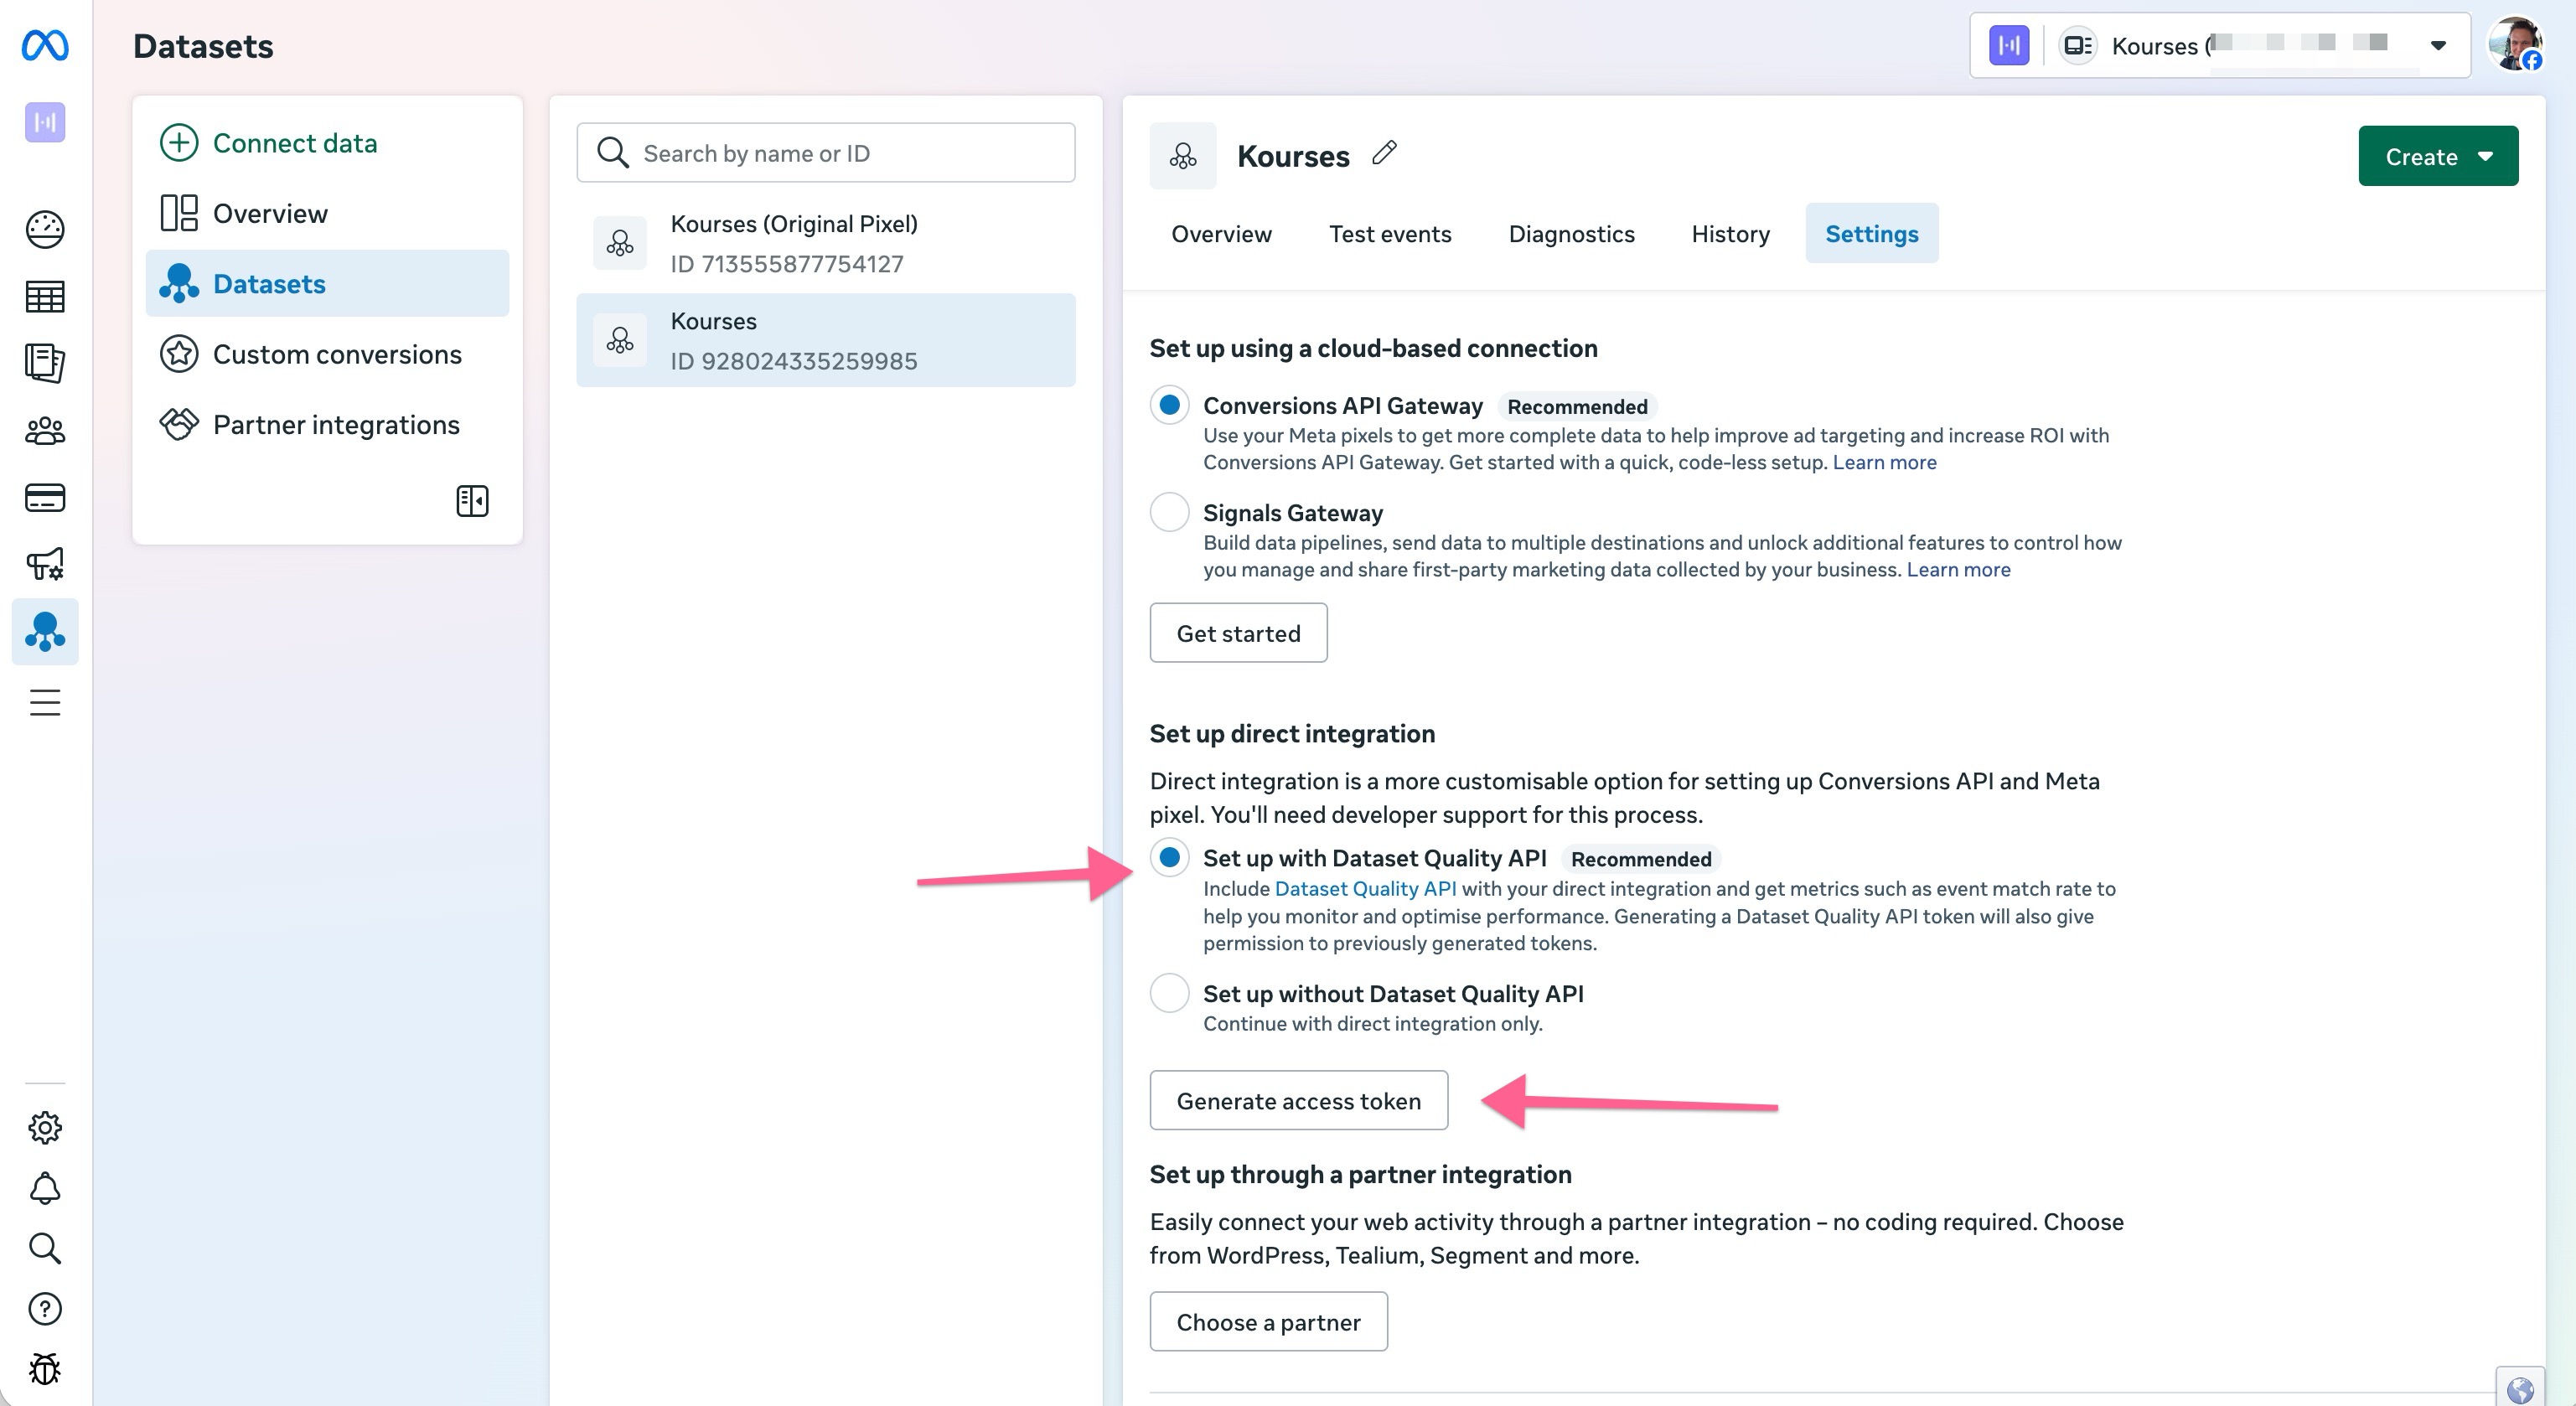
To get your CAPI access token, head back to Facebook and find the Settings tab inside your Dataset screen. Scroll down on this screen and find the button to Generate access token. Click this button to see your Access token and copy it.
Now head back to the Kourses tracking integration screen and add the Access token to the relevant field.
Generate a Test event code
To properly test your integration before running live traffic, you need to use a test event code from Facebook. Inside your dataset admin screen, click the Test events tab and then scroll down and open the toggle here to see your test eevent code.
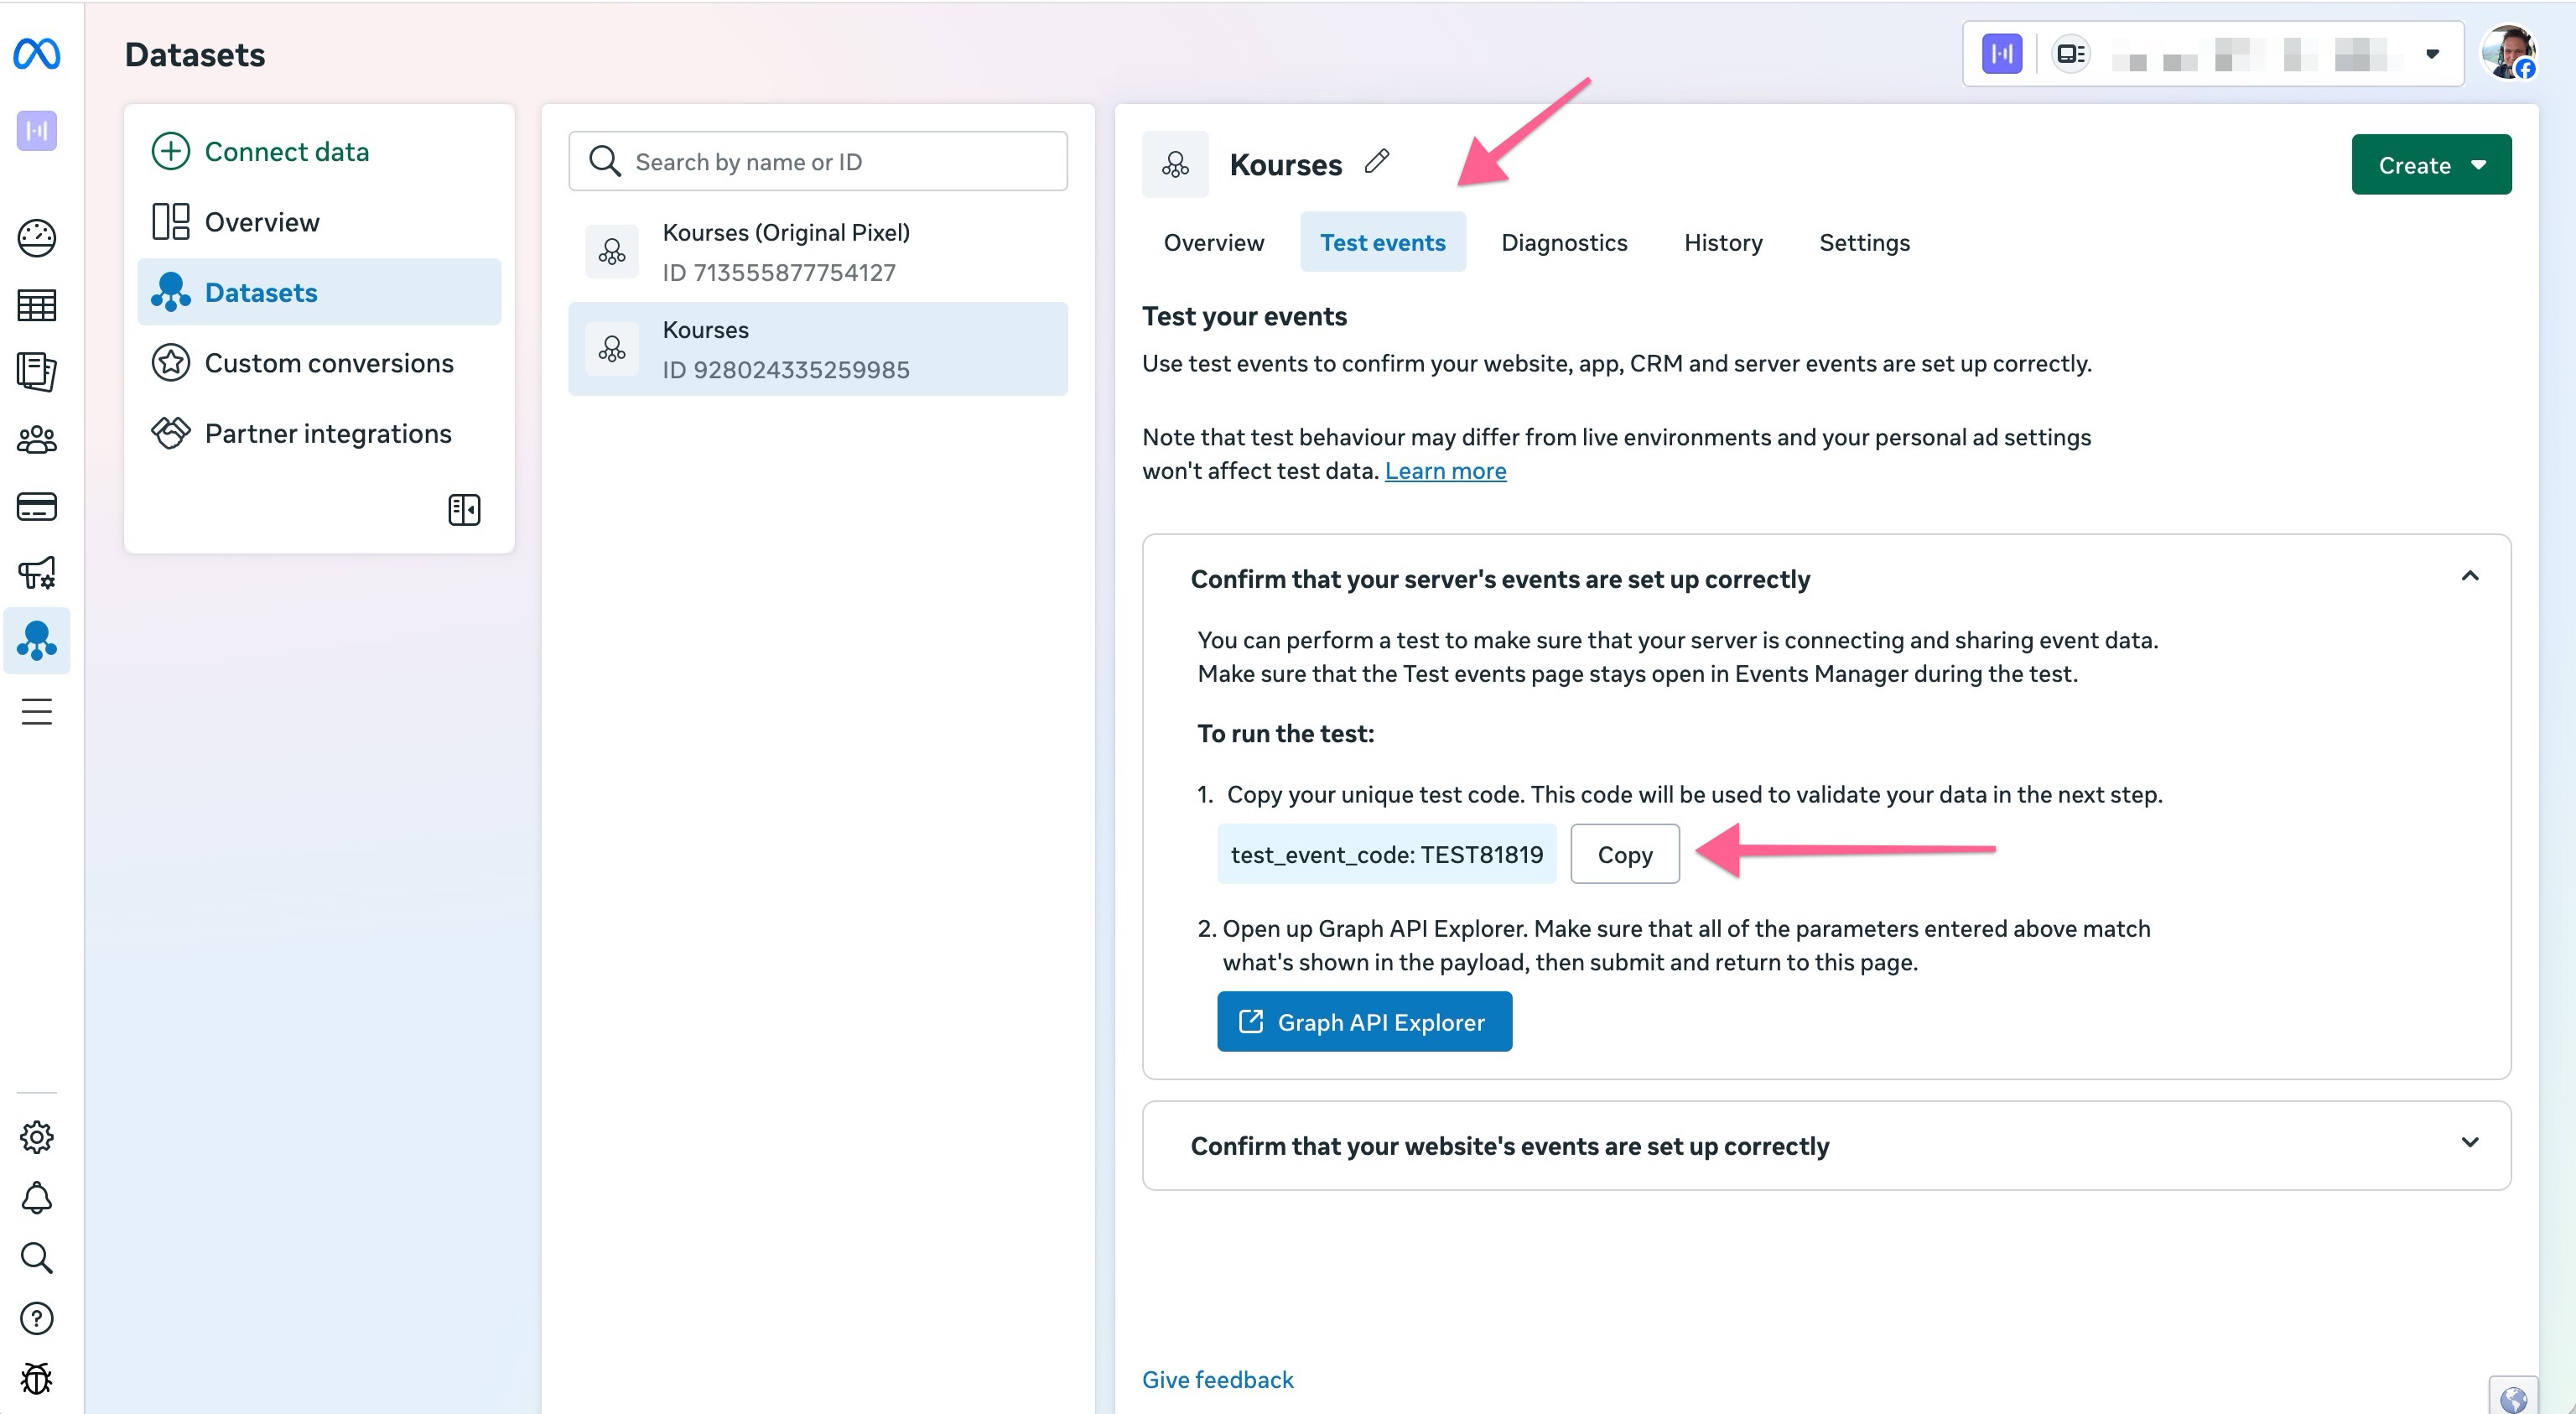
Copy this code and add it to the test event code field inside Kourses. Please note this will only be used for test transactions, but we do recommend clearing this field in your integrations screen before running live traffic to your pages.
Facebook pixel and CAPI integration is now complete.
Events we track and when
It's important for you to understand which data we send to Facebook, and when we send this, so you can make better decisions based on this information. We'll identify which data is sent and when below. We'll also advise whether we are using the Pixel, CAPI or both, as some events are only sent via one method.
PageView
- Sent via: Pixel only
- When:
- This is rendered when a visit to a specific page is made.
- PageView is only sent via Pixel and not via CAPI as per Facebook's own advice.
- We track the following screens for pageviews: Checkout, Successful purchase return screen, upsell , thank you page
Lead
- Sent via: CAPI only (asynchronously)
- When: We capture data from checkout form when users leave or close the page. But we wait for an hour before we declare this “user” as a lead in order to avoid them coming back and finishing up the checkout. So the “Lead” event will be sent an hour after user visits the page and if they have not converted to a member.
InitiateCheckout
- Sent via: Pixel & CAPI
Non-logged in
- Sent via: Pixel & CAPI
- When:When user enters their email address (and validation passes) we trigger this event using Pixel. We validate email using our server as we are checking if this email already exists and during this API call we trigger CAPI event as well. In most cases we send email and country as Stripe’s address field has detected it for us.
- If user data is provided through query string (email, names and country) we use that here as well.
Logged in
- Sent via: Pixel & CAPI
- When: We trigger this event via Pixel when checkout form renders.
Upsell
- Sent via: Pixel & CAPI
- When: We trigger this event when the upsell page/form is rendered
AddPaymentInfo
- Sent via: Pixel & CAPI
- When: In this event we send out bumps data as well if one is added. With Pixel, we trigger this event when user clicks on “Purchase” button but before the payment is processed. With CAPI, when user clicks the “Purchase” button we create a pending order via API request and at this time we trigger this event.
Purchase
- Sent via: Triggered when payment is confirmed (if 3d secure enabled). Triggered via Pixel initially then via CAPI
- When: Triggered after triggering the Purchase event but only if conditions apply - either main or upsell needs to be of a recurring type and it needs to have a trial period set.
StartTrial
- Sent via: CAPI only
- When: Triggered after triggering the Purchase event but only if conditions apply - either main or upsell needs to be of a recurring type and it needs to have a trial period set.
CompleteRegistration
- Sent via: CAPI only
- When: Triggered when a free purchase is made before user is redirected to thank you page or external URL set