

You can now connect your Kourses memberships to your Kit (formerly ConvertKit) account, allowing you to send customer information to your Kit lists for future followup.
In this guide, we'll show you how to connect your Kourses site to your Kit account.
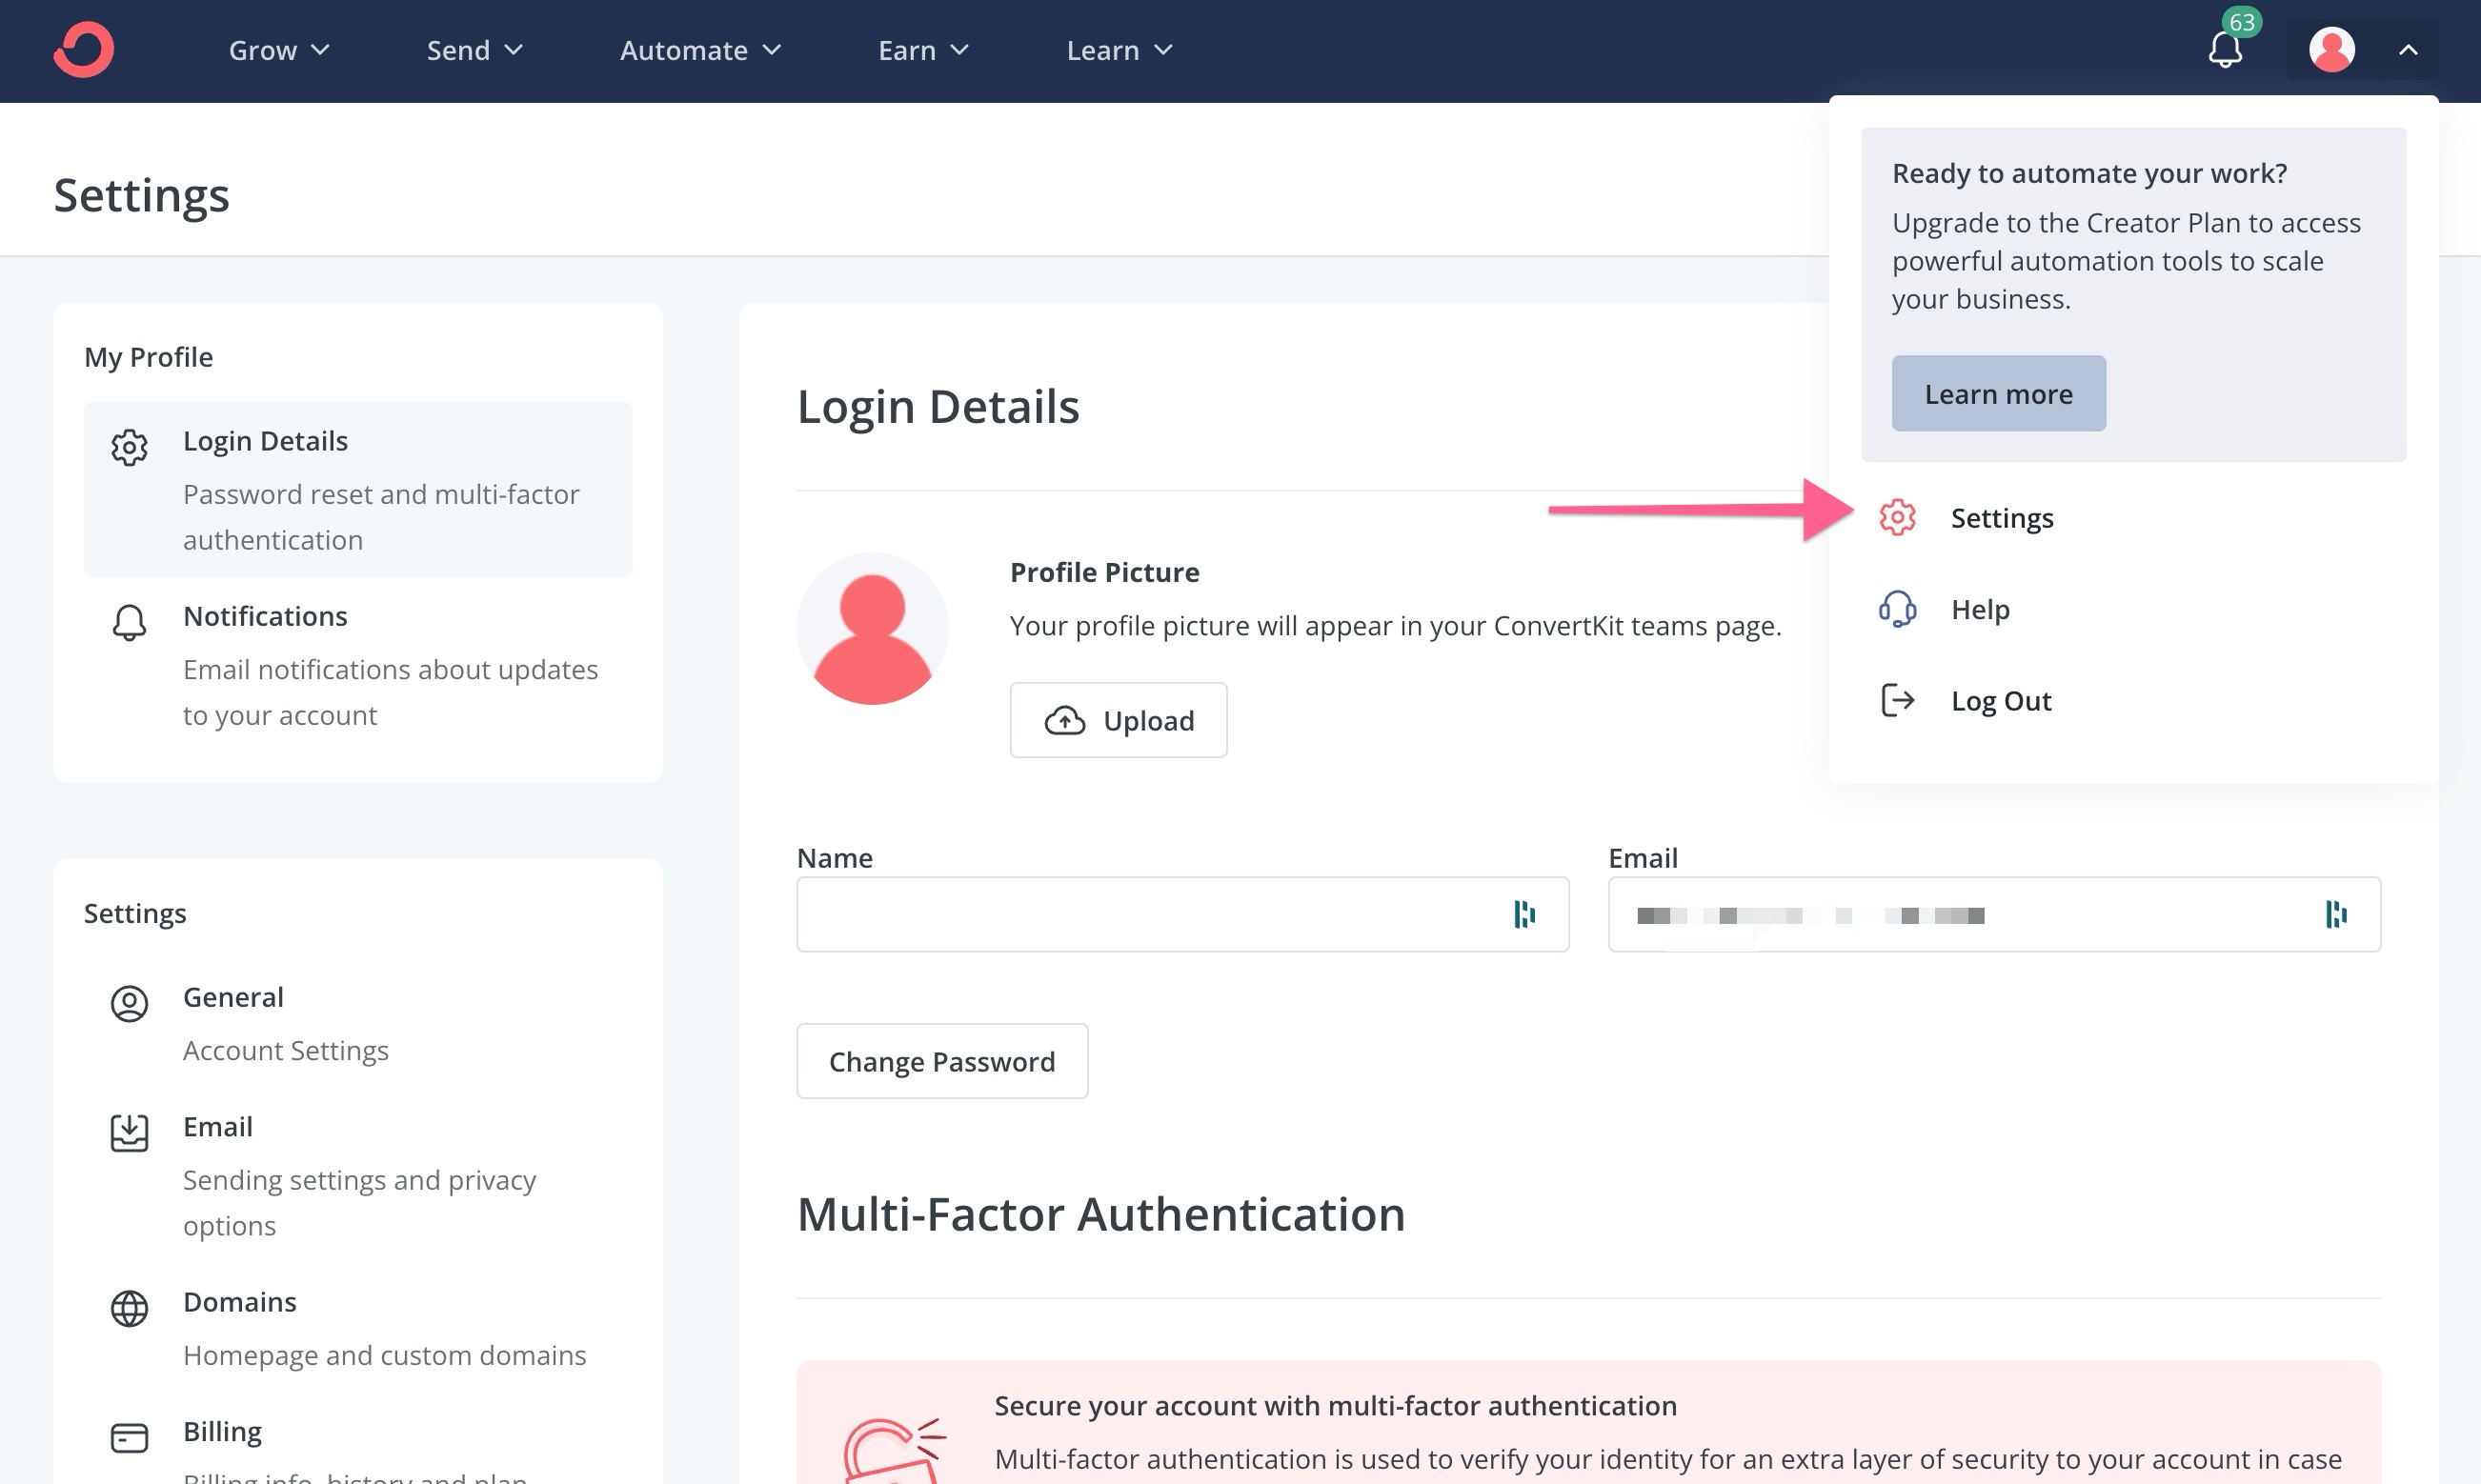
1. First login to your Kit account and click the dropdown in the top right, and select "Settings" on the dropdown:
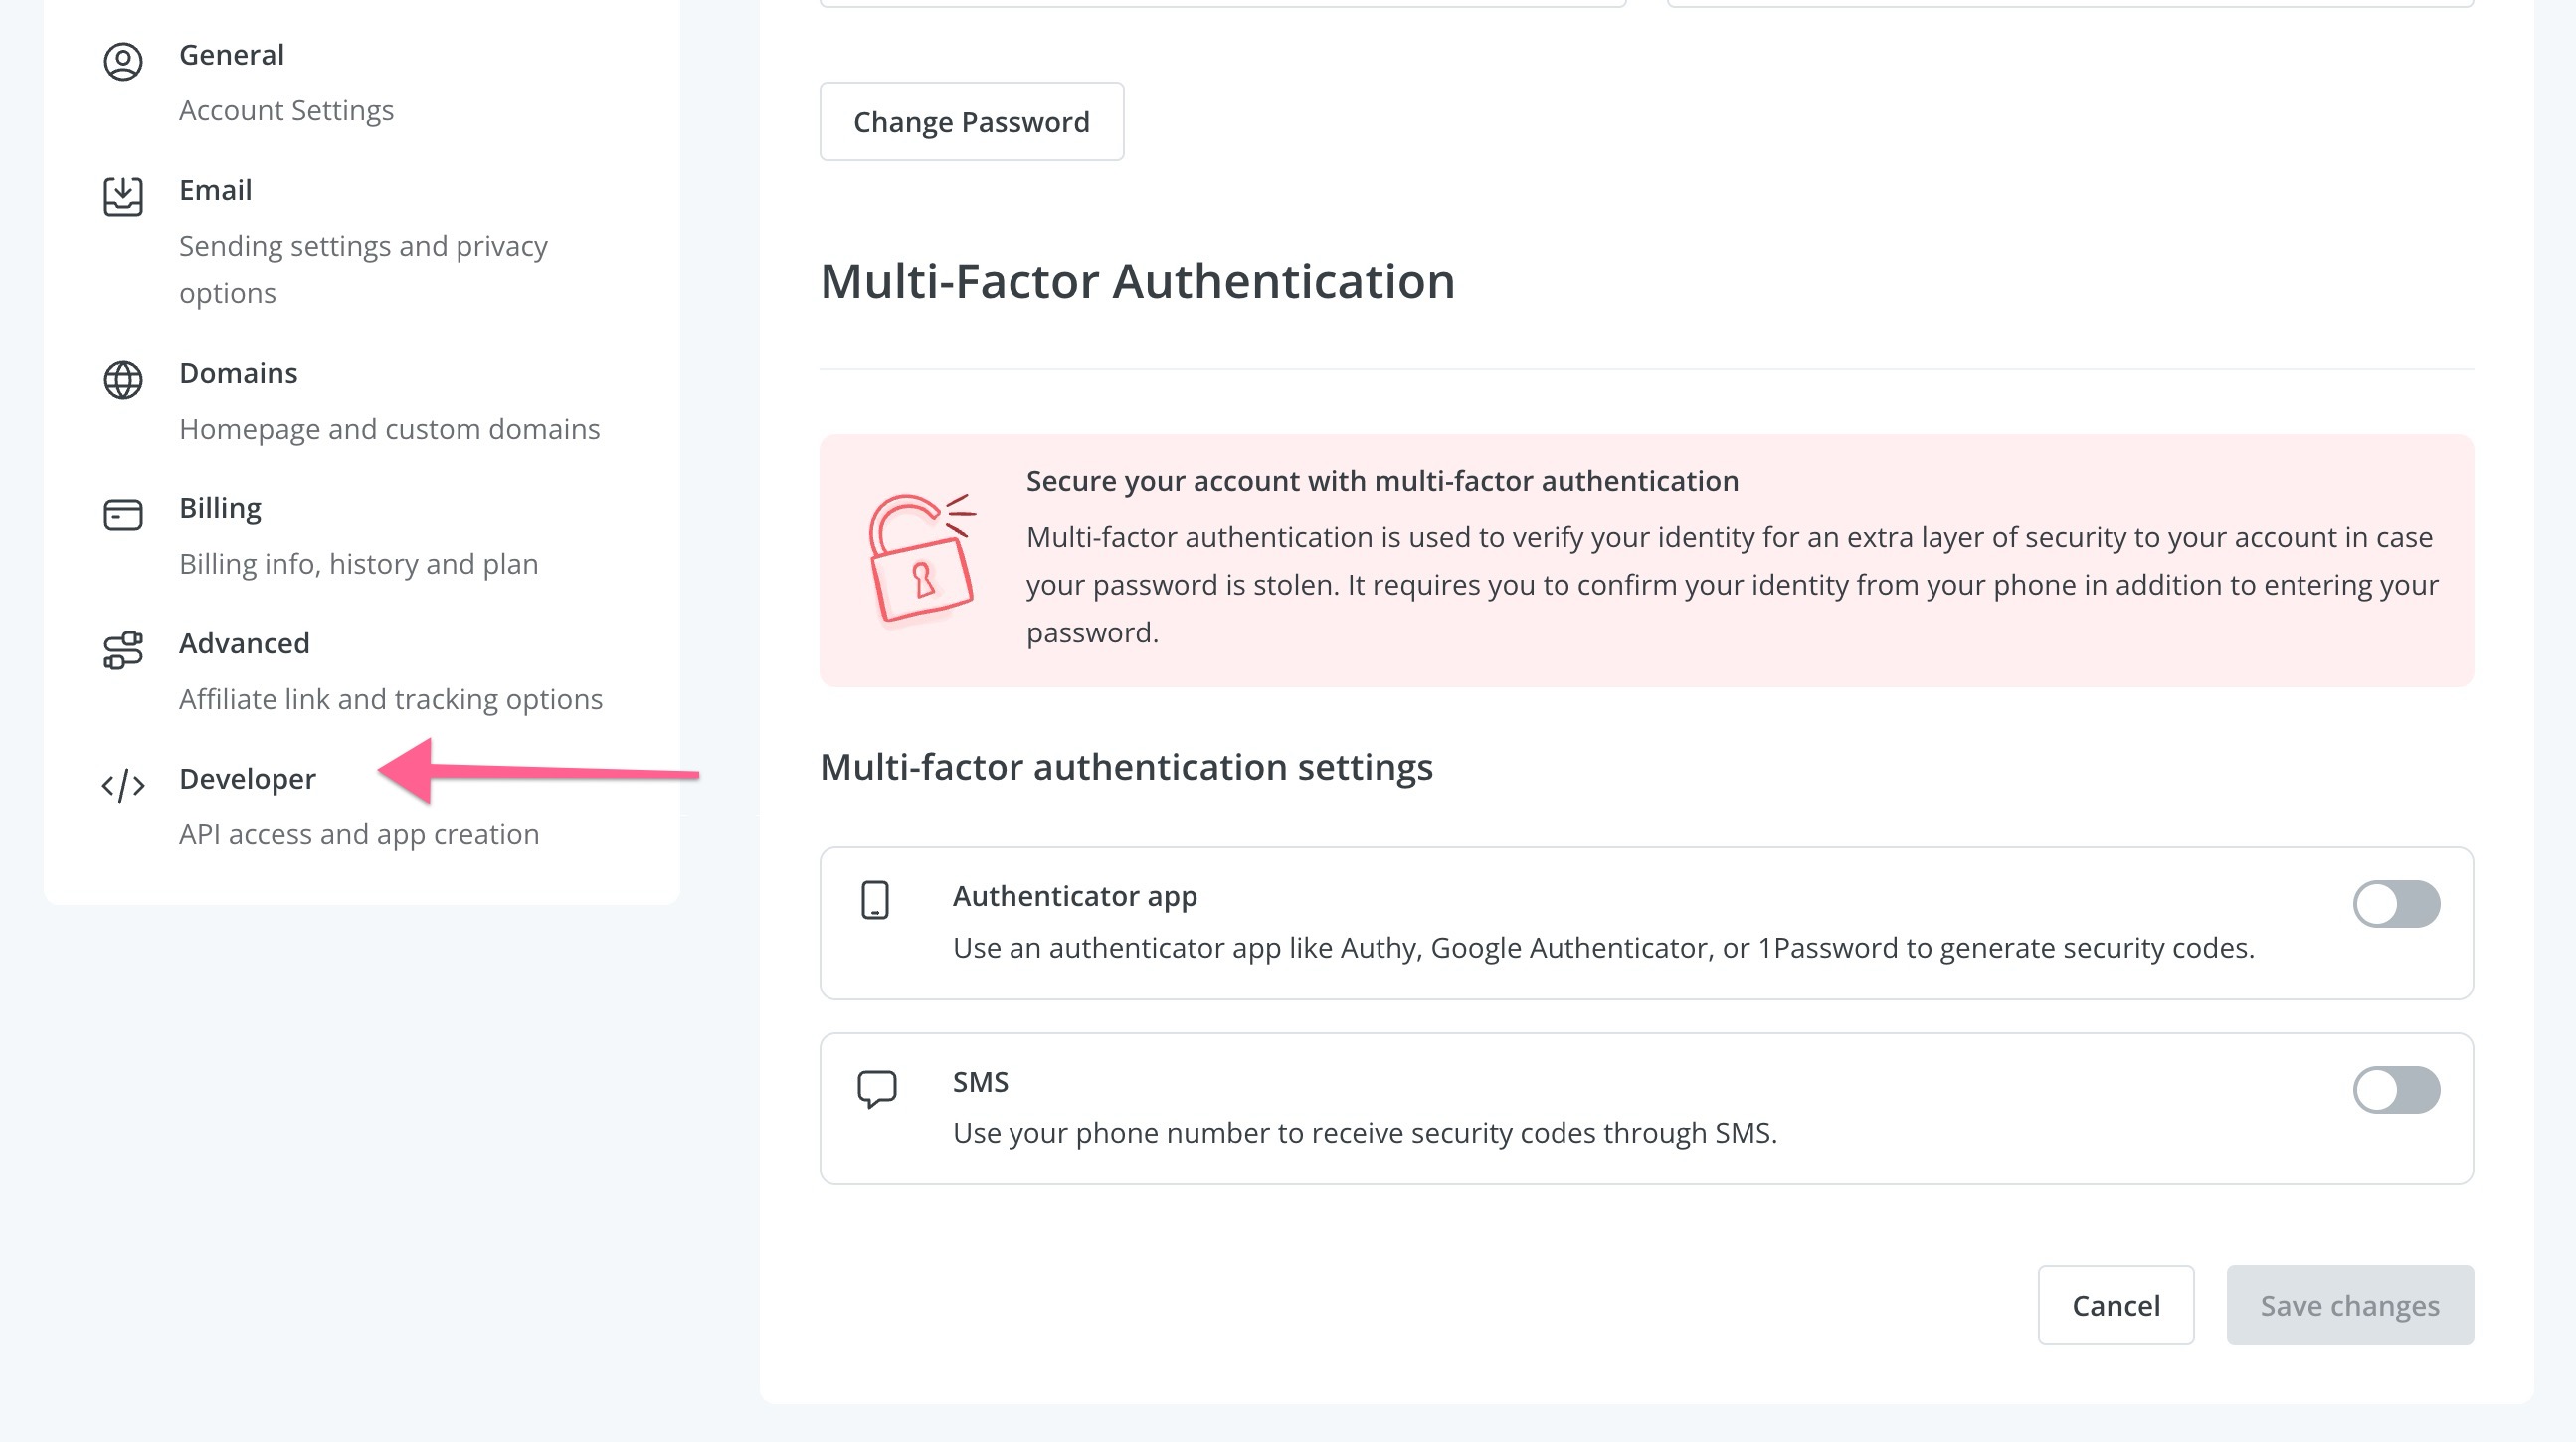
2. On the settings screen, scroll down to and select the "Developer" option on the left side menu.
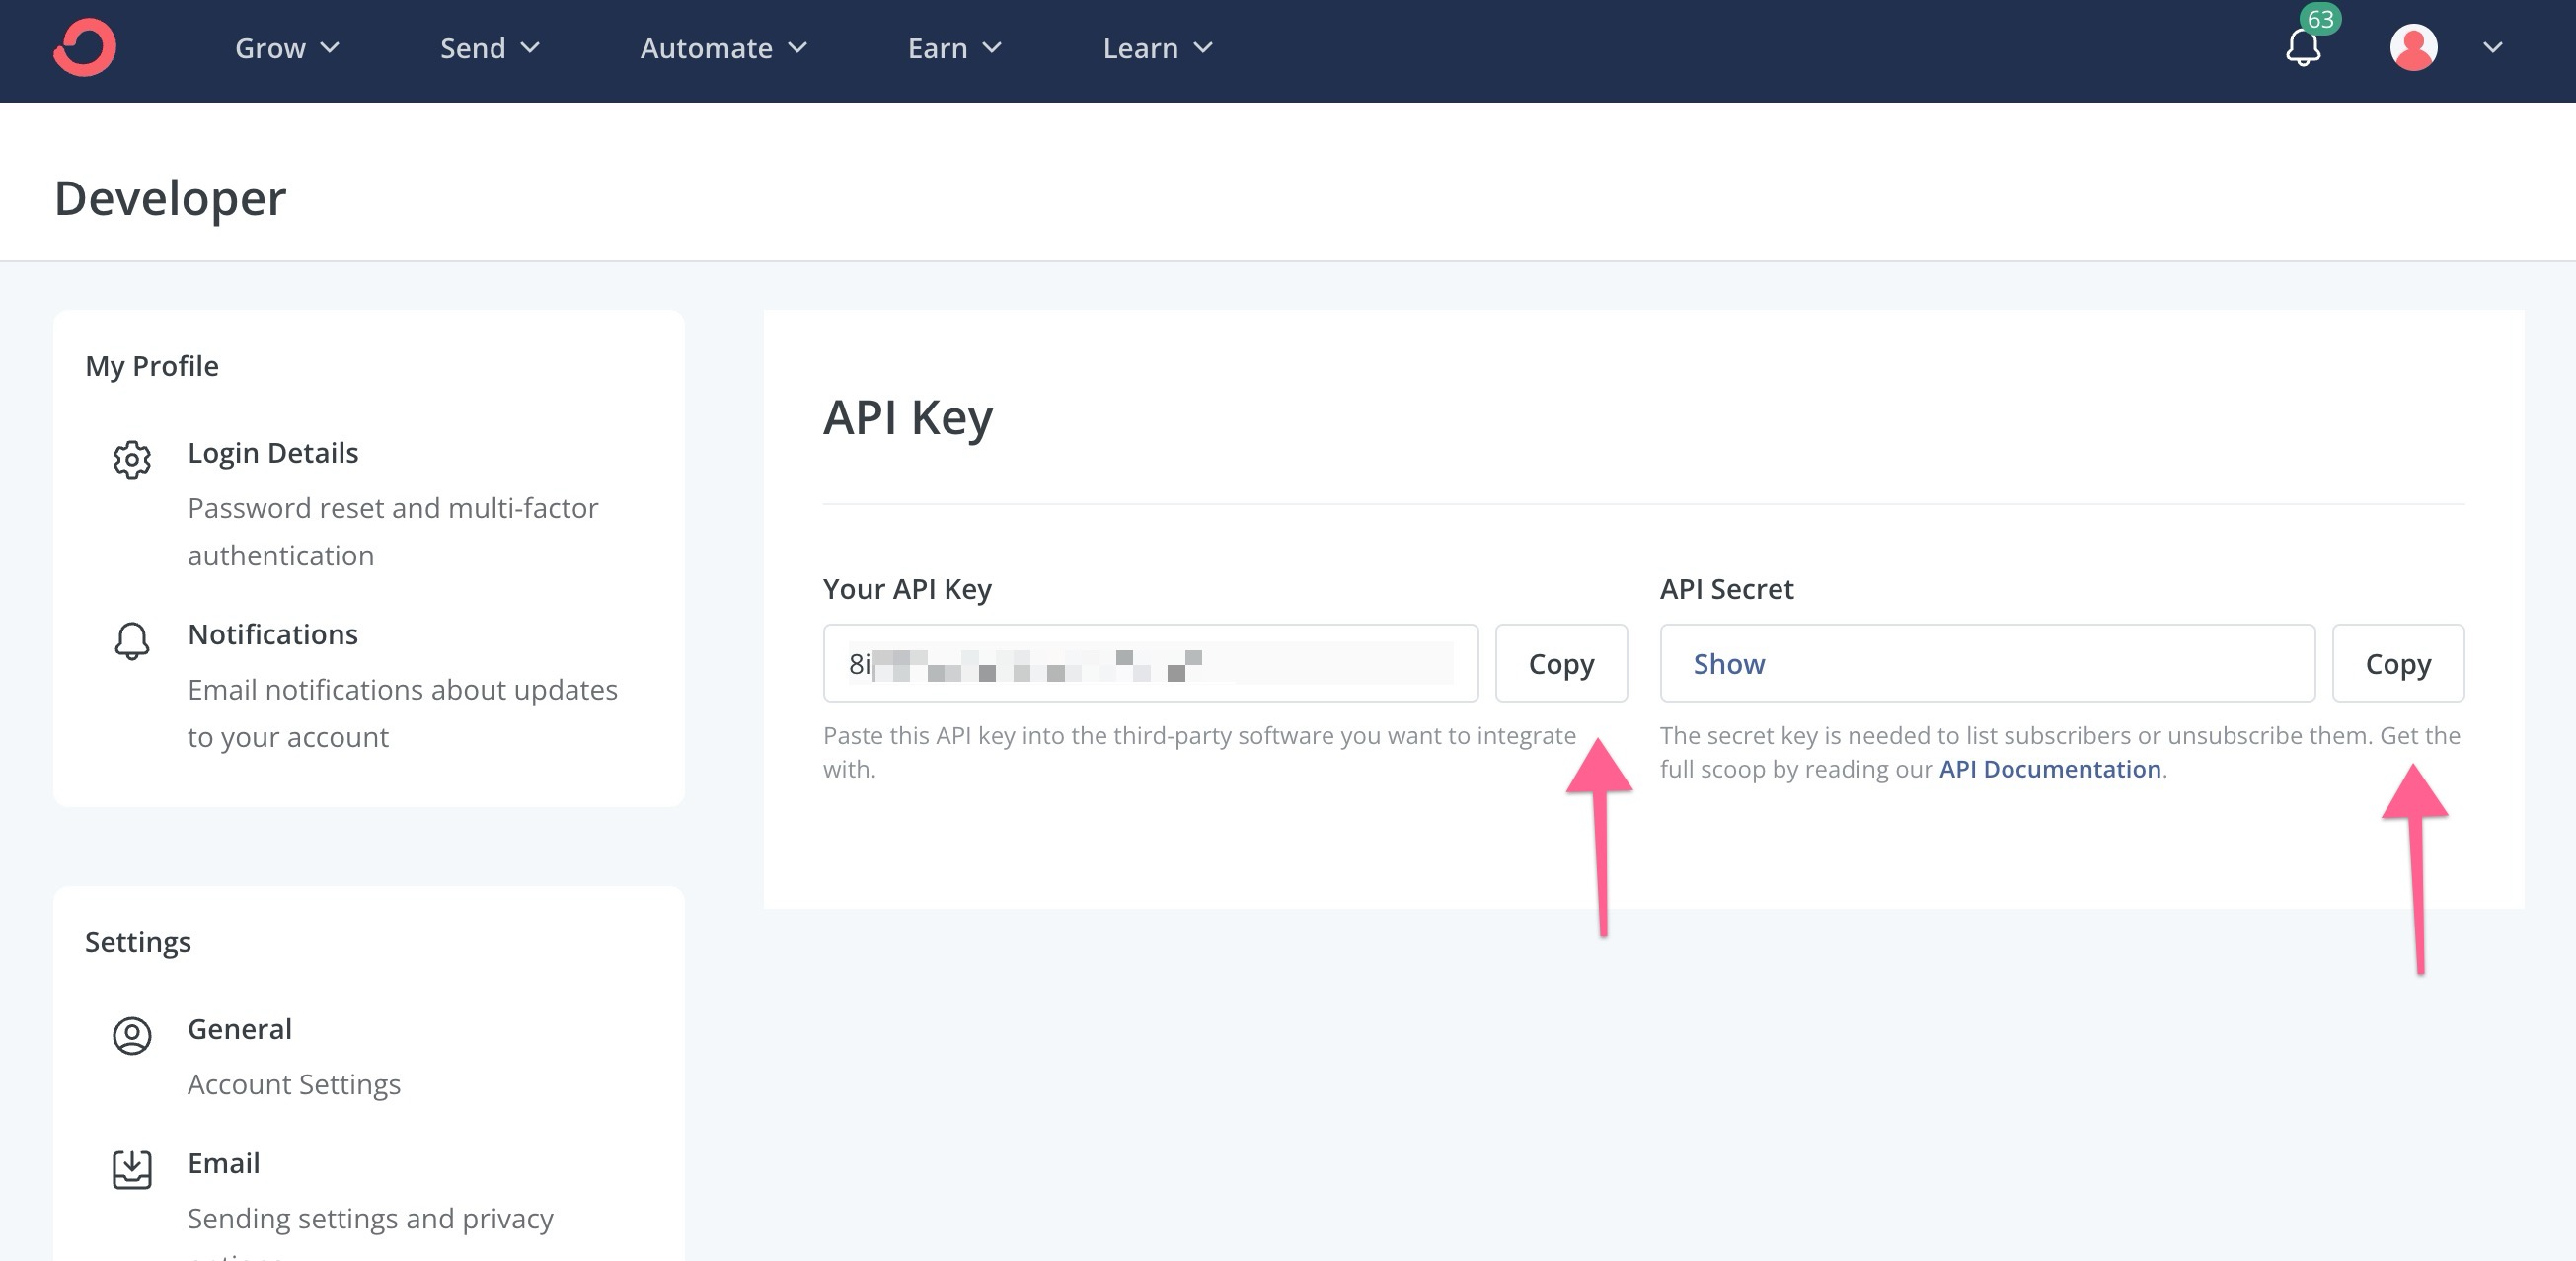
3. On the Developer screen you'll find your API key and API Secret key. You will need to copy these to a safe location for use in a few moments when connecting your Kourses membership (alternatively keep this page open on another tab)
4. To send buyer information to Kit, you need to add the API key information to the membership you wish to connect. Go to Memberships inside Kourses and select the Membership you wish to connect with Kit.
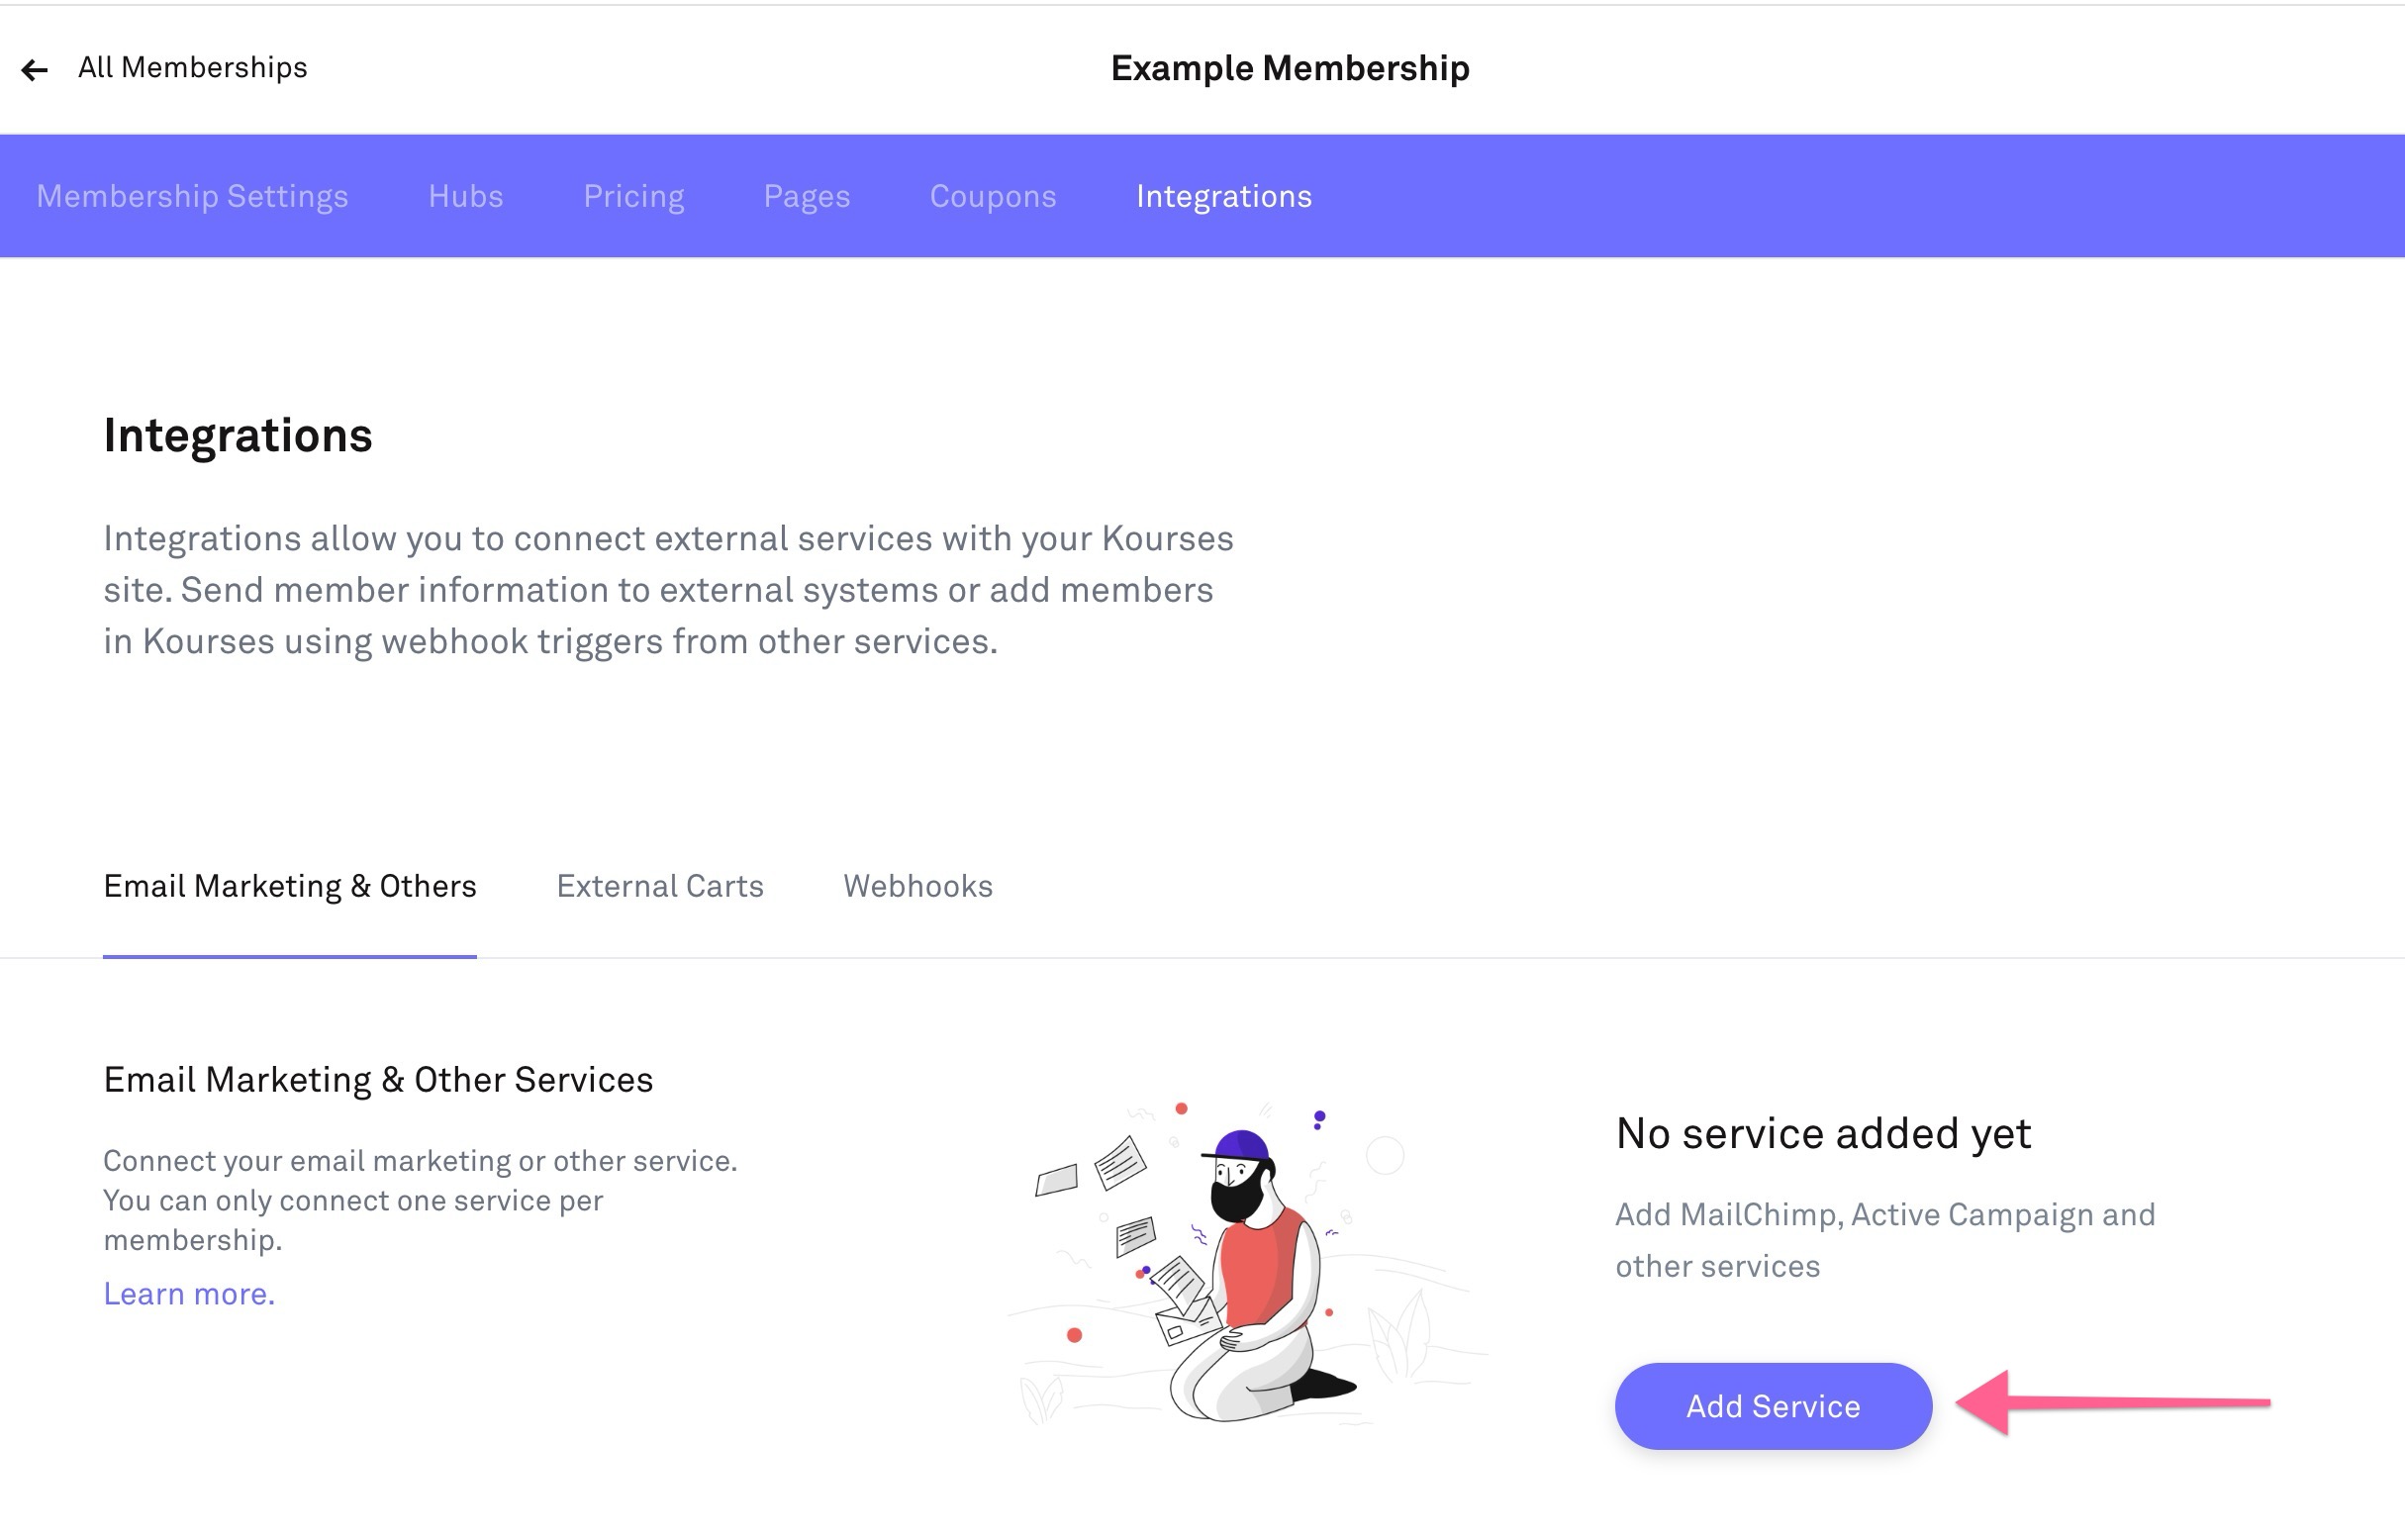
5. Inside the individual membership screen, click on the Integrations on the top menu, and select "Add Service" to add a connection to Kit:
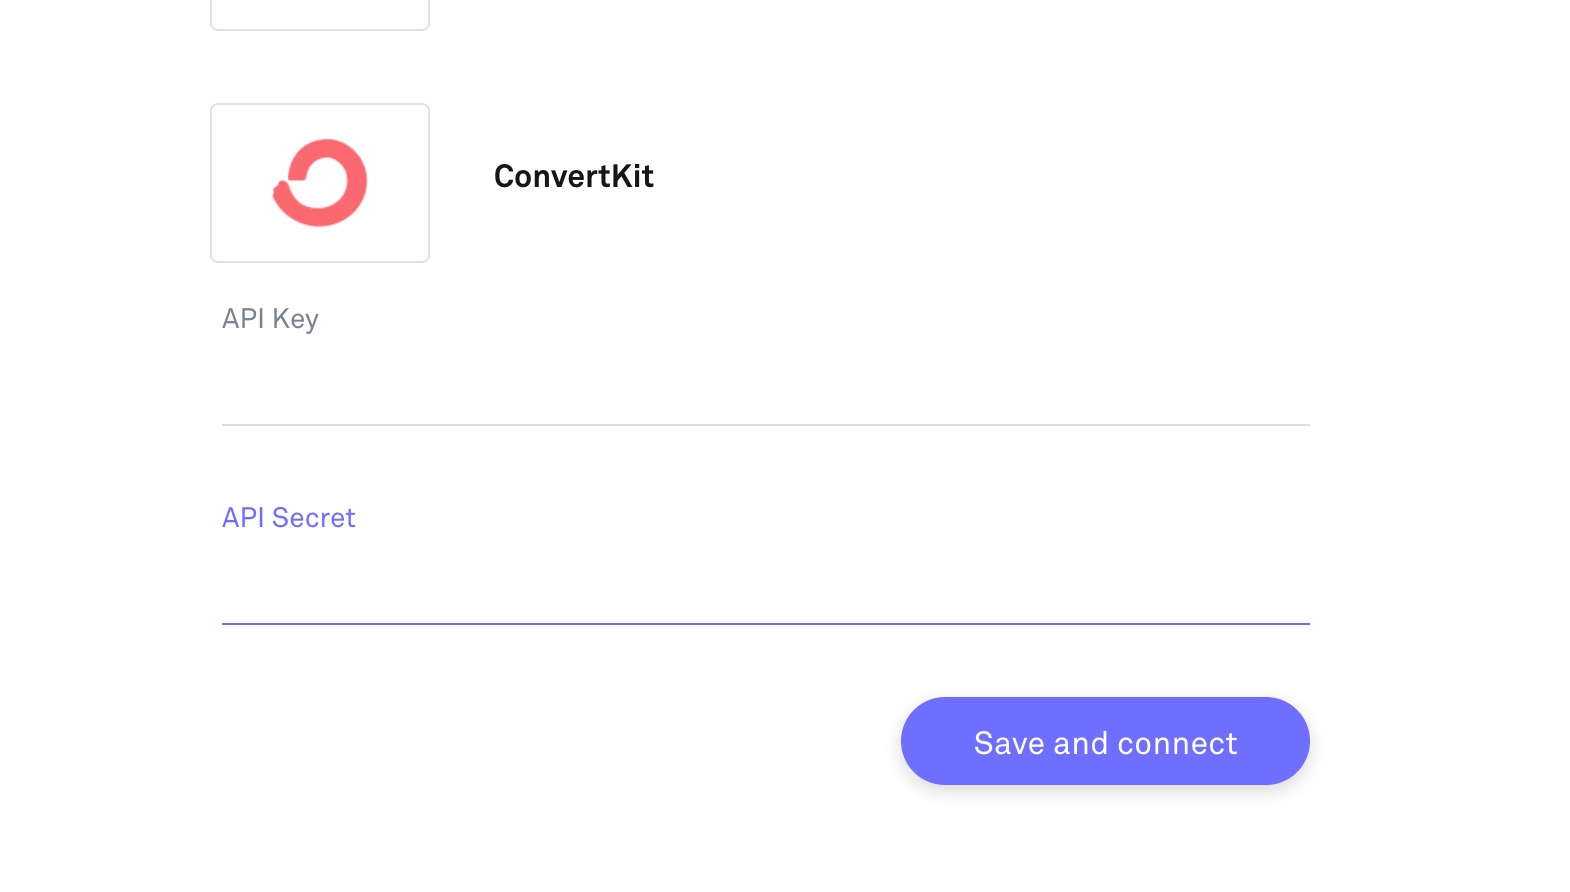
6. Finally, select Kit from the Integrations menu, and add the API credentials from Step 3 of this guide:
Abandoned Cart Leads Integration
If you would like to pass your abandoned checkout / cart leads through to Kit, follow this guide to integrating Kit. We'll show you how to create the custom fields required for this integration to work most effectively.
This guide walks you through how to integrate Kit with the abandoned cart feature inside Kourses, so you can capture leads when users leave checkout and follow up automatically.
Step 1: Select Your Membership
-
Navigate to the membership where you want to capture abandoned cart leads.
-
Example: "Lead Funnel in a Weekend" membership.
-
Click Integrations.
-
Under Email Marketing and Others, scroll down to Abandoned Cart Leads.
-
Click Add Service.
Step 2: Connect Kit to Kourses
-
Choose Kit from the list of integrations.
-
Enter your API Key and API Secret Key.
-
(Not sure where to find this? Check our separate tutorial for help.)
-
Once connected, you'll see these fields:
-
Form Field
-
Tag Field
-
Membership Name Field
-
Checkout URL Field
We'll now set these up in Kit.
Step 3: Set Up Your Form in Kit
-
Log in to your Kit account.
-
Click Grow → Landing Pages and Forms.
-
Click Create Form.
-
Select the Inline option.
-
Choose the Charlotte Form template.
Add Custom Fields
-
Click the + button on the right-hand side.
-
Under Custom Field, add:
-
Checkout URL
-
Membership Name
-
-
Click Save and Publish.
Step 4: Link Your Kit Form Back to Kourses
-
Back in Kourses, click Save to refresh your Kit integration.
-
Scroll down — you'll now see your Charlotte Form listed.
-
(Tip: You can rename the form in Kit for easier identification.)
-
Optional: Add a Tag
-
You can apply a tag to new leads.
-
Example: Abandoned Checkout tag.
Set Your Custom Fields
-
Match the custom fields you created:
-
Set the Membership Name Field.
-
Set the Checkout URL Field.
-
These fields will automatically populate when someone abandons checkout.
Step 5: Finalize and Save
-
Click Save to complete your integration.
-
Now, when a prospect abandons checkout:
-
Within about 1 hour, their details will be sent to Kit.
-
They’ll be added under the Charlotte Form.
-
Tagged with your selected Abandoned Checkout tag.
-
Their Membership Name and Checkout URL will be stored.
-
You can then use Kit's dynamic variables to personalize follow-up emails and bring them back to complete their checkout!