Website Promos let you display promotional messages to members inside your members' area. Use them to promote a membership upgrade, highlight a new product, announce an upcoming event, or share any message you want members to notice.
There are three promo types available. Inline, Notification Bar, and Sidebar, and you can run one of each type at the same time.
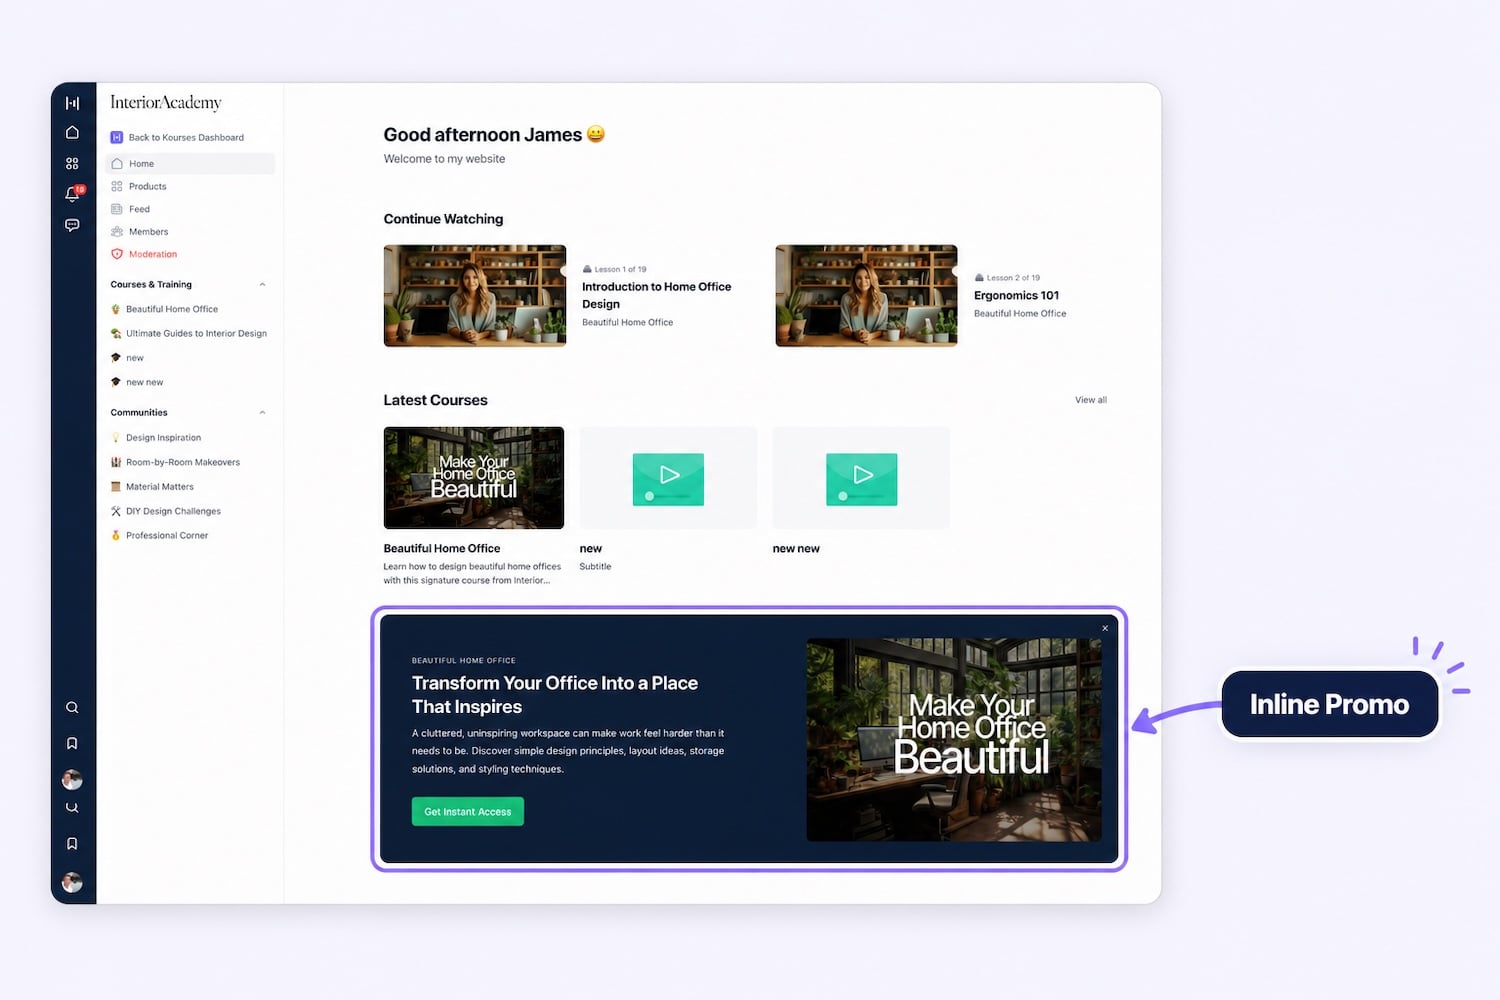
Inline
A styled banner embedded within the page content on either the Home Page, Products Image or a specific course. Supports a headline, description, image, and call to action button. Note: if a notification bar is active on the same page, the inline promo will not be shown. The two are mutually exclusive to avoid overloading the page.
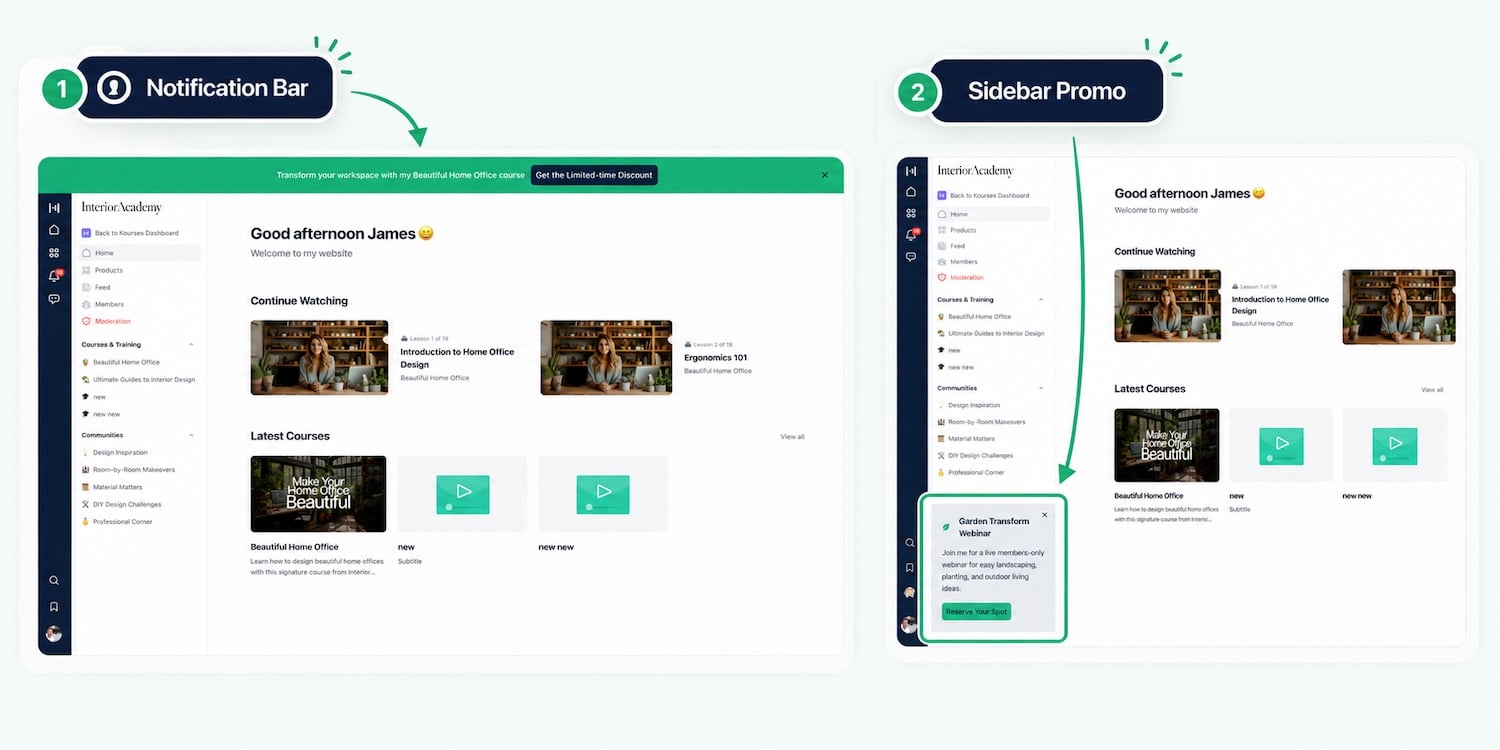
Notification Bar
A slim banner pinned to the top of the page, above the navigation. Ideal for time-sensitive offers or announcements you want every member to see immediately. Can be shown on the site wide or a specifically on the home page, products page or a specific course.
Sidebar
A small promo box fixed at the bottom of the members' area sidebar, below products and navigation. Resolves independently from the notification bar and inline, it is never suppressed by either and is always evaluated on its own.
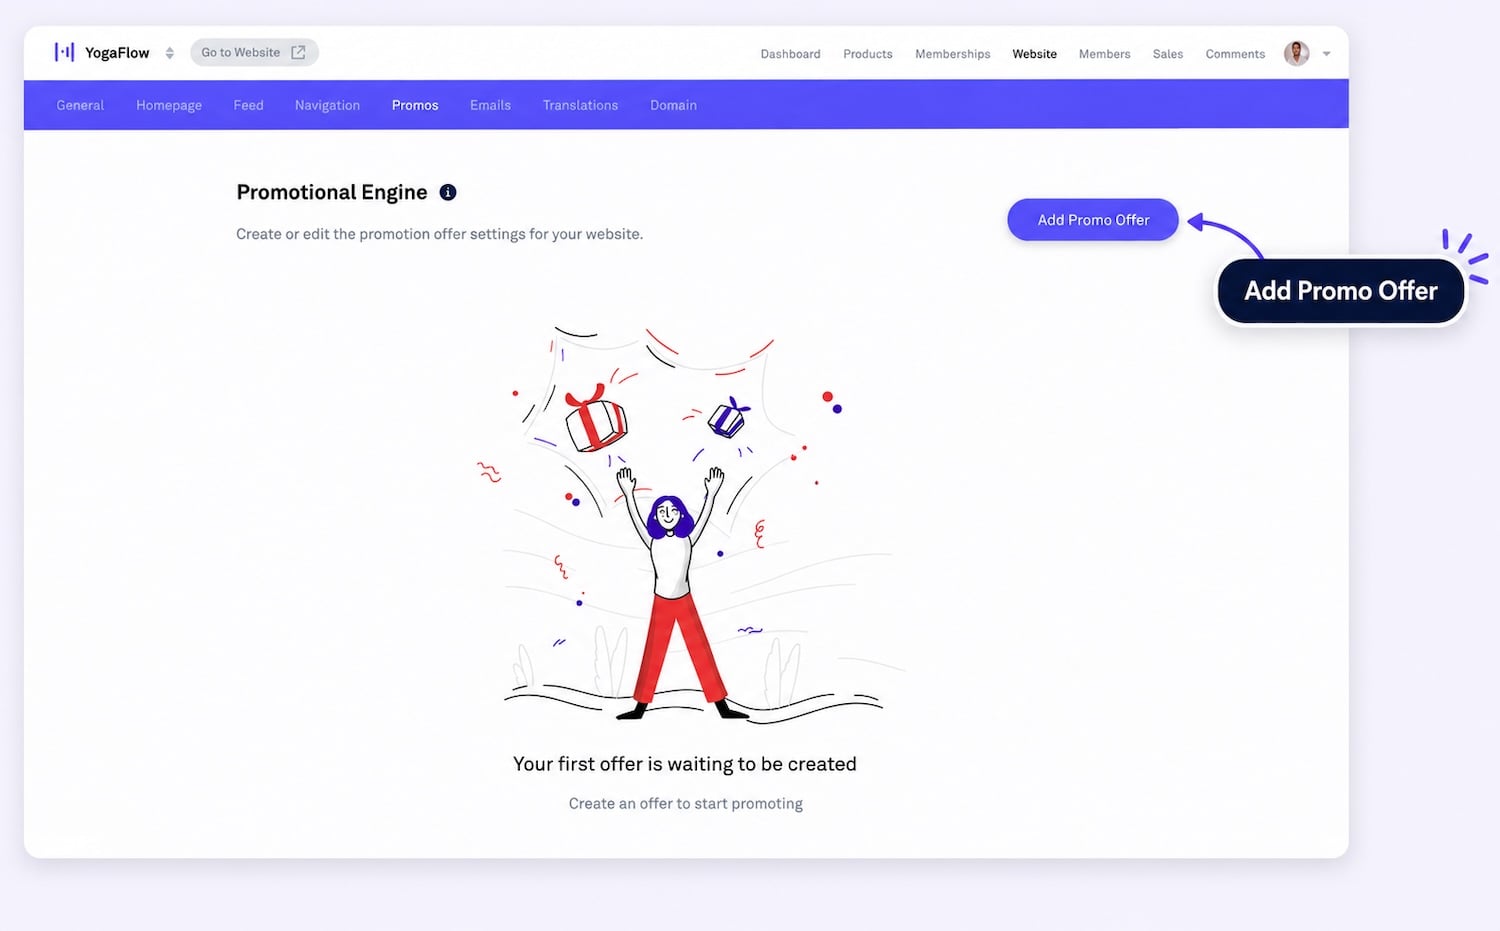
From your Kourses dashboard, go to Website in the main navigation
Select Promos from the sub-navigation
Click Add Promo Offer
Give your promo an internal name, this is only visible to you
Select the type of promo you want to create. The type cannot be changed once saved, so choose carefully before continuing.
Choose where your promo will appear in the members' area.
Inline
Homepage
Course home page
Main products page
All 3 locations
Notification Bar and Sidebar
Homepage
Main products page
Course home
All 3 locations
Sitewide
Sitewide acts as a fallback, if a member visits a page that has no specific offer configured for that slot, the sitewide offer will show instead. If both a page-specific offer and a sitewide offer are active, the page-specific offer always takes priority.
Note: the inline promo does not have a sitewide option. Inline promos only show on the specific pages they are configured for.
Promos never appear on account, profile, or billing pages regardless of your location settings.
Choose what happens when a member clicks your promo. This is optional, if you leave it blank, no button will appear, which works well if you're using the promo purely as an announcement.
External URL: enter a URL, which will open in a new tab
Internal destination: select a destination type, then choose the specific page:
Checkout page: select a membership checkout
Sales pop-up: select a membership sales pop-up
Product page: links to the course or product home page
Add-on: select a product first, then the specific add-on if applicable
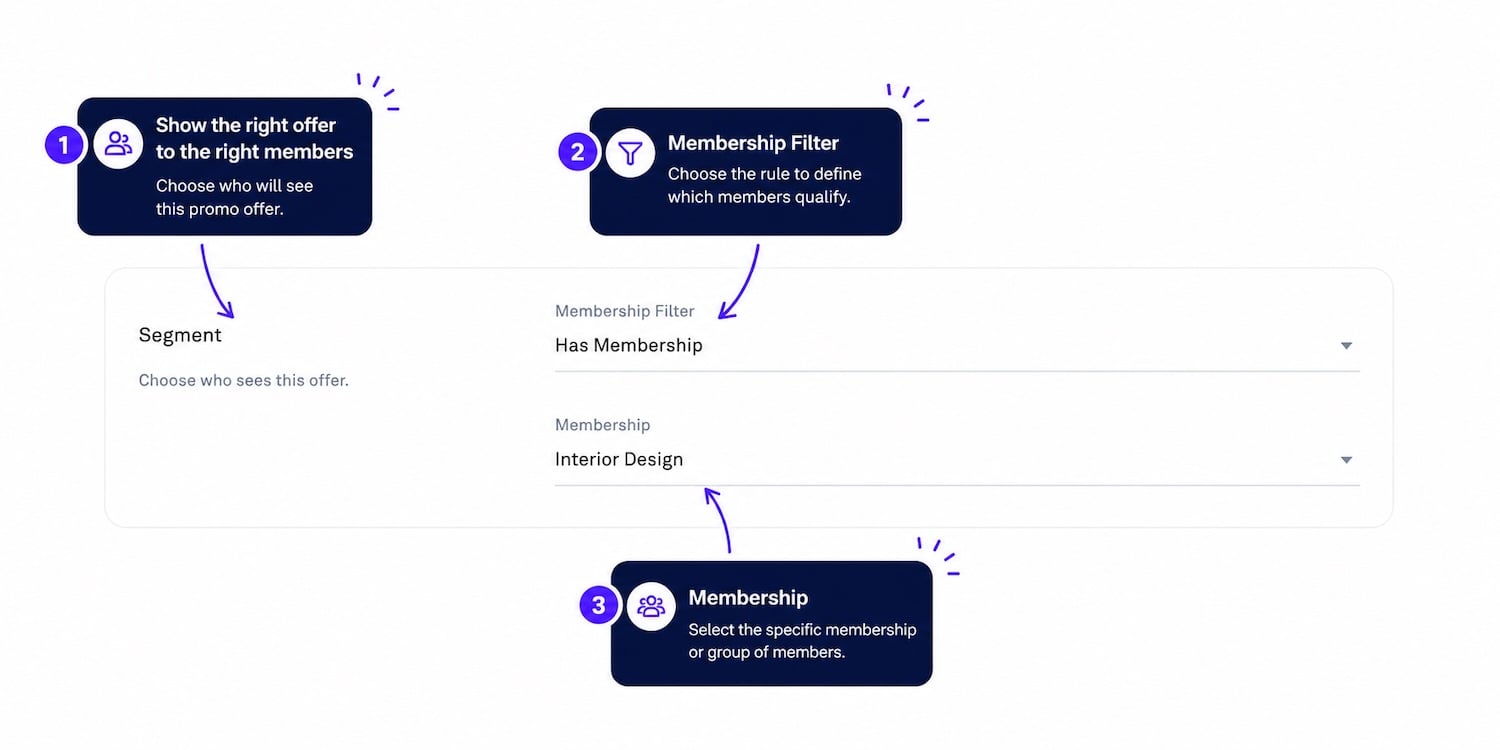
Choose which members will see your promo.
All members: shown to everyone
Has membership: only shown to members who have a specific membership
Does not have membership: only shown to members who do not have a specific membership
When you select Has membership or Does not have membership, a second dropdown will appear for you to choose the specific membership. This is useful for upsell promos, for example, showing an upgrade offer only to members who haven't yet purchased a particular plan.
Inline (Promo Box)
Pre-headline
Headline
Description
Background colour
Button text
Button colour
Image
Notification Bar
Banner text
Call to action text
Banner background colour
Button colour
Show profile avatar, choose whether to display an admin avatar alongside the message
Sidebar
Icon
Headline
Description
Call to action text
Background colour
Text colour
Button colour
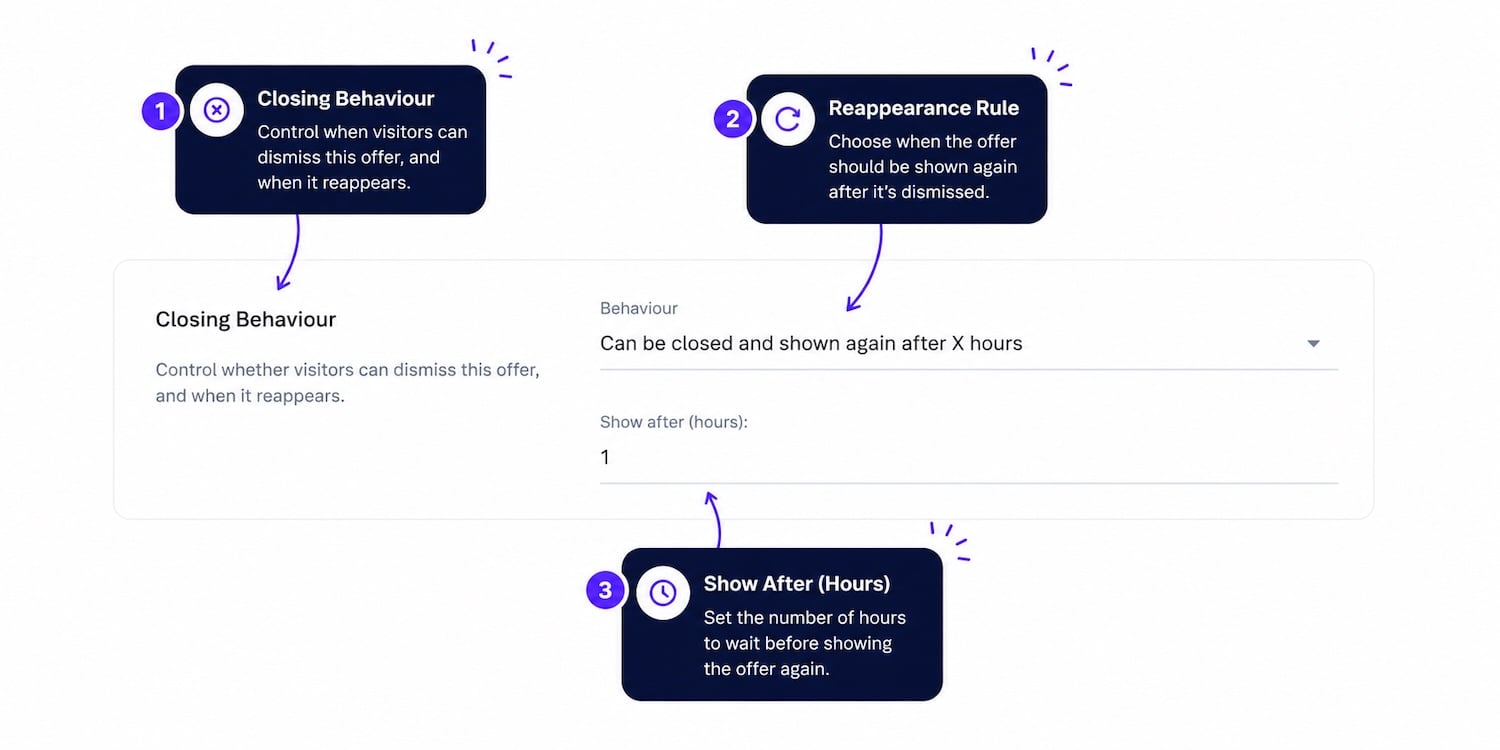
Control whether members can dismiss your promo and how long it stays dismissed.
The Behaviour dropdown offers the following options:
Can't be closed: the promo is always visible and members cannot dismiss it
Dismissible: members can close the promo. Once dismissed, it will not show again until the dismissal window you set has expired. After that period, the promo becomes eligible to show again.
You can also set a delay before the promo appears to a member after they log in, using the Show after (hours) field.
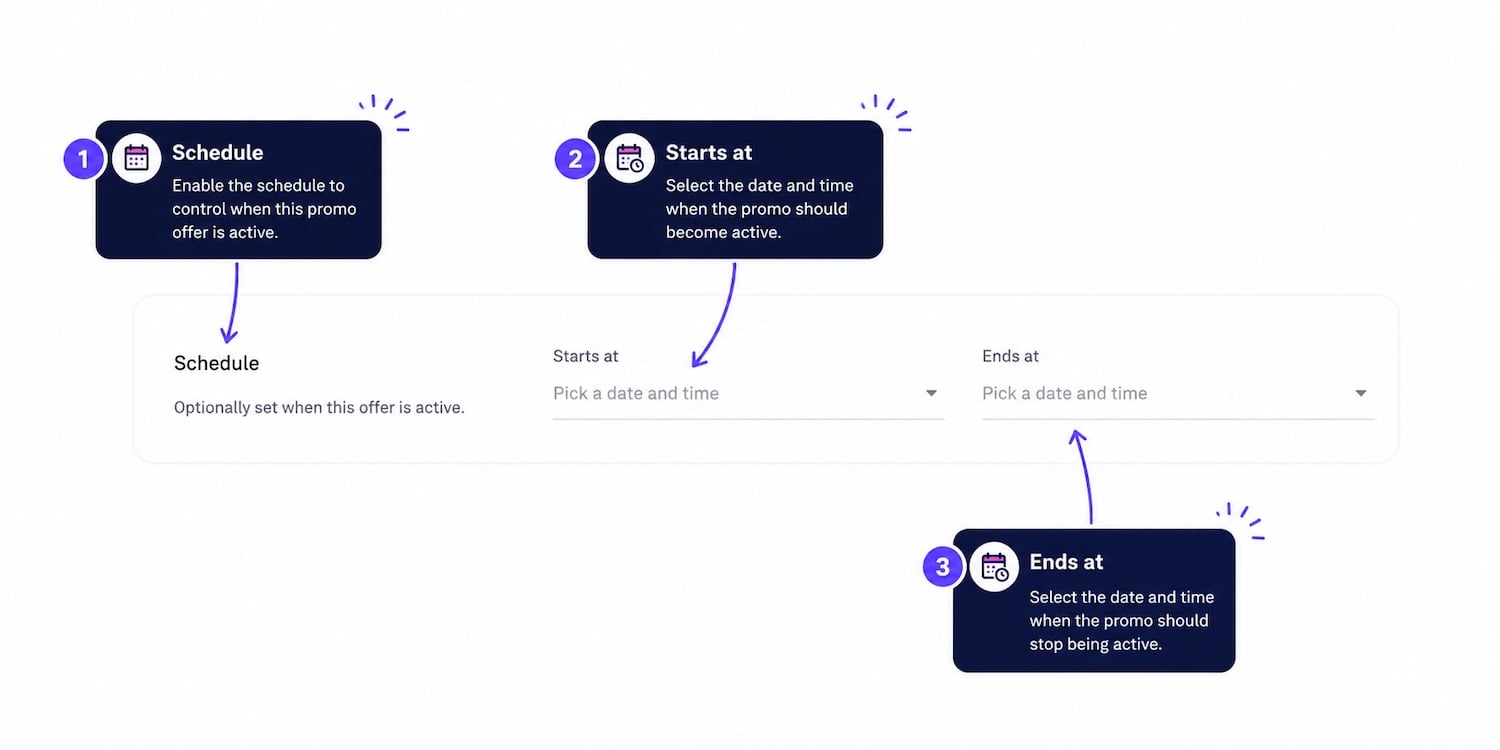
Set a start date, end date, or both to control when your promo is active. The schedule uses your local timezone. If no schedule is set, the promo remains active until you manually disable it.
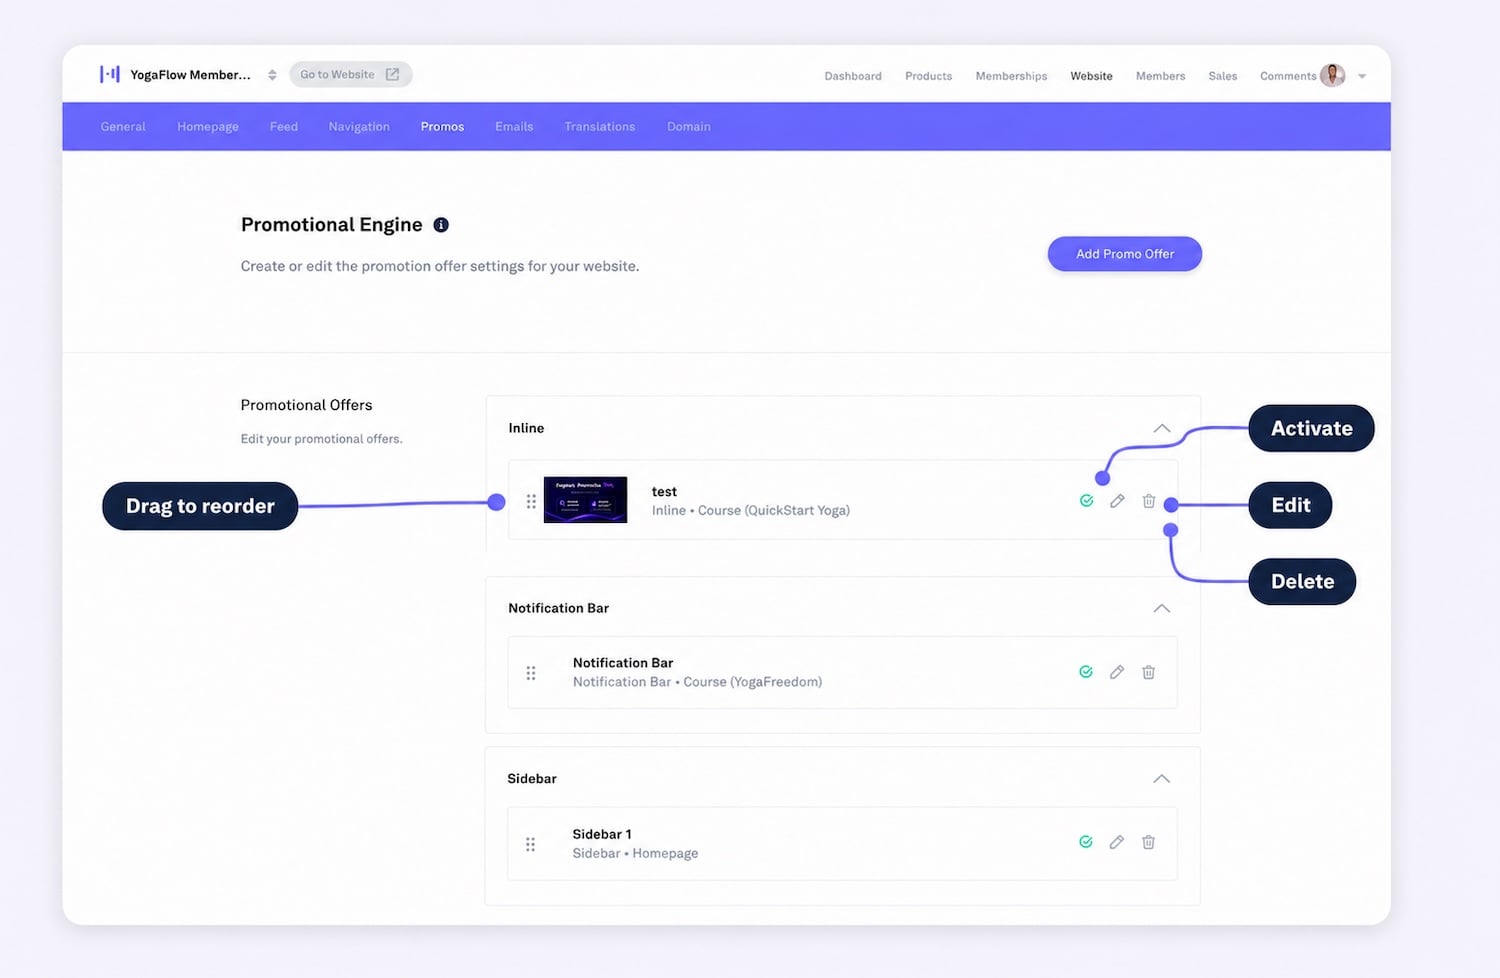
All promos are listed on the Promotional Engine page, grouped by type, Inline, Notification Bar, and Sidebar. From here you can:
Reorder: drag and drop promos within their category to set the priority order
Enable or disable: toggle a promo on or off without deleting it
Edit: click the pencil icon to update a promo's settings
Delete: click the delete icon to permanently remove a promo
How promos rotate
If you have multiple promos in the same slot, for example, two notification bars both targeting the homepage, the system rotates through them across member visits rather than always showing the same one.
Promos rotate in the order you set on the Promotional Engine page. Once a member has seen a promo, it will continue to show for 24 hours before rotating to the next one. After the last promo in the sequence has been shown, rotation restarts from the first.
Previewing your promo
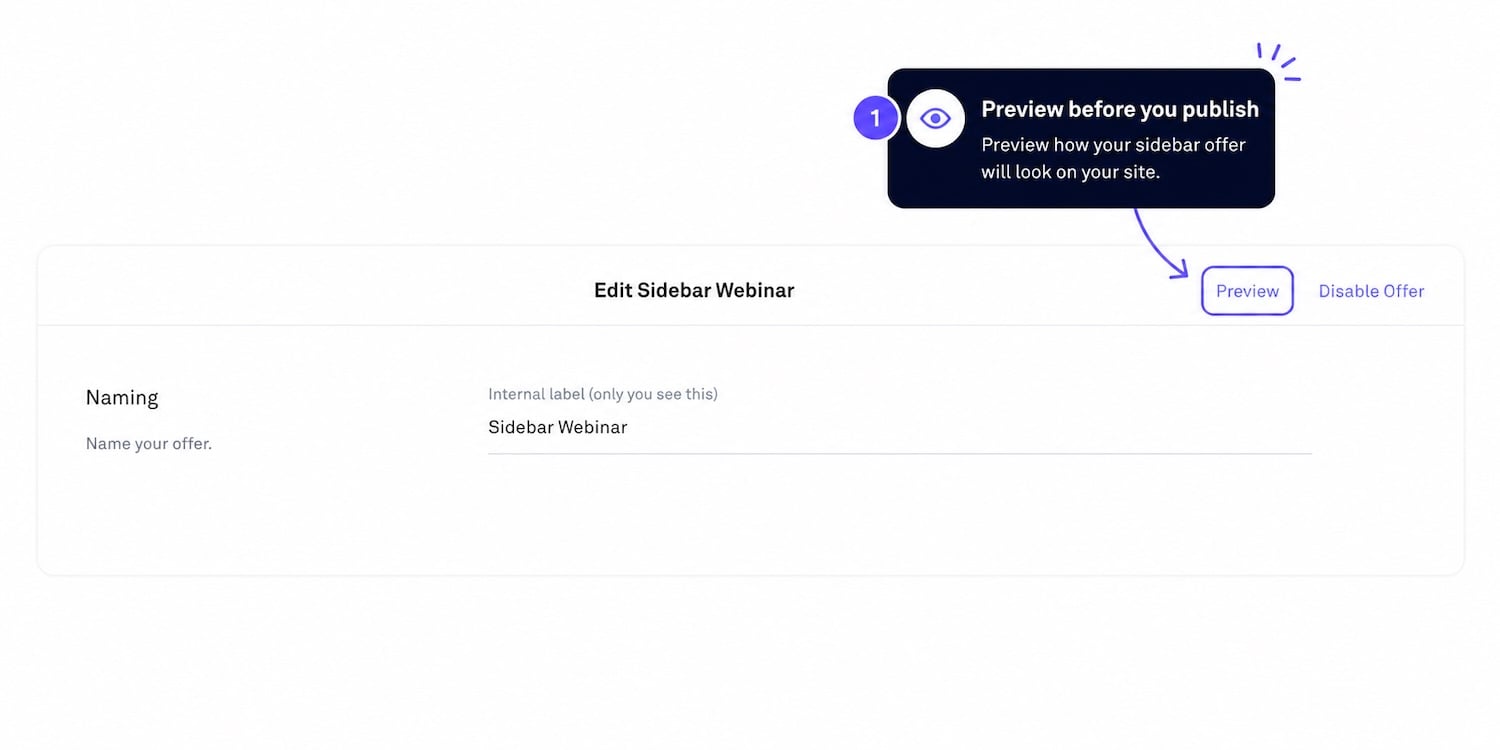
Use the Preview button at the top of the promo editor to see how your promo will look in the members' area before making it live. Preview mode shows the promo regardless of its status, schedule, or dismissal state, and does not affect any member tracking or rotation.
Keep your message focused, one clear call to action performs better than trying to say too much
Use the segment options to keep promos relevant, showing an upgrade offer only to members who don't already have that membership is more effective than showing it to everyone
The notification bar and inline promo are mutually exclusive on the same page, if both are active, only the notification bar will show
Use scheduling to run time-limited promotions without having to remember to turn them off manually
Avoid running all three promo types simultaneously unless they serve clearly different purposes, too many promos at once can dilute the impact of each one