The Home Page is the first screen members see when they log in. It's made of blocks that are all on by default, and each block hides itself when it has nothing to show, so members always see a complete page. With the Home Page you can:
Greet members by name and welcome them back
Show each member where they're up to in your courses
Put your active promotion and newest products in front of every member
Show the latest community posts and a row of fellow members
Let members message you and find your help links
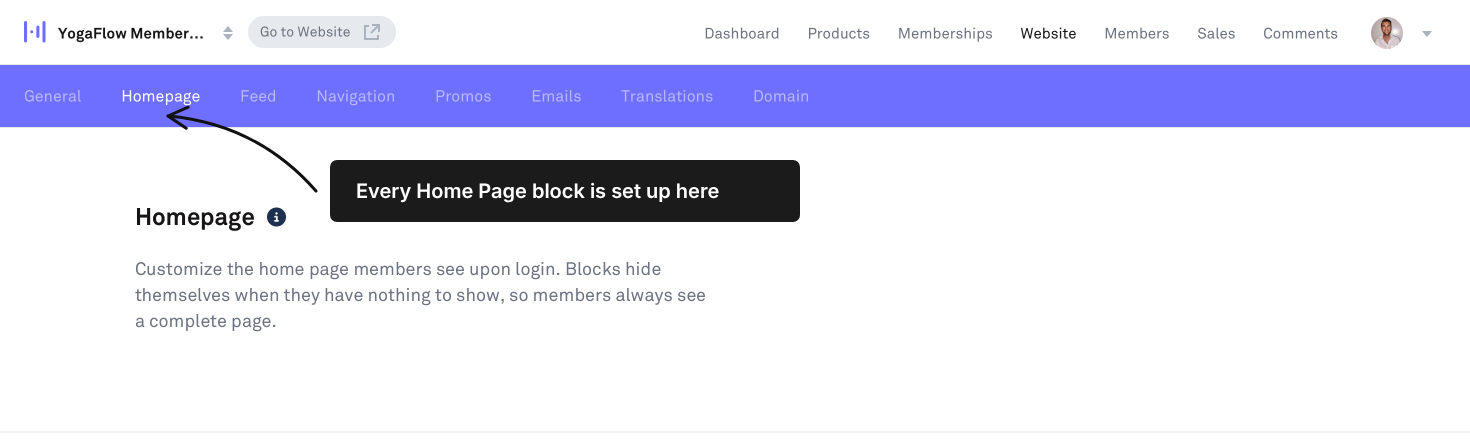
In your Kourses admin, go to Website.
Click the Homepage tab.
Each block has its own section with an Enable / disable toggle. Turn off any block you don't want members to see.
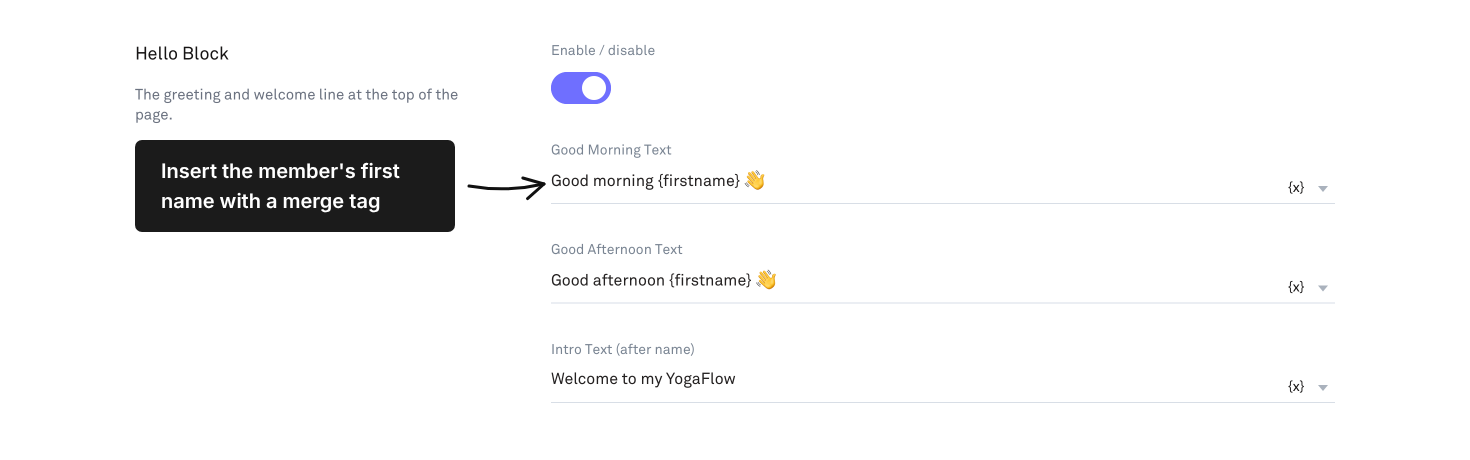
The Hello Block is the greeting and welcome line at the top of the page.
Edit the Good Morning Text and Good Afternoon Text. Click {x} to insert a merge tag such as {firstname}.
Edit the Intro Text (after name), the welcome line under the greeting.
Continue Learning shows each member what they can start, the lesson they're up to or what they've just finished. There's nothing to set up beyond the toggle. It hides when a member has no courses or nothing to start, continue or celebrate.

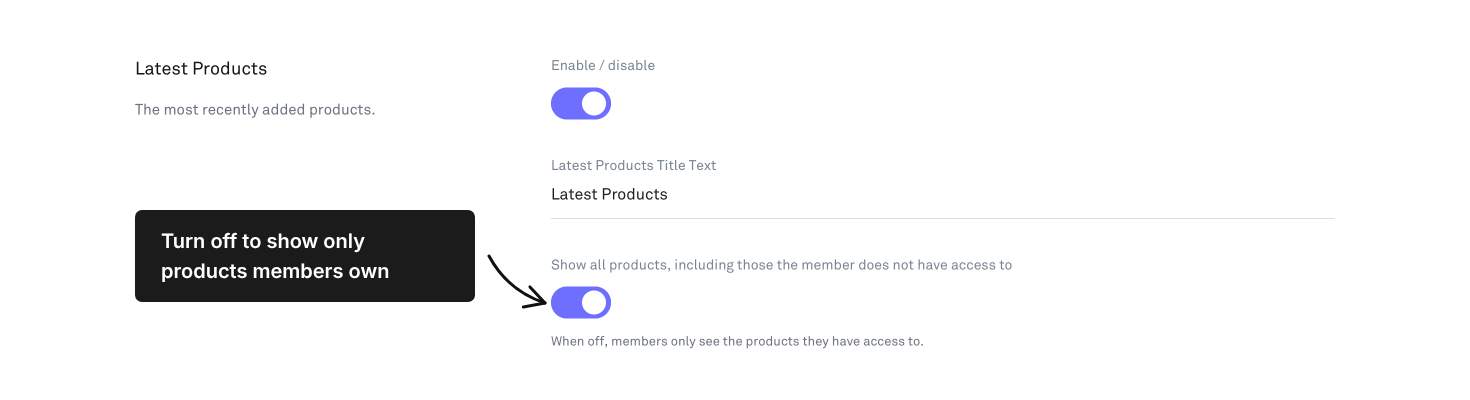
Edit the Latest Products Title Text if you'd like a different heading.
Show all products, including those the member does not have access to is on by default. Members see products they don't own with a lock, and clicking one promotes it. Turn it off to show only the products each member has access to.
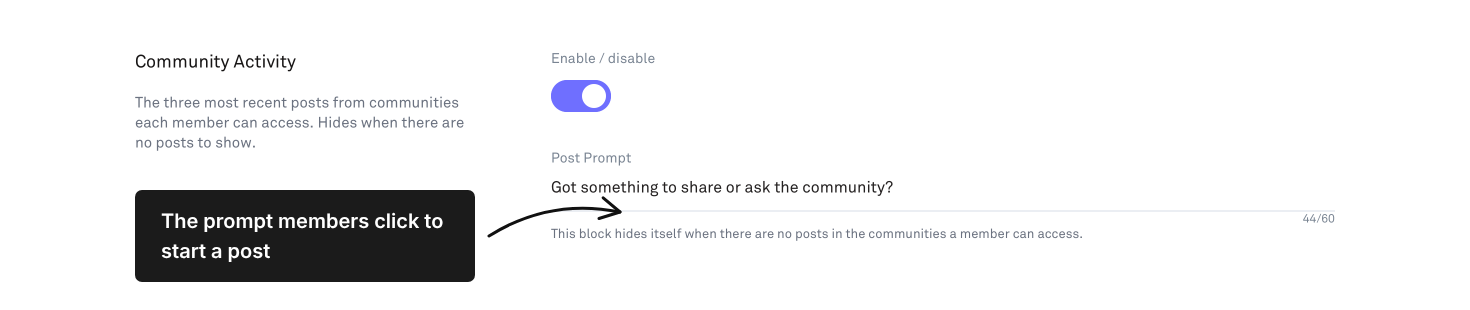
Edit the Post Prompt, the text in the box members click to start a post (up to 60 characters).
The block shows the three most recent posts from the communities each member can access, and hides when there are none.
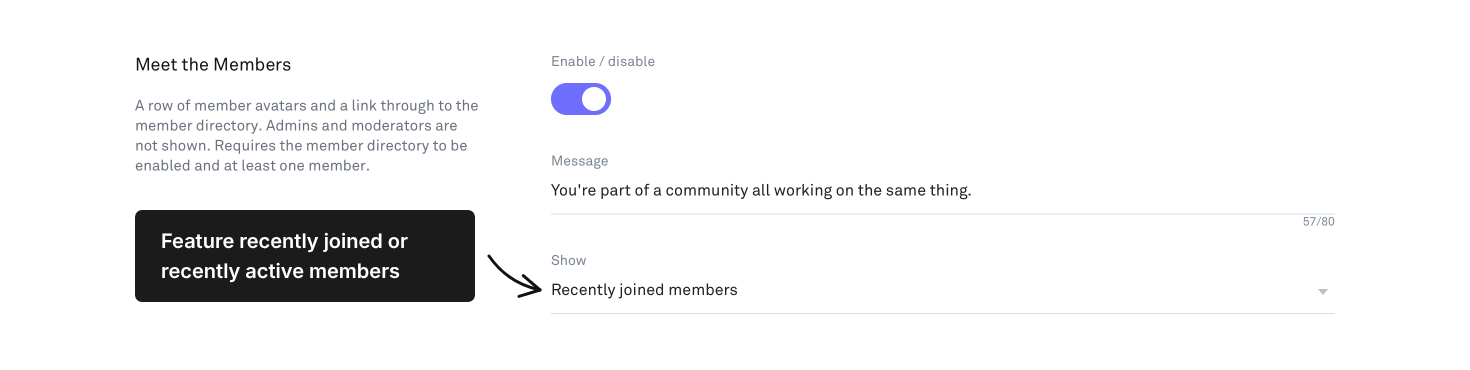
Edit the Message shown next to the member avatars (up to 80 characters).
Under Show, choose recently joined members or recently active members.
Admins and moderators aren't shown. This block needs the member directory to be enabled and at least one member.
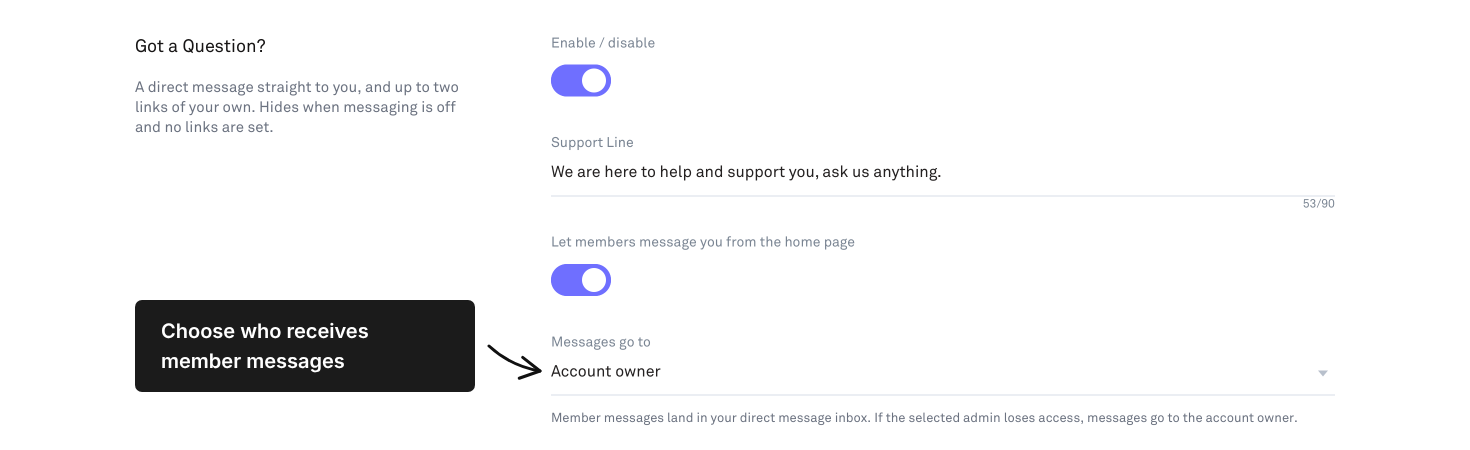
Edit the Support Line (up to 90 characters).
Turn on Let members message you from the home page to show the Message the team button.
Under Messages go to, choose who receives member messages. If the selected admin loses access, messages go to the account owner.
Under Helpful Links, add up to two links with a Link Text and Link URL. Links open in a new tab.
The block hides when messaging is off and no links are set.
Promotions: set these up under Website > Promos. An active promotion set to show on the Home Page appears below Continue Learning.
Block headings: headings such as Continue Learning and What's Happening can be changed in Custom Texts.
Add your help centre or billing FAQs as a Helpful Link. It answers common questions before they reach your inbox.
Keep Latest Products showing all products if you want members to discover your other courses. Turn it off if most of your products aren't for sale to existing members.
Choose recently joined members while your site is growing, and recently active members once your community is established.
If Meet the Members isn't showing, check that the member directory is enabled.
Use the Intro Text to make the greeting sound like you, not a default.