

Add-ons allow you to extend any product with additional content types - without creating separate standalone products. They work across all product types and give your members a seamless, unified experience.
What Can You Add?
Common examples include:
A support community attached to a course
A digital download library or resource archive for course materials
A content page for community guidelines to a community
Any combination of content types under a single product umbrella
How to Enable Add-Ons
To add an add-on to a product:
Open your product and navigate to the Add-Ons section.
Use the toggles to activate the add-ons you want - for example, a Community or a Digital Download.
Once activated, each add-on will appear as its own tab within the Add-Ons section, ready to configure.

Note: Toggle an Add On to activate it.

Note: Once an Add-On is activated a tab will open for the Add-Ons settings and options.
Configuring Your Add-Ons
After activation, click on the add-on name to access its settings:
Community: Manage all community settings directly within the product.
Digital Downloads: Upload files and manage your download library and homepage — all nested under the parent product.
Content Page: Add a custom page to the product for additional content of your choice.
What Your Members See
In the members area sidebar, your members will see the main product (e.g. the course) listed first. Any add-ons you've activated appear below it, keeping everything neatly grouped under one product.
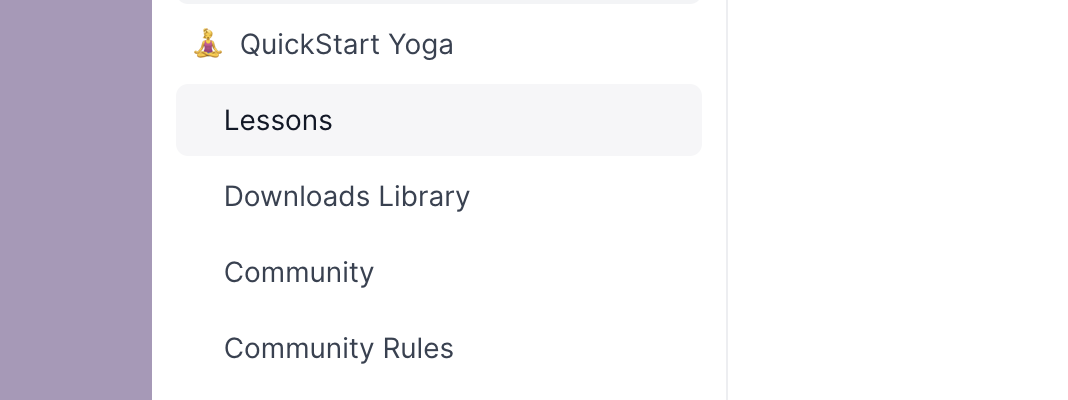
Note: In this sidebar the “Lessons” are the Course (main product), “Downloads Library” is the Digital Download Add-On, “Community” is the Community Add-On and “Community Rules” is the Content Page Add-On.
Tips
Add-ons are available for all product types, not just courses.
You can activate multiple add-ons on a single product.
Add-ons are managed per-product, giving you flexibility to tailor each offering independently.