Product Promotions give you a built-in way to promote additional products to your existing members directly inside their members' area. Members who don't have access to a product will see it with a locked icon and a teaser message. When they click on it, instead of being turned away, they're shown a sales pop that promotes the product, and they can purchase it with one click using their saved payment details, without ever leaving the platform.
You'll find the Product Promotions settings inside each individual product.
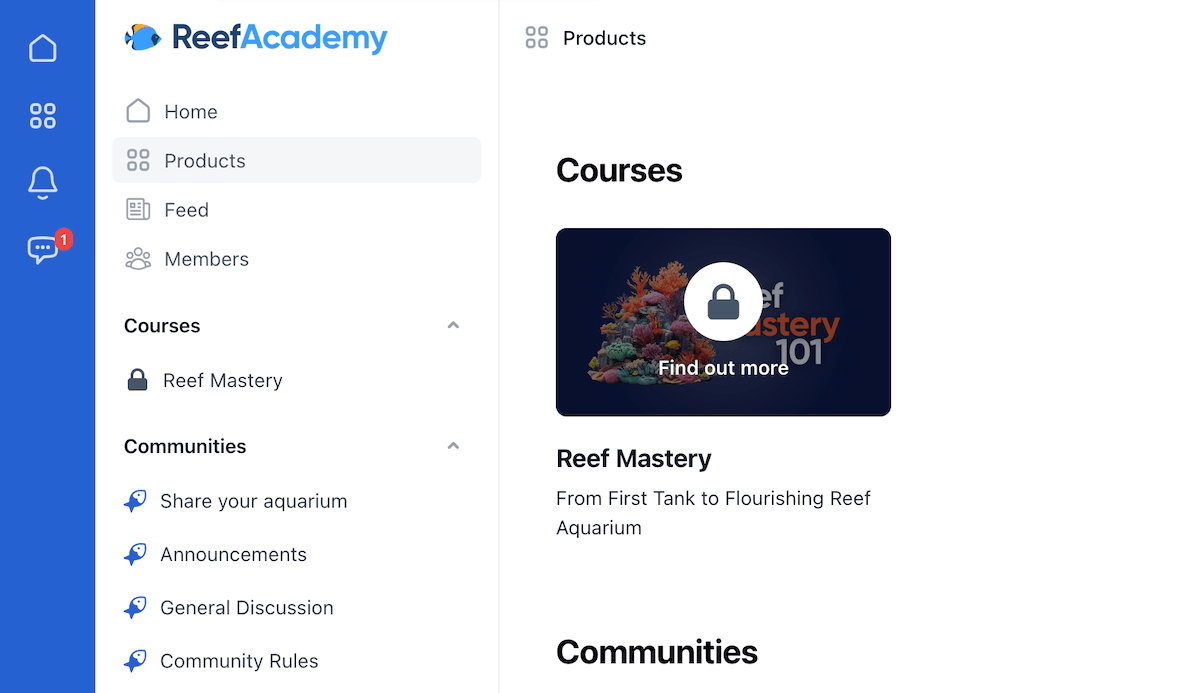
Before setting anything up, here's what the experience looks like from a member's perspective:
- Products they don't have access to appear on the products page with a locked icon and a "find out more" message
- When they click on a locked product, a sales pop appears promoting that product
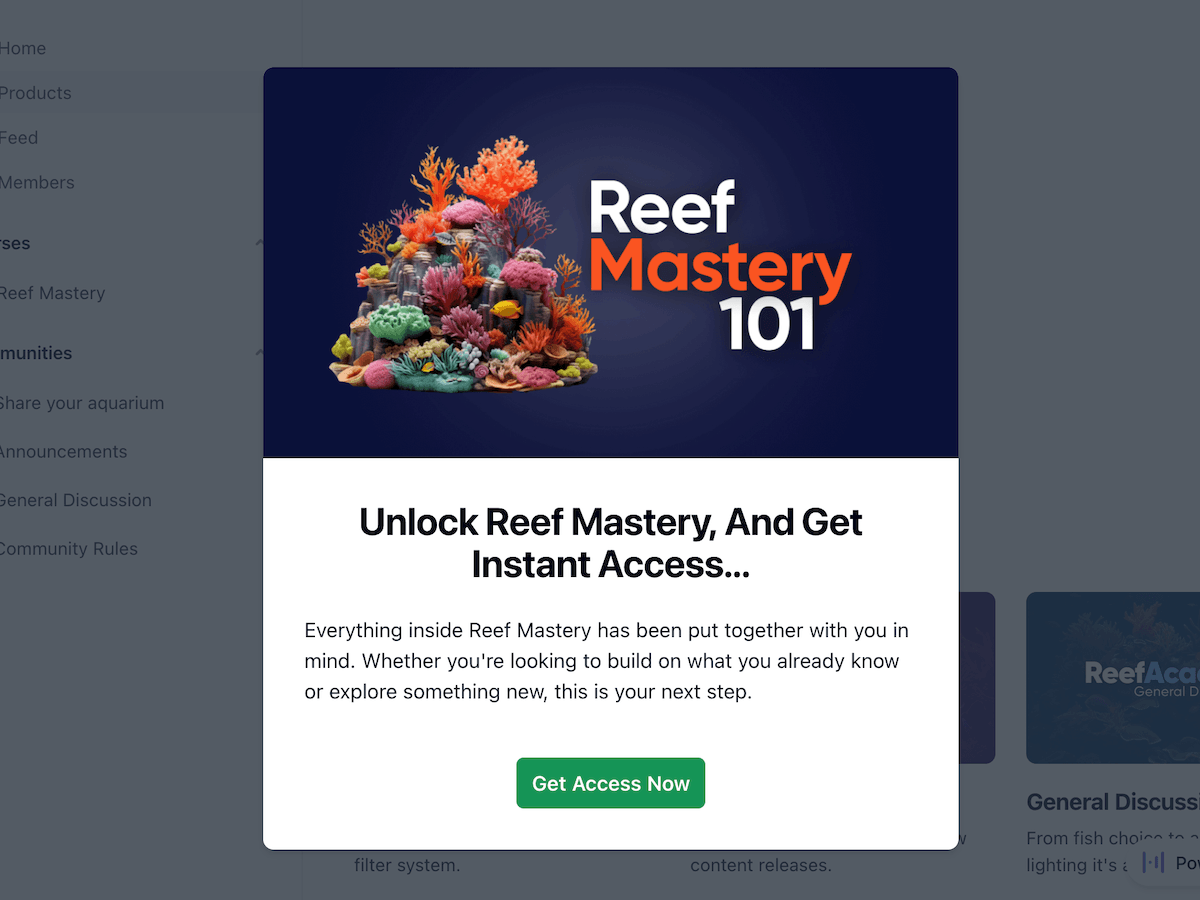
- They click "Get Access Now" and are taken through to the Kourses checkout
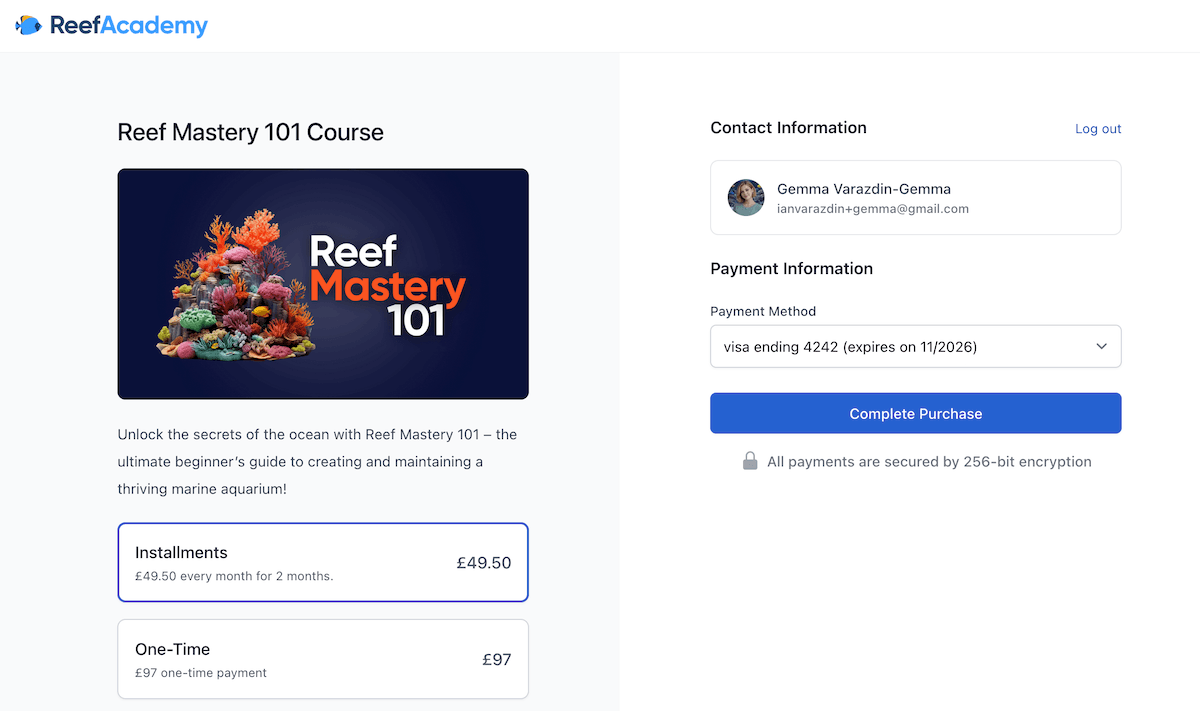
- Because their payment details are already saved, they don't need to re-enter any information — they simply click "Complete Purchase"
- Access to the product is granted instantly on completion
Step 1 — Enable the promotion
1. Open the product you want to promote
2. Go to the Promote tab
3. You'll see a Show to non-members toggle — by default this is turned off, which means only members with access to this product will see it in the members' area
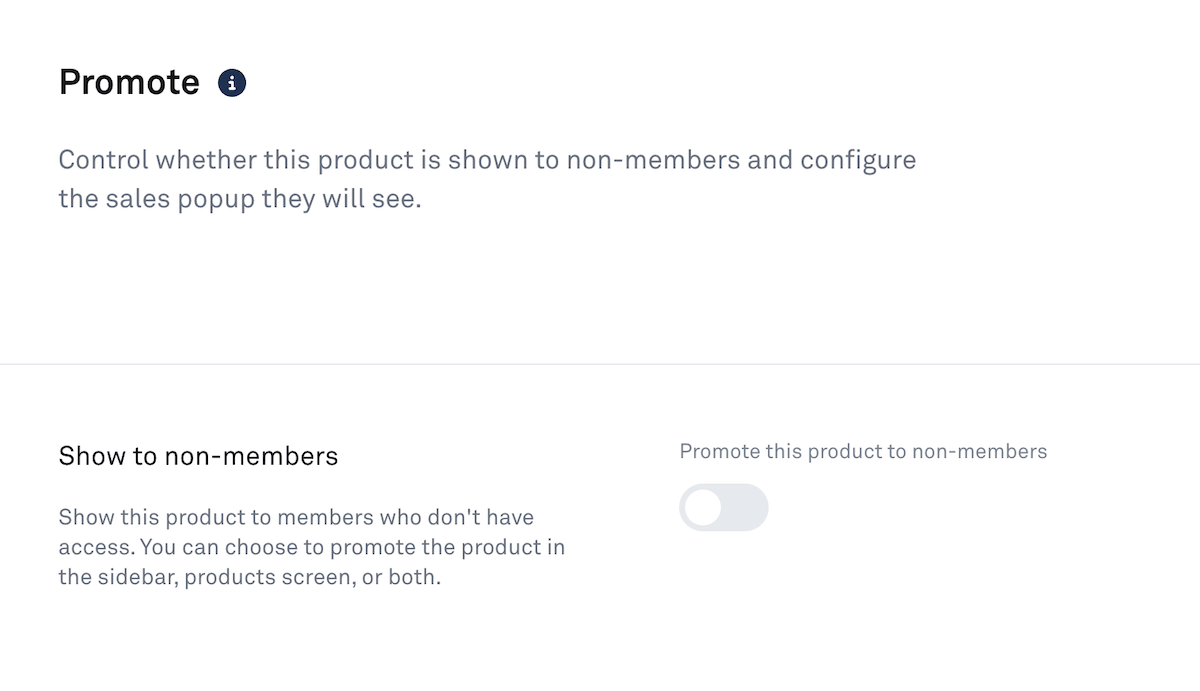
4. Toggle this on to enable the promotion
Step 2 — Choose where it appears
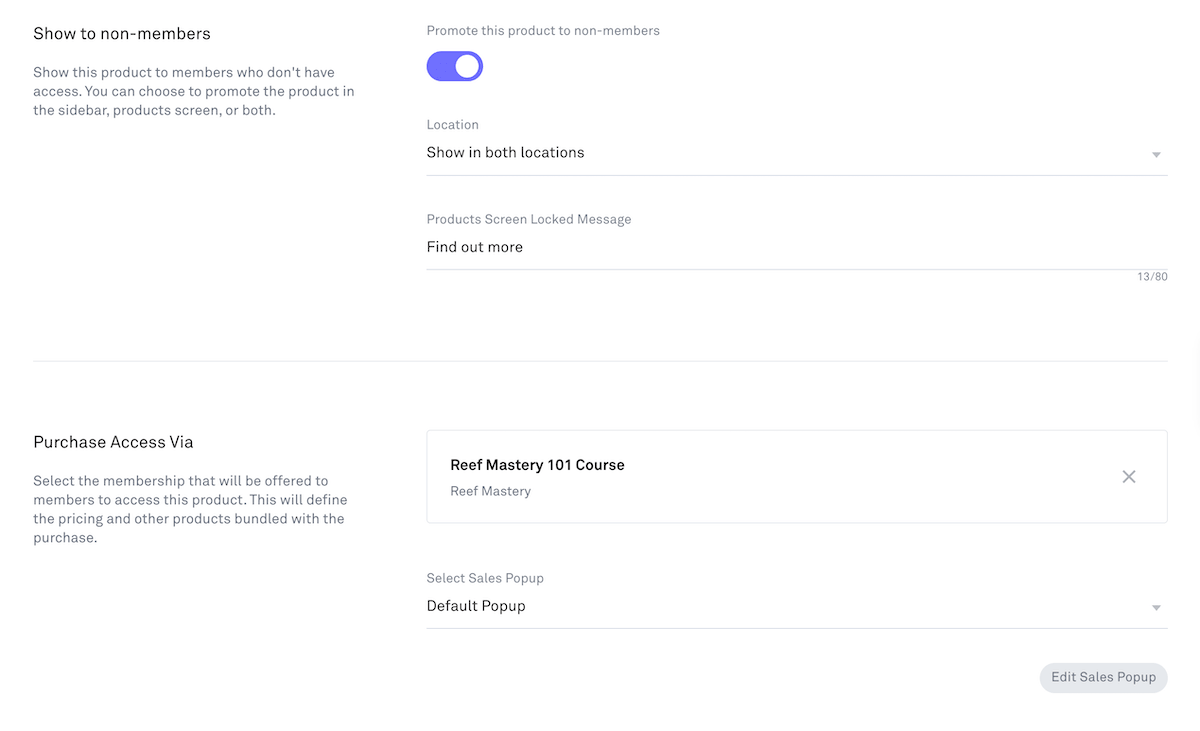
Once the toggle is on, you'll see a dropdown for placement. You have three options:
- Members' area sidebar only: the product appears in the sidebar across the members' area
- Products page only: the product appears on the products library screen
- Both: the product appears in the sidebar and on the products page
We recommend selecting Both to give the promotion maximum visibility.
Step 3 — Set the locked screen message
You can customise the message that appears on the locked product tile — this is the text members see before they click through to the sales pop. Keep it short and inviting.
Step 4 — Select a membership to promote
Next, you'll need to select the membership that a member purchases when they click through to buy.
1. Click Add Membership — this brings up a list of all the memberships this product belongs to. A product can be part of more than one membership, so you'll need to choose which one to promote here.
2. Select the membership you want to sell when a member clicks to find out more
Note: A membership can contain multiple products. If you want to promote different products within the same membership with different messaging, you can create a separate sales pop for each — see the Multiple Sales Pops section below.
Step 5 — Choose a sales pop
Once you've selected a membership, you'll need to assign a sales pop. When you first set up a promotion, a default sales pop is created automatically for the membership.
1. Select the sales pop from the dropdown
2. Click Save
Your promotion is now active. Members without access will see the product in the locations you selected, and clicking on it will trigger the sales pop.

To customise how your sales pop looks and what it says:
1. On the Promote screen, click Edit Sales Pop
2. This opens the sales pop editor with the following options:
Sales pop name
An internal label — your members won't see this. Give it a name that helps you identify it, especially if you have more than one sales pop for a membership.
Headline
The main heading that appears at the top of your sales pop. You have text decoration options available to style it.
Body text
Add a description of the product. You can include bullet points and images, with a range of styling options to match your brand.
Image or video
You can add an image to your sales pop, or upload a video using Kourses' built-in video hosting to include a sales video directly in the pop.
Pricing
Choose whether to display a price on the sales pop. If you click the pricing dropdown, you'll see all the pricing options you've set for this membership - select the one you want to display, or choose not to show a price at all. If you choose to show a price on the Sales Pop only that single pricing option will be shown on the Sales Pop, but on the checkout page the member will see all avaliable pricing options for that membership.
Don’t show price: No price is shown on the Sales Pop
First available plan: The pricing plan that is highest listed in the order of your pricing plans will be shown on the Sales Pap
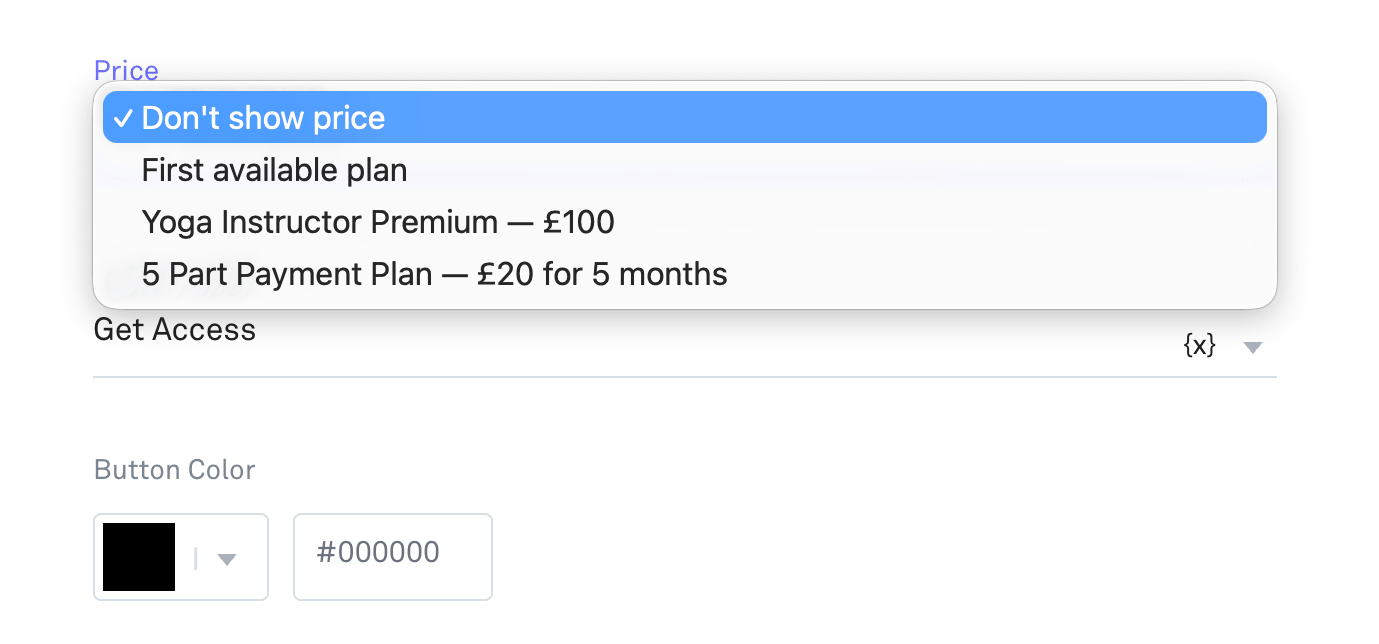
Note: If your Sales Pop is promoting a Free pricing plan then you will not see a pricing option in the Sales Pop settings.
Button label
Customise the text on the call-to-action button. You also have the option to include the product title in the button text automatically.
Button colour
Use the colour picker or enter a hex code to match your brand.
Button URL
This is the destination when a member clicks the button.
- Leave this blank to send members to the Kourses checkout for this membership — this is the recommended option. It keeps everything within the platform, uses the member's saved payment details, and gives them the smoothest possible purchase experience, including any upsells and order bumps you have set up.
- Add an external URL if you want to send members to an external sales page or checkout instead.
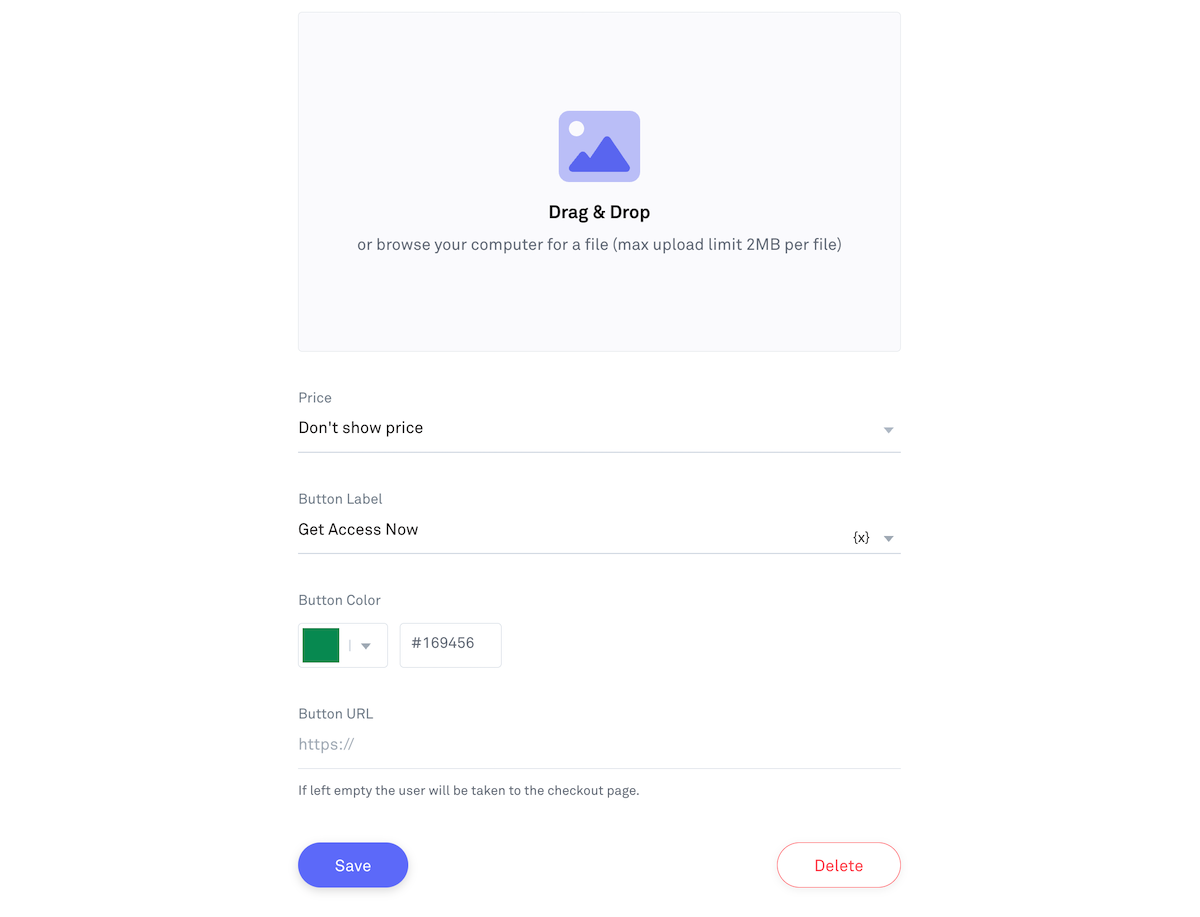
3. When you're happy with your sales pop, click Save
4. Click Save again on the Promote screen to confirm
Your promotion is now fully set up.
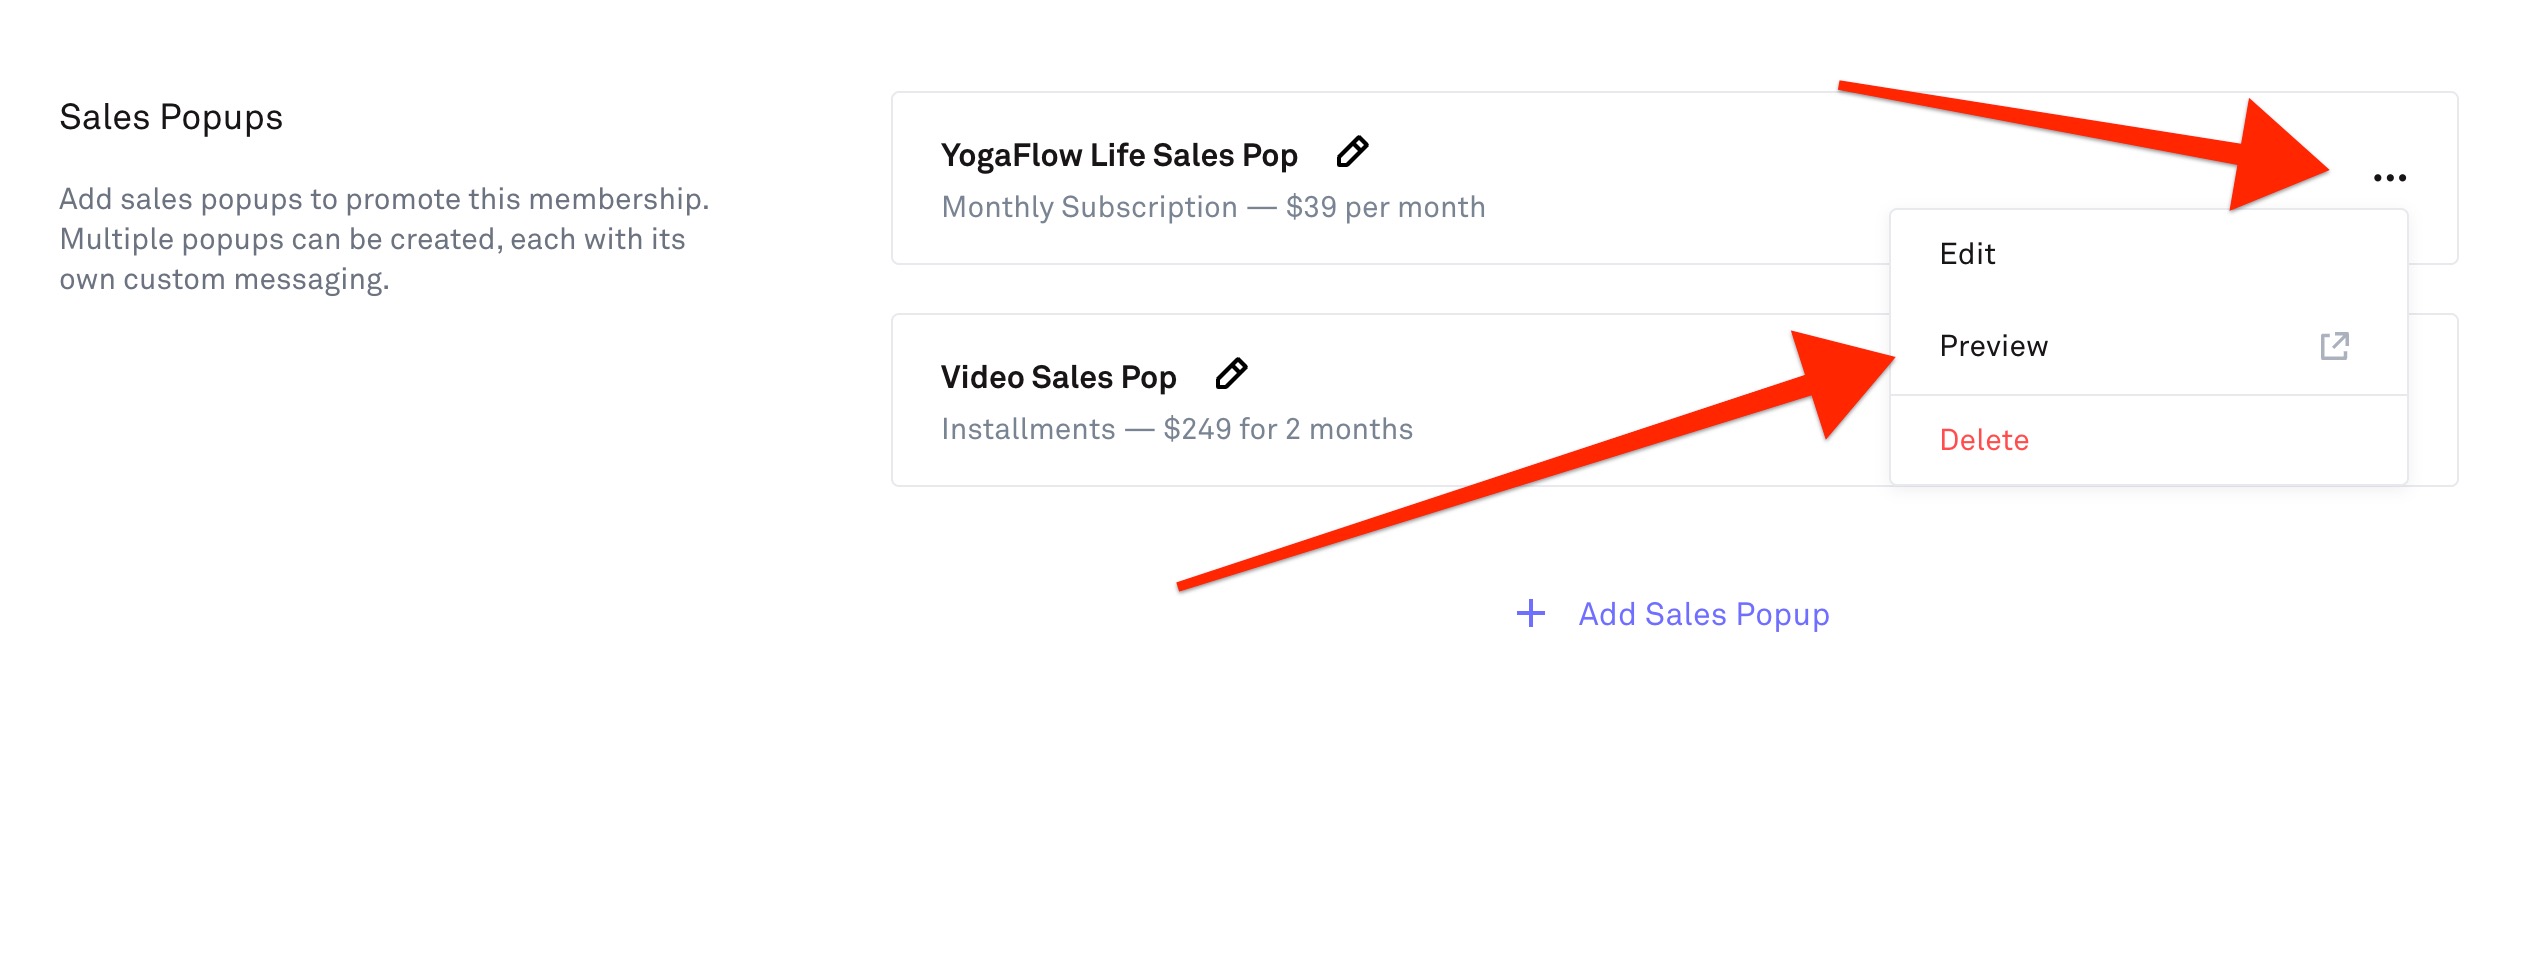
To preview a Sales Pop click on the “3 dots” menu and select Preview.
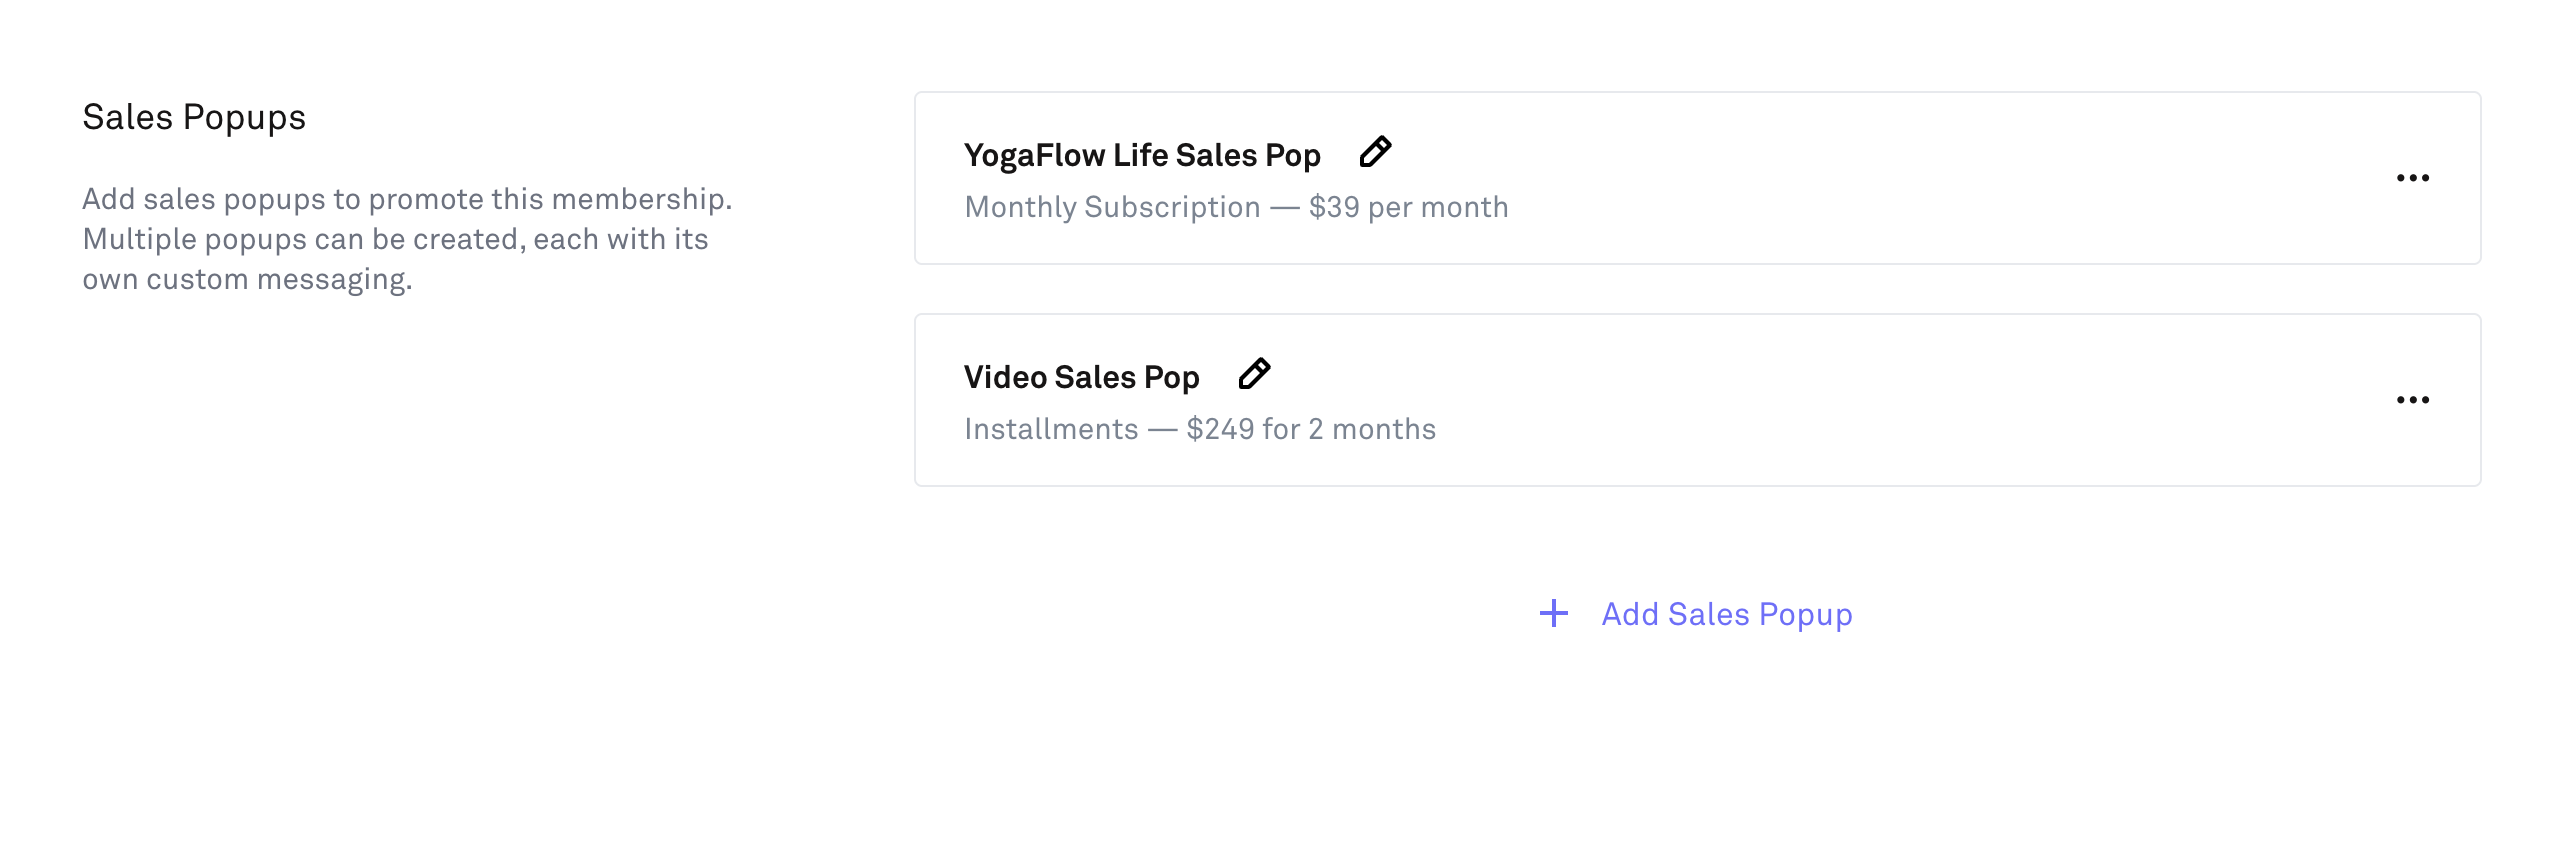
A membership can contain more than one product, and you may want to promote each product with its own tailored sales pop rather than using a single generic one.
To manage your sales pops at the membership level:
1. Go to the Membership screen
2. Open the membership you're working with
3. Click on the Pages tab
4. Select Sales Pops
Here you'll see your default sales pop and the option to add additional ones. Each sales pop you create here becomes available to select when setting up a promotion on any product within that membership.
This gives you the flexibility to promote different products with messaging that's specific to each one — the right offer, with the right copy, for the right product.