

Using the Navigation & Menus page
On the Navigation & Menus page, you can create and customise the navigation settings for your Membership website.
When you create a new hub, you need to assign it to a category as part of the organisation of your hubs on your membership website.
You can create one category and put all your hubs into that, or you can create multiple categories to organise your content based on your needs.
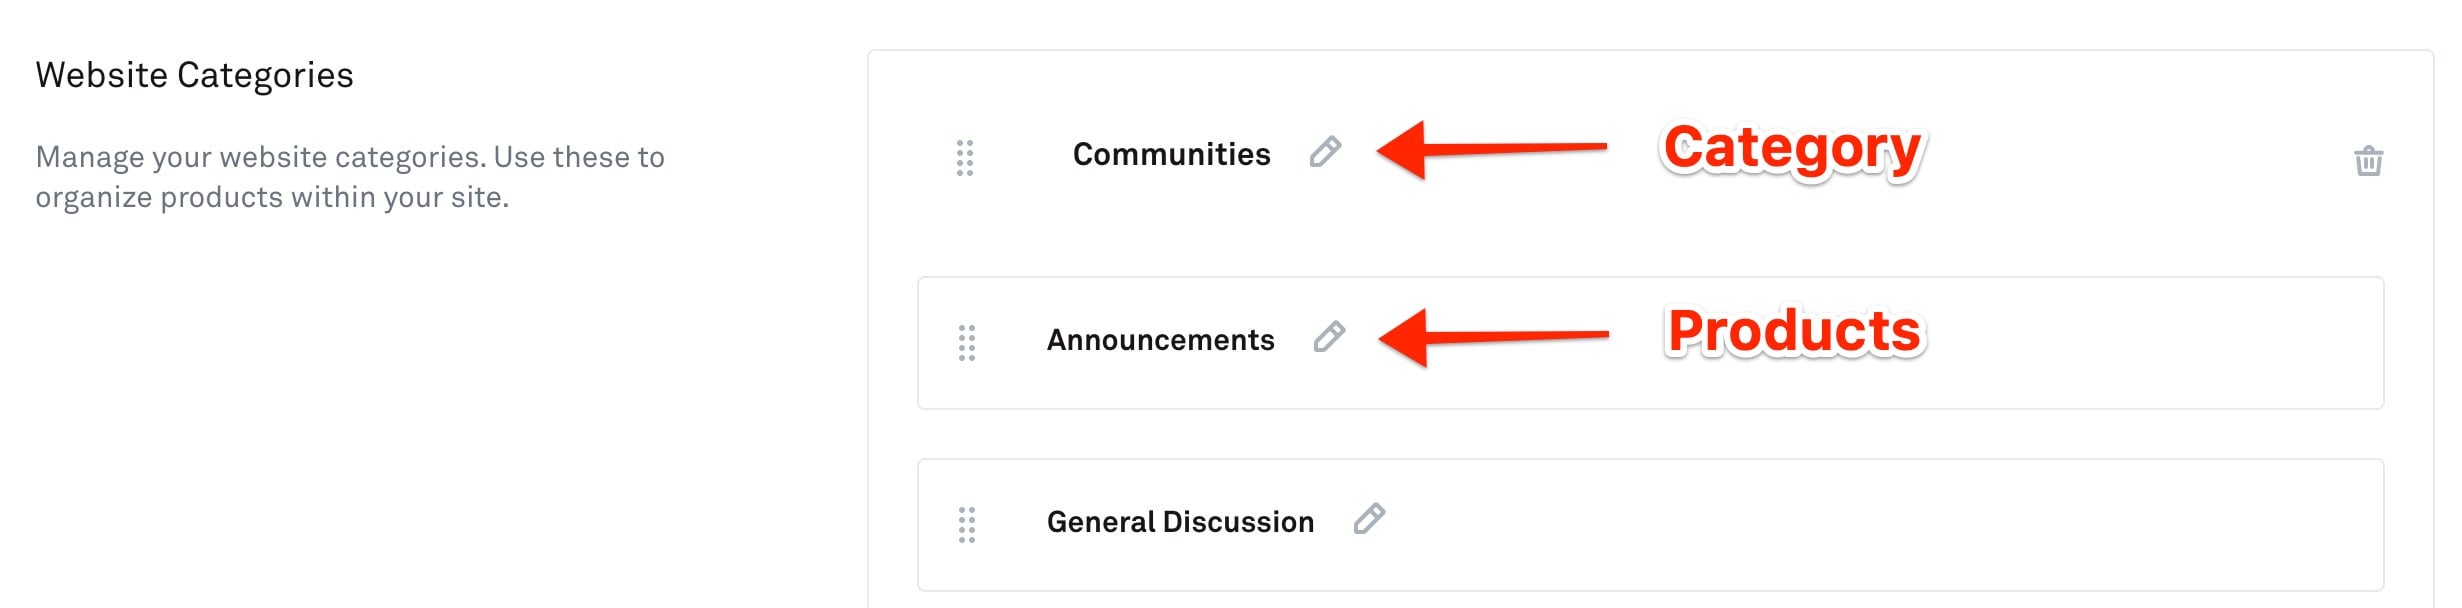
Adding a Category
To add a category, click the '+ Add Category' link.
This will launch an overlay with a field to give your new category a title.
With your new category title added, click the 'Add Category' button.
You will see your new category listed in the main navigation menu. You can also edit the name of your category by clicking on the small 'pencil' icon and delete it by clicking on the small 'trash can' icon.
Assigning a Product to a Category
To assign a Product to a Category, exit the Navigation & Menus screen, click on Products > Select a Product > Product Settings.
Scroll down to the 'Product Category' section and click on the dropdown to select a category to assign to your product. You should see a listing of all of your current categories.
You can also create a new category using the option listed.

Related Articles
Organise Your Website Sidebar
Organise Your Website Sidebar